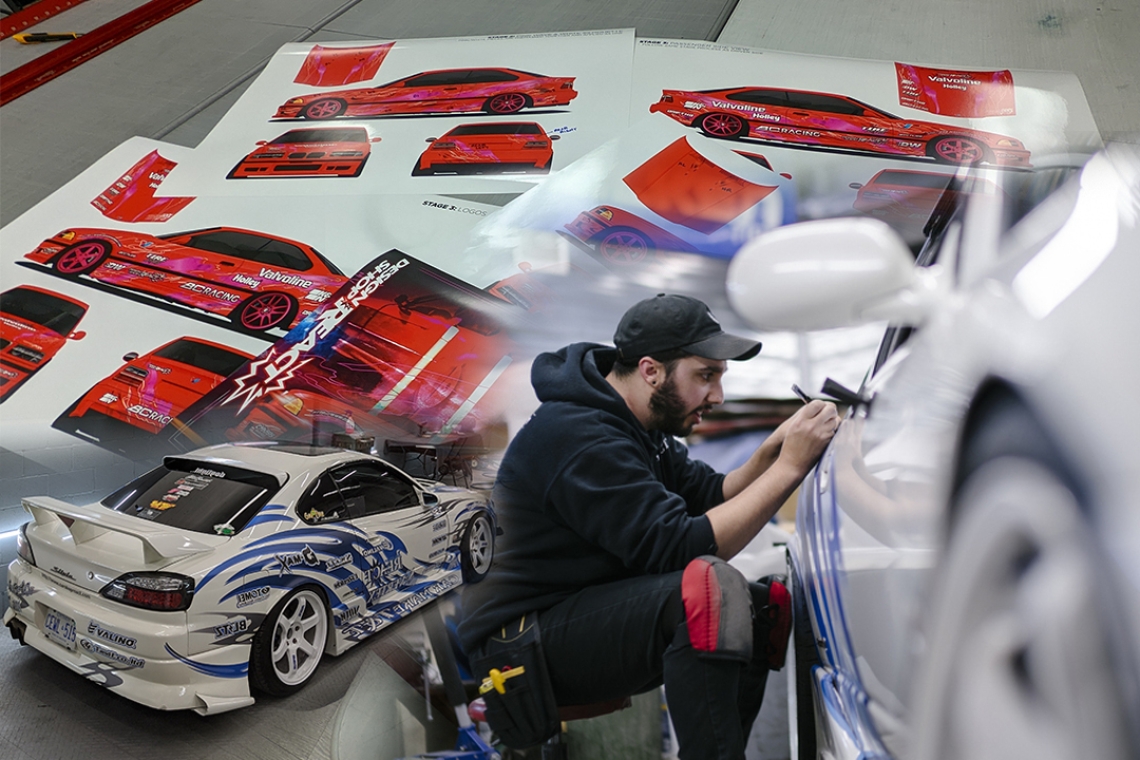
Mike Martino is a name that some of our audience will be familiar with, having appeared in past video and print segments of PASMAG. An avid drifter by day, and incredible designer by night, Martino combines his passion for style at his shop, Design Shop REACT. In addition to assorted work for a variety of clients, a big portion of Martino’s work is centered around automotive styling, especially in the realm of designing, printing and installing some of the best liveries the world has ever seen - including those for his shop’s drift team, Car Shop REACT, among many other high-profile individuals in drifting and motorsport.
We wanted to get the low-down on the subtle intricacies in the art of livery design, so we sat down with one of the best in the business, and got him to explain what he does these days, and the processes behind a good livery. Martino, take it away, and tell us how you got here, what Design Shop REACT is, and then walk us through the process of creating meaningful liveries for a car.
MM:
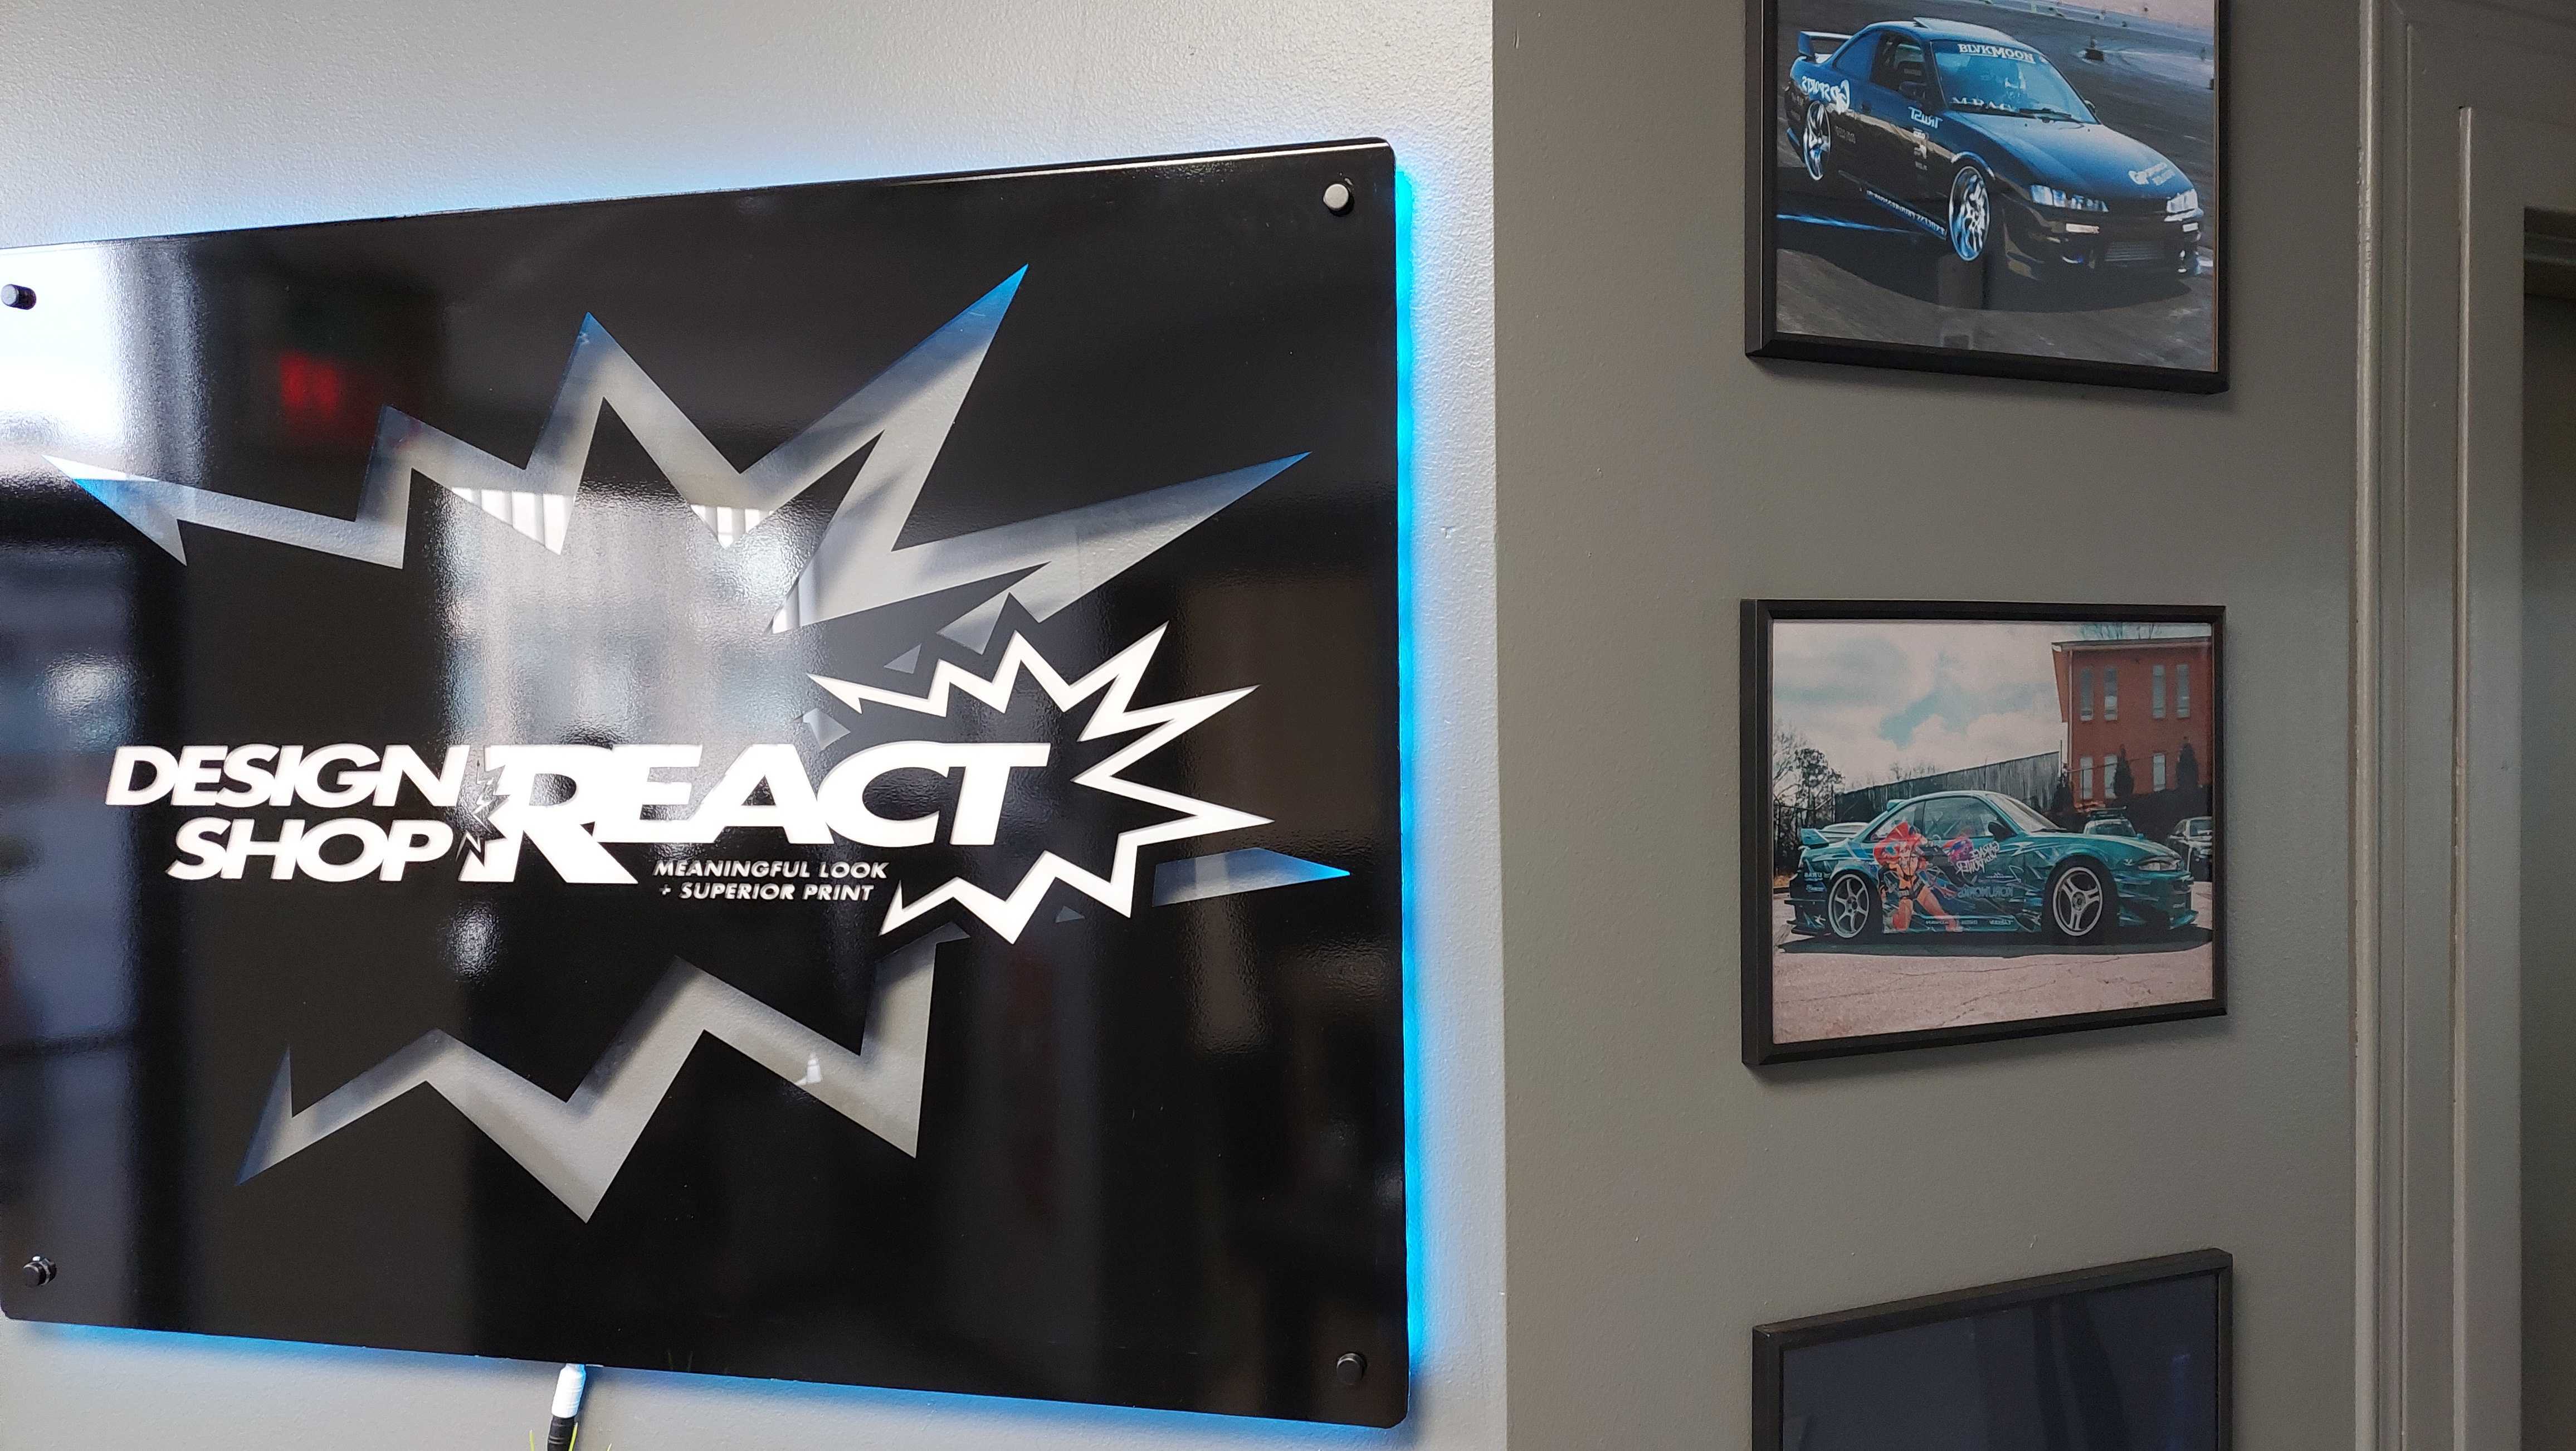
Design Shop REACT is just an expansion on a dream I had of taking my abilities and turning them into a profitable company moving in the direction I want. My life's become so drift-oriented or car-oriented because I wanted the business to become an extension of that. I could design for anybody and anything, for instance a construction company or a company that has zero relation to what I like, but I prefer my niche where my heart is truly in it, and I can confidently push my work forward.
In short, I would say Design Shop REACT is a print and design studio, but really and truly my bread and butter has always been design, and that's where it started so I'm a design studio first. I'm here from morning to morning sometimes, just constantly doing something - even if I'm not doing something work-related, just being here at the shop is the atmosphere I have to constantly put myself in so that I don't ever feel lazy or unmotivated. Being at the shop allows me to try more things, shape more ideas, talk to certain people, or just hone my craft.
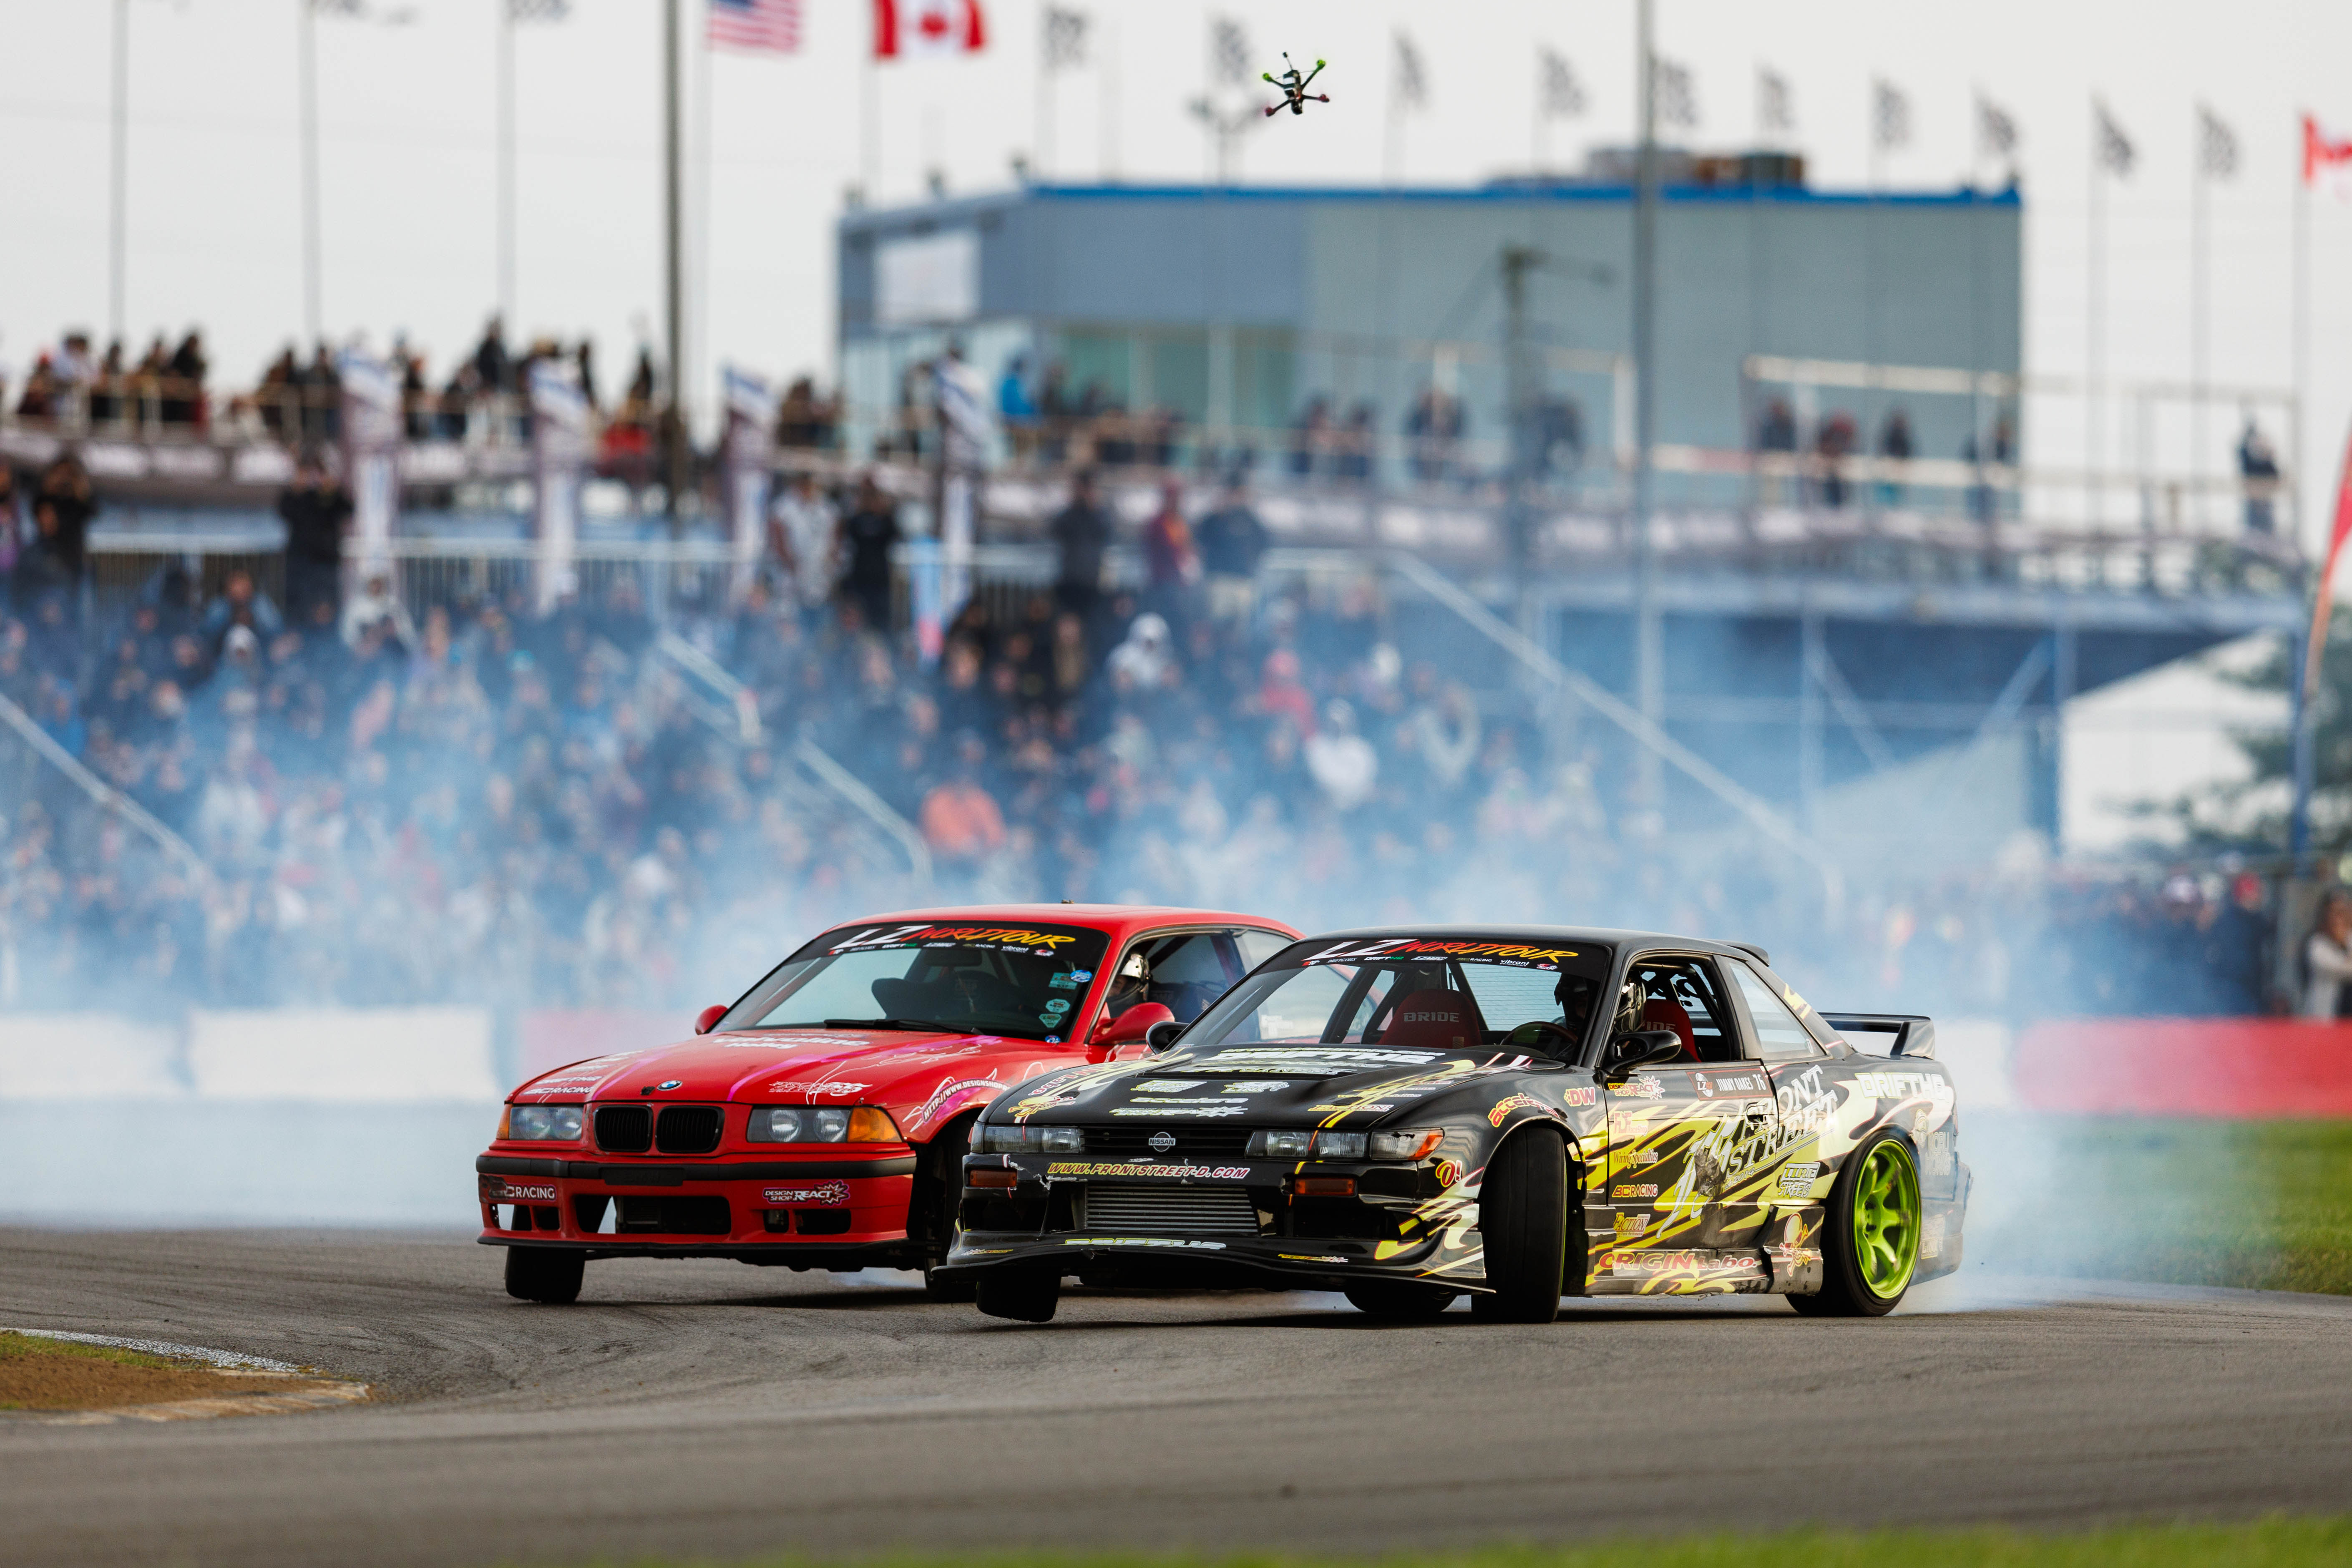
When it comes to car liveries and design, we try to curate the “cool” factor when it comes to automotive design. Cool is entirely subjective, but I try to hit the mark where I think a design is cool, the customer thinks it's cool, and then if people who see it in the wild think it’s cool, that’s just a bonus. That's what I've been trying to do with a lot of the guys that I'm working with and how I've positioned myself. There's guys like Jimmy Oakes, for instance. He's been a huge part of this year's expansion, and we've built a friendship because of our business together.
THE CONCEPT
Before we get into a customer’s ideas, there's some back and forth with them to try and figure out what they like. You want to take the car into consideration. If I’m being honest, I turn down some requests for design if I see the owner doesn’t really take care of the car, or has a bad reputation. My work is what people come to me for, so if it’s misrepresented that could have a negative impact on future projects.
I also have to mention that most people want to copy someone, or at least take very heavy inspiration, and most others have zero idea what they want to do. Every once in a while you get the guy who actually knows what they want for the most part. I try to give each customer ingredients to cook their meal. I’ll show them racecars from certain eras that might fit their style - maybe an old like ‘80s JTCC racecar. I also try to learn about them first. I’ll look at their instagram to see their car tastes, their personality, and more, so I will do a little bit of research on that and come up with my concepts based on their preference in styling.
A lot of the time now - especially with some high profile drivers and teams - they will have actual brands they're sponsored by that have corporate looking logos, whereas a lot of the Japanese brands - which is where most of my style comes from - look good basically anywhere in a livery. I tried to make my own logo a mixture of the two: complicated and old, but a little modern while still simple, so it would look good on anything with some slight alteration at most. I have variations of my logo, but they’re all cohesive.
Sponsorship logos are where the concept can change before it begins, because if the logos don't look good - or if they have a big sponsor list - that can determine whether it's going to be very brand heavy or if it's going to be more graphical. I may steer clients in a direction that they might not know they wanted. Sometimes I have to help them figure out the concept as a whole. Sometimes it’s about finding where their tastes in cars and their personality or brand image overlap. If someone likes more Americanized things that will be a huge factor in what the design looks like because you're going to have someone who thought they wanted Japanese style because it’s such an iconic style, but after seeing it they don’t like it, so sometimes I have to go through a quick rough rendition to get their feedback. Then we’re on the same page.
Ultimately, if there is a base story or a base theory to a livery, I can come up with something with shapes and colors and positions, but if there isn't something to base it on, I have to come up with something based on the factors I’ve learned about them before. Sometimes it’s something I like that the customer may not like initially, but it gives us a starting point. Typically if you're coming to me for my style of design, there’s a good chance I can help guide our ideas into one.
THE DESIGN
The first step is to open up Illustrator and then close it, because I realize that I'm not in the right mindset to design. That sounds like a joke, but that's typically what happens almost every time, and then I'll go downstairs and print some stuff, or walk around the shop, clean up something, maybe put on some music or watch some videos. That's how my process is. I can’t always force myself to design. I have to be in the right mood, otherwise you're going to get a subpar product from me and I don’t like that. I want it to be my quality, or what I think you're going to be happy with.
Once my brain is working creatively and it’s time to make some designs, the first step is Adobe Illustrator and about 100 Google Chrome tabs of ideas, shapes, and colors. The initial design steps are all about colors. I have my pantone book right behind my desk - I'm always looking at colors. I like to work with two main colors first: your base and your accent color. All the other stuff falls together as I go, like adding a third color that works in tandem with the first two, maybe for logo reasons or visual appeal.
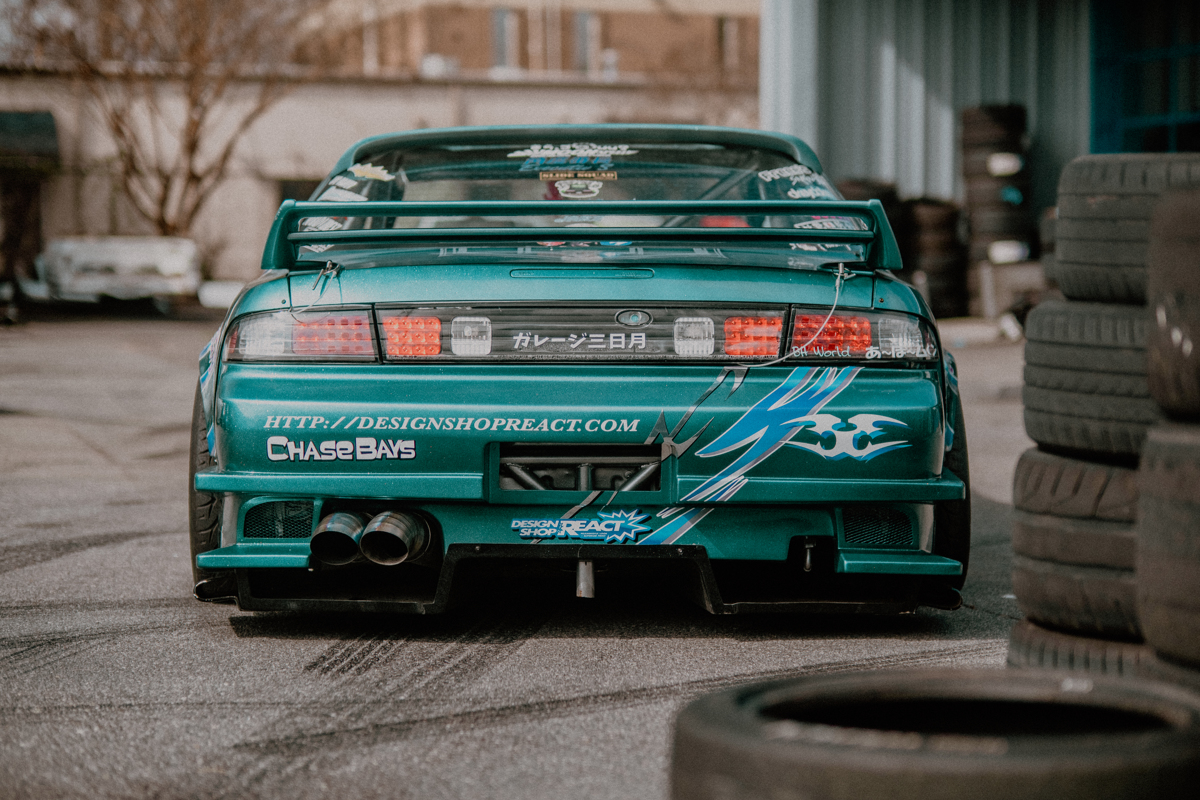
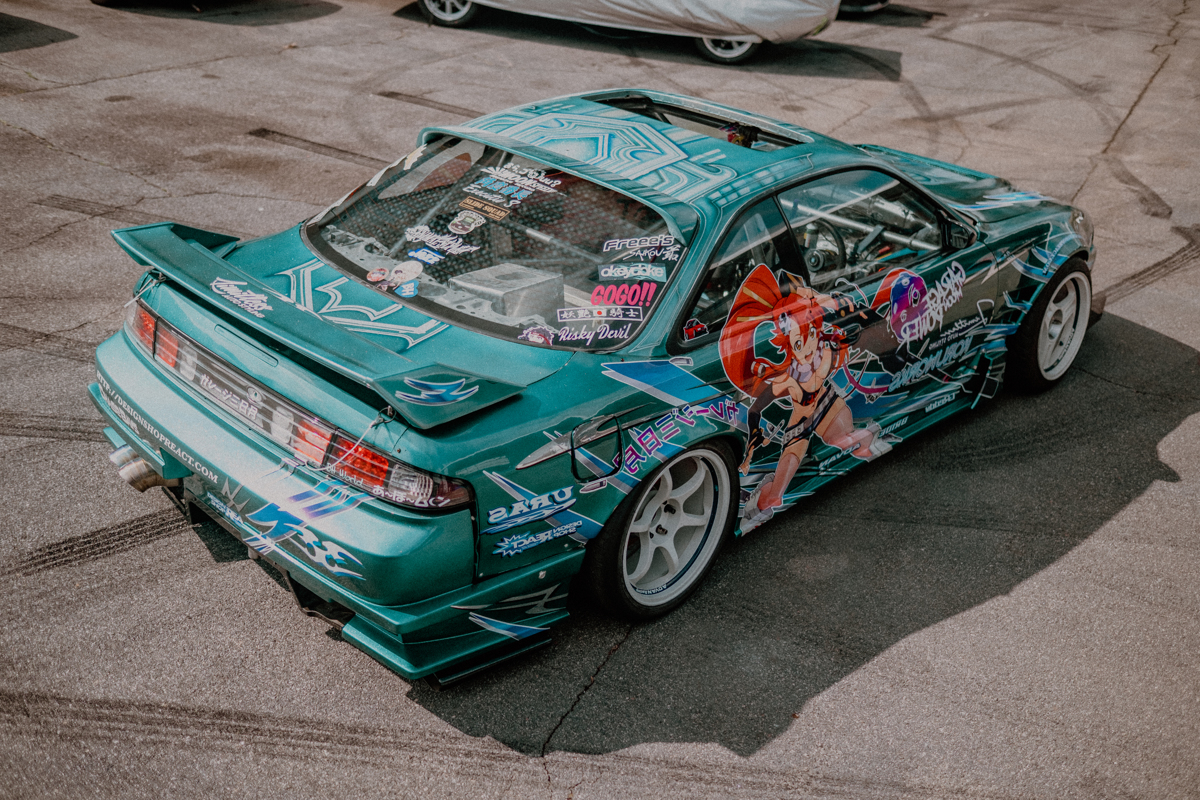
Once I get to Illustrator, I'll start with a render of the car. Sometimes I’ve already got one made, like an S13 or S15, for example. From there I'll take my base color, starting with whatever color their car is. A lot of choices are based on the base color. Front Street Tom’s car, for example, is
Millennium Jade - so it’s got a lot of green to it. The second you add a red it becomes a Christmas car, and the same applies if you have a red car and you add green - so I try to avoid that right away. I try to avoid holiday color schemes from impeding what I’m working with, as many people will automatically think of the holiday when they see it.
The next step is figuring out my shapes. Does the customer want something flame looking? Do they want something traditional tribal looking? A lot of people like the rip/tear style, or splashes, which I’m personally not a big fan of because it almost always looks like the included brush pack from Adobe. The shapes dictate a lot of the aura something gives off. I like abstract shapes. I find a shape that I can contour or make work with the body lines or the body kit. I always try to either make a shape or scribble something that I think works best, and then try a bunch of iterations of that shape. If it isn’t working, I’ll move on. Sometimes I find my shapes in the most random images. There was one I found in a picture of a desert road. It had a cactus, but it was destroyed - it looked like it was hit by a car or something - and it was in such an orientation that I traced it out and it became a good shape, so I used it on a livery. I’ve even taken the shape of a letter like a “Q,” and cut it up or altered it to make it look good on a door line or a quarter panel. There’s a purpose for everything.
Most of the time, the next step is to leave it for the night because when I come back in the morning I hate it. Other times, though, I know I already like it when I’ve saved it, closed it, and then looked at it on my phone on the way home. If it looks good on my phone, I'll look at it on my tablet, then on the computer screen to visualize it in real life. What I try to do is find a photo of that person’s car and I'll quickly impose the design on their car. From there it’s a quick checklist before I send it to the customer. Do I like it? Are they going to like it? Do I see problems with it? Is this my style? Am I doing too much or too little? Is this within the scope of what they came to me with? Is it missing anything? Do I need to explain anything?
THE PRINT
I design specifically with print in mind. Because print is also one of our specialties, I always consider things like line strokes, the amount of bleed, rounded edges, sharp edges, colors merging where a cut will be, and a slew of other things. There's a lot of prep work to it, and that's why it can cost so much money. If you sent my files unprepared to another printer they would have to spend hours getting it ready for print.
It's not automatically ready for print when you're designing it - you have to add bleed, you have to properly lay it on an artboard, and you have to set it up so that it fits within your print roll. There are equipment constraints. Most of the time, you can't just print the side of the car and be done. This part can be a day's worth of work on its own, but if I'm sending my design to someone who's getting it printed locally to them, I try to set it up for that printer, so the printer enjoys what they're doing - I know what it’s like to get bad files, and I don’t want to do that to someone else. There's so much to do in quality print setup that people don't realize - I could talk about that part for hours.
Once it’s down to actually printing the material, you need to have a good printer. I'll go to drift events and see some work I can’t believe someone paid lots of money for. I’ll always have a high standard of print quality. That’s a massive factor in making a livery look good - probably one of the biggest. If the printer can’t showcase the details of a complex design, what’s the point?
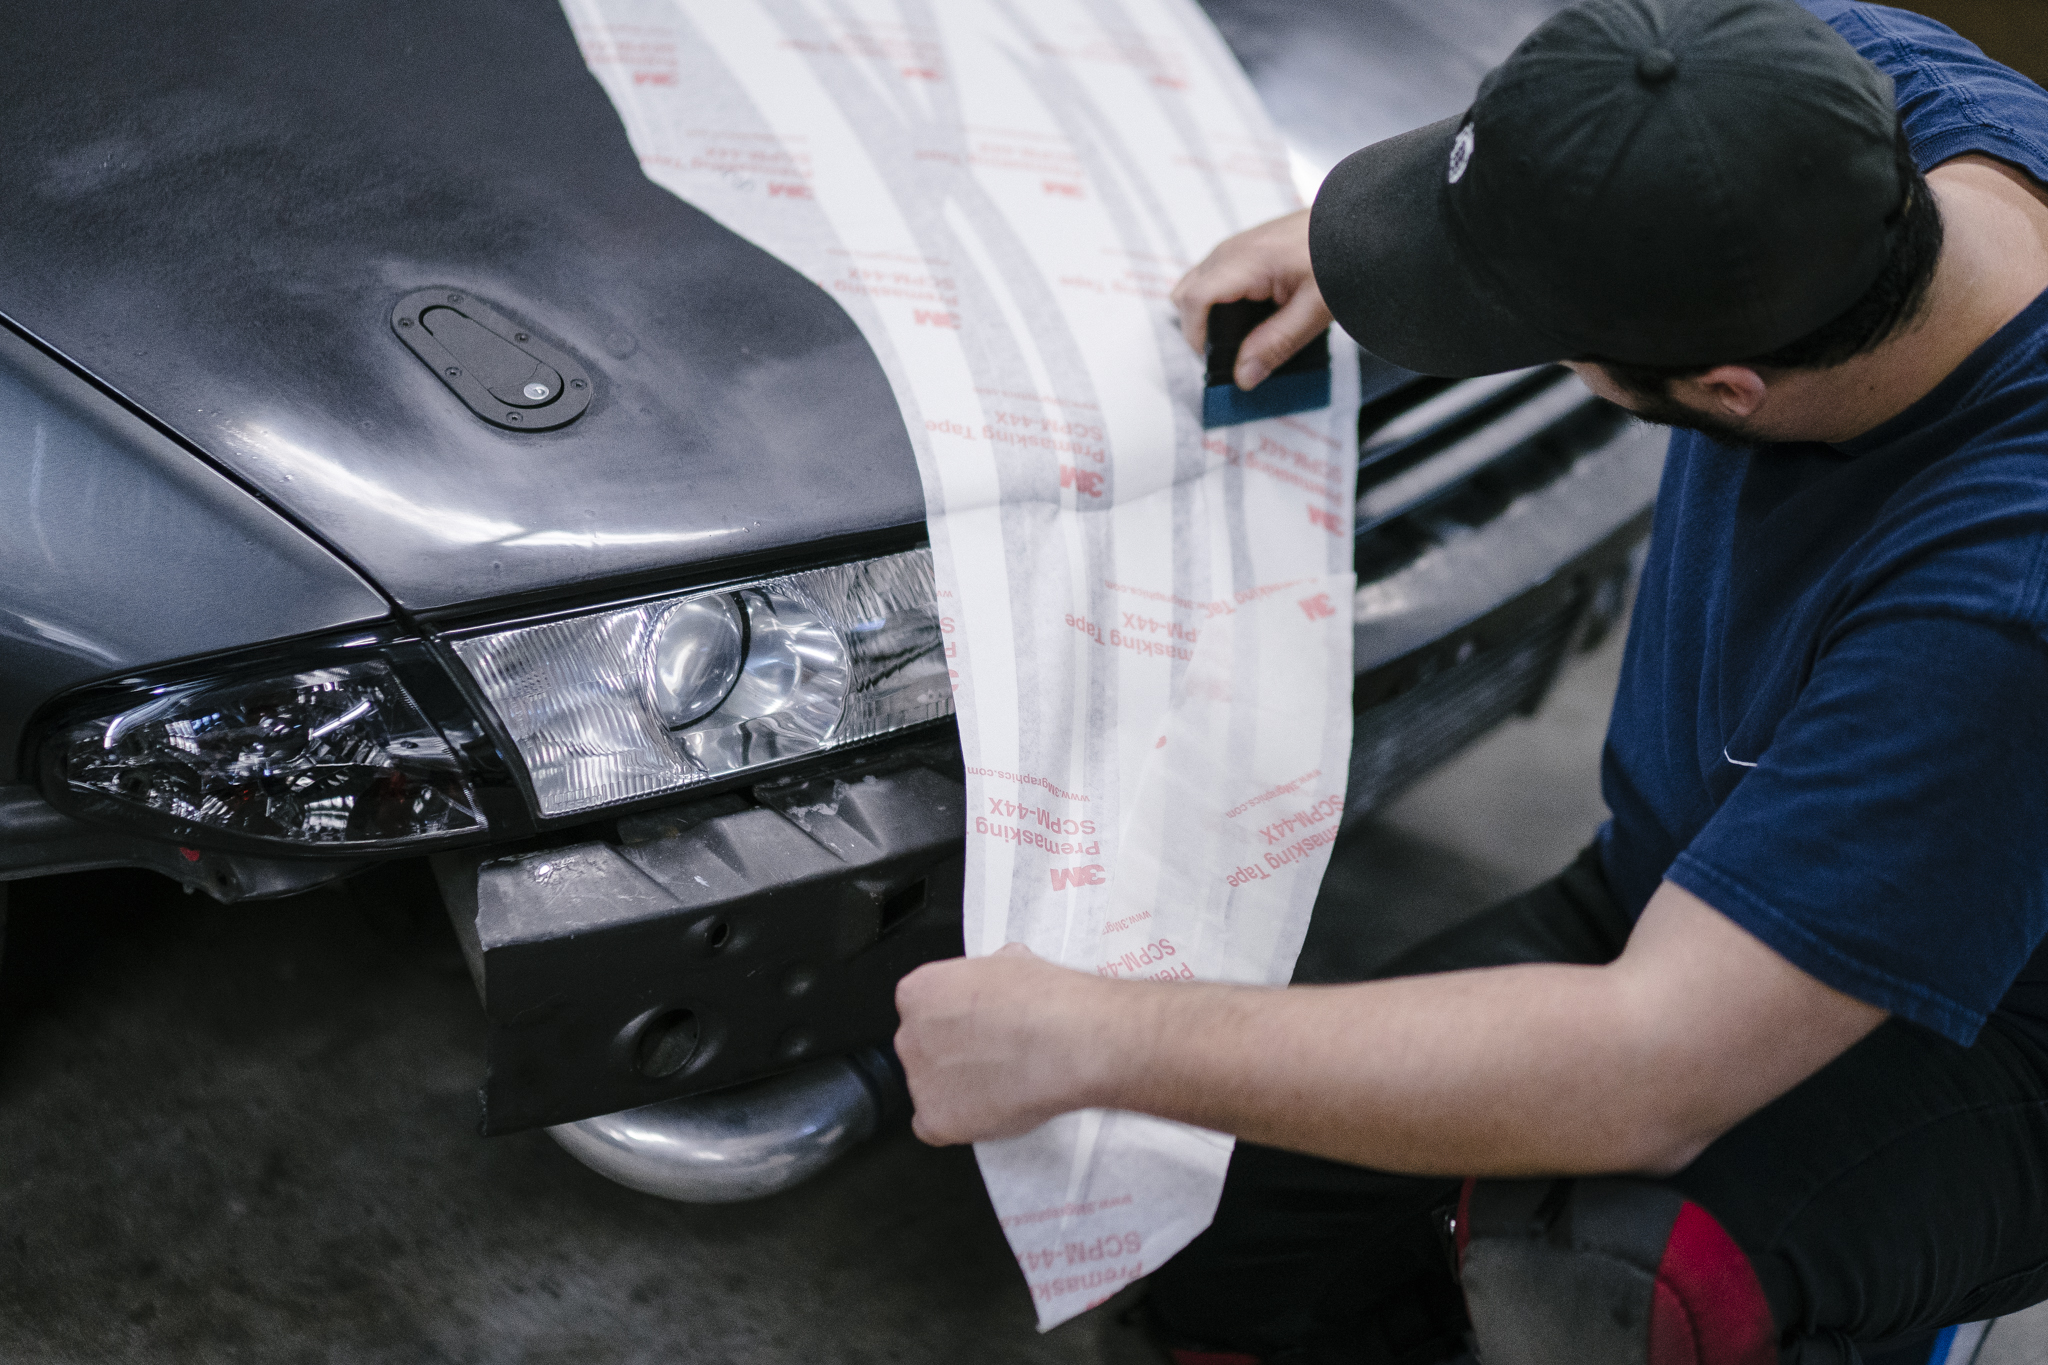
In the same vein, you also need to have quality print materials. There’s a big difference between an air-egress vinyl or a calendared vinyl. Air-egress vinyl allows air to escape through microscopic passageways, whereas calendared vinyl - the stuff that you use for things like outdoor signage - does not have that, and it's not good at conforming to complex shapes. The air-egress allows me to lay the vinyl on and squeegee out bubbles, or lift the vinyl to reposition it easily. I often use what I call my “house brand,” which is Arlon vinyls, but I've used and still use 3M, Avery and every brand there is that's top notch, or at the top of the industry. I just have so much good feedback on Arlon stuff. This isn’t an ad for Arlon, either - I just really do find it better and much more affordable here.
You also need a good laminate material. I laminate with a minimum five-year gloss or matte laminate. You have to laminate your materials for it to last. Most inks are good for five years, but do you park in the sun every day? You've seen what the sun does to paint. You need the correct laminate to go with the correct print material. For instance, they shrink at different rates, so you want the shrink rate of your base vinyl material to match that of your laminate.
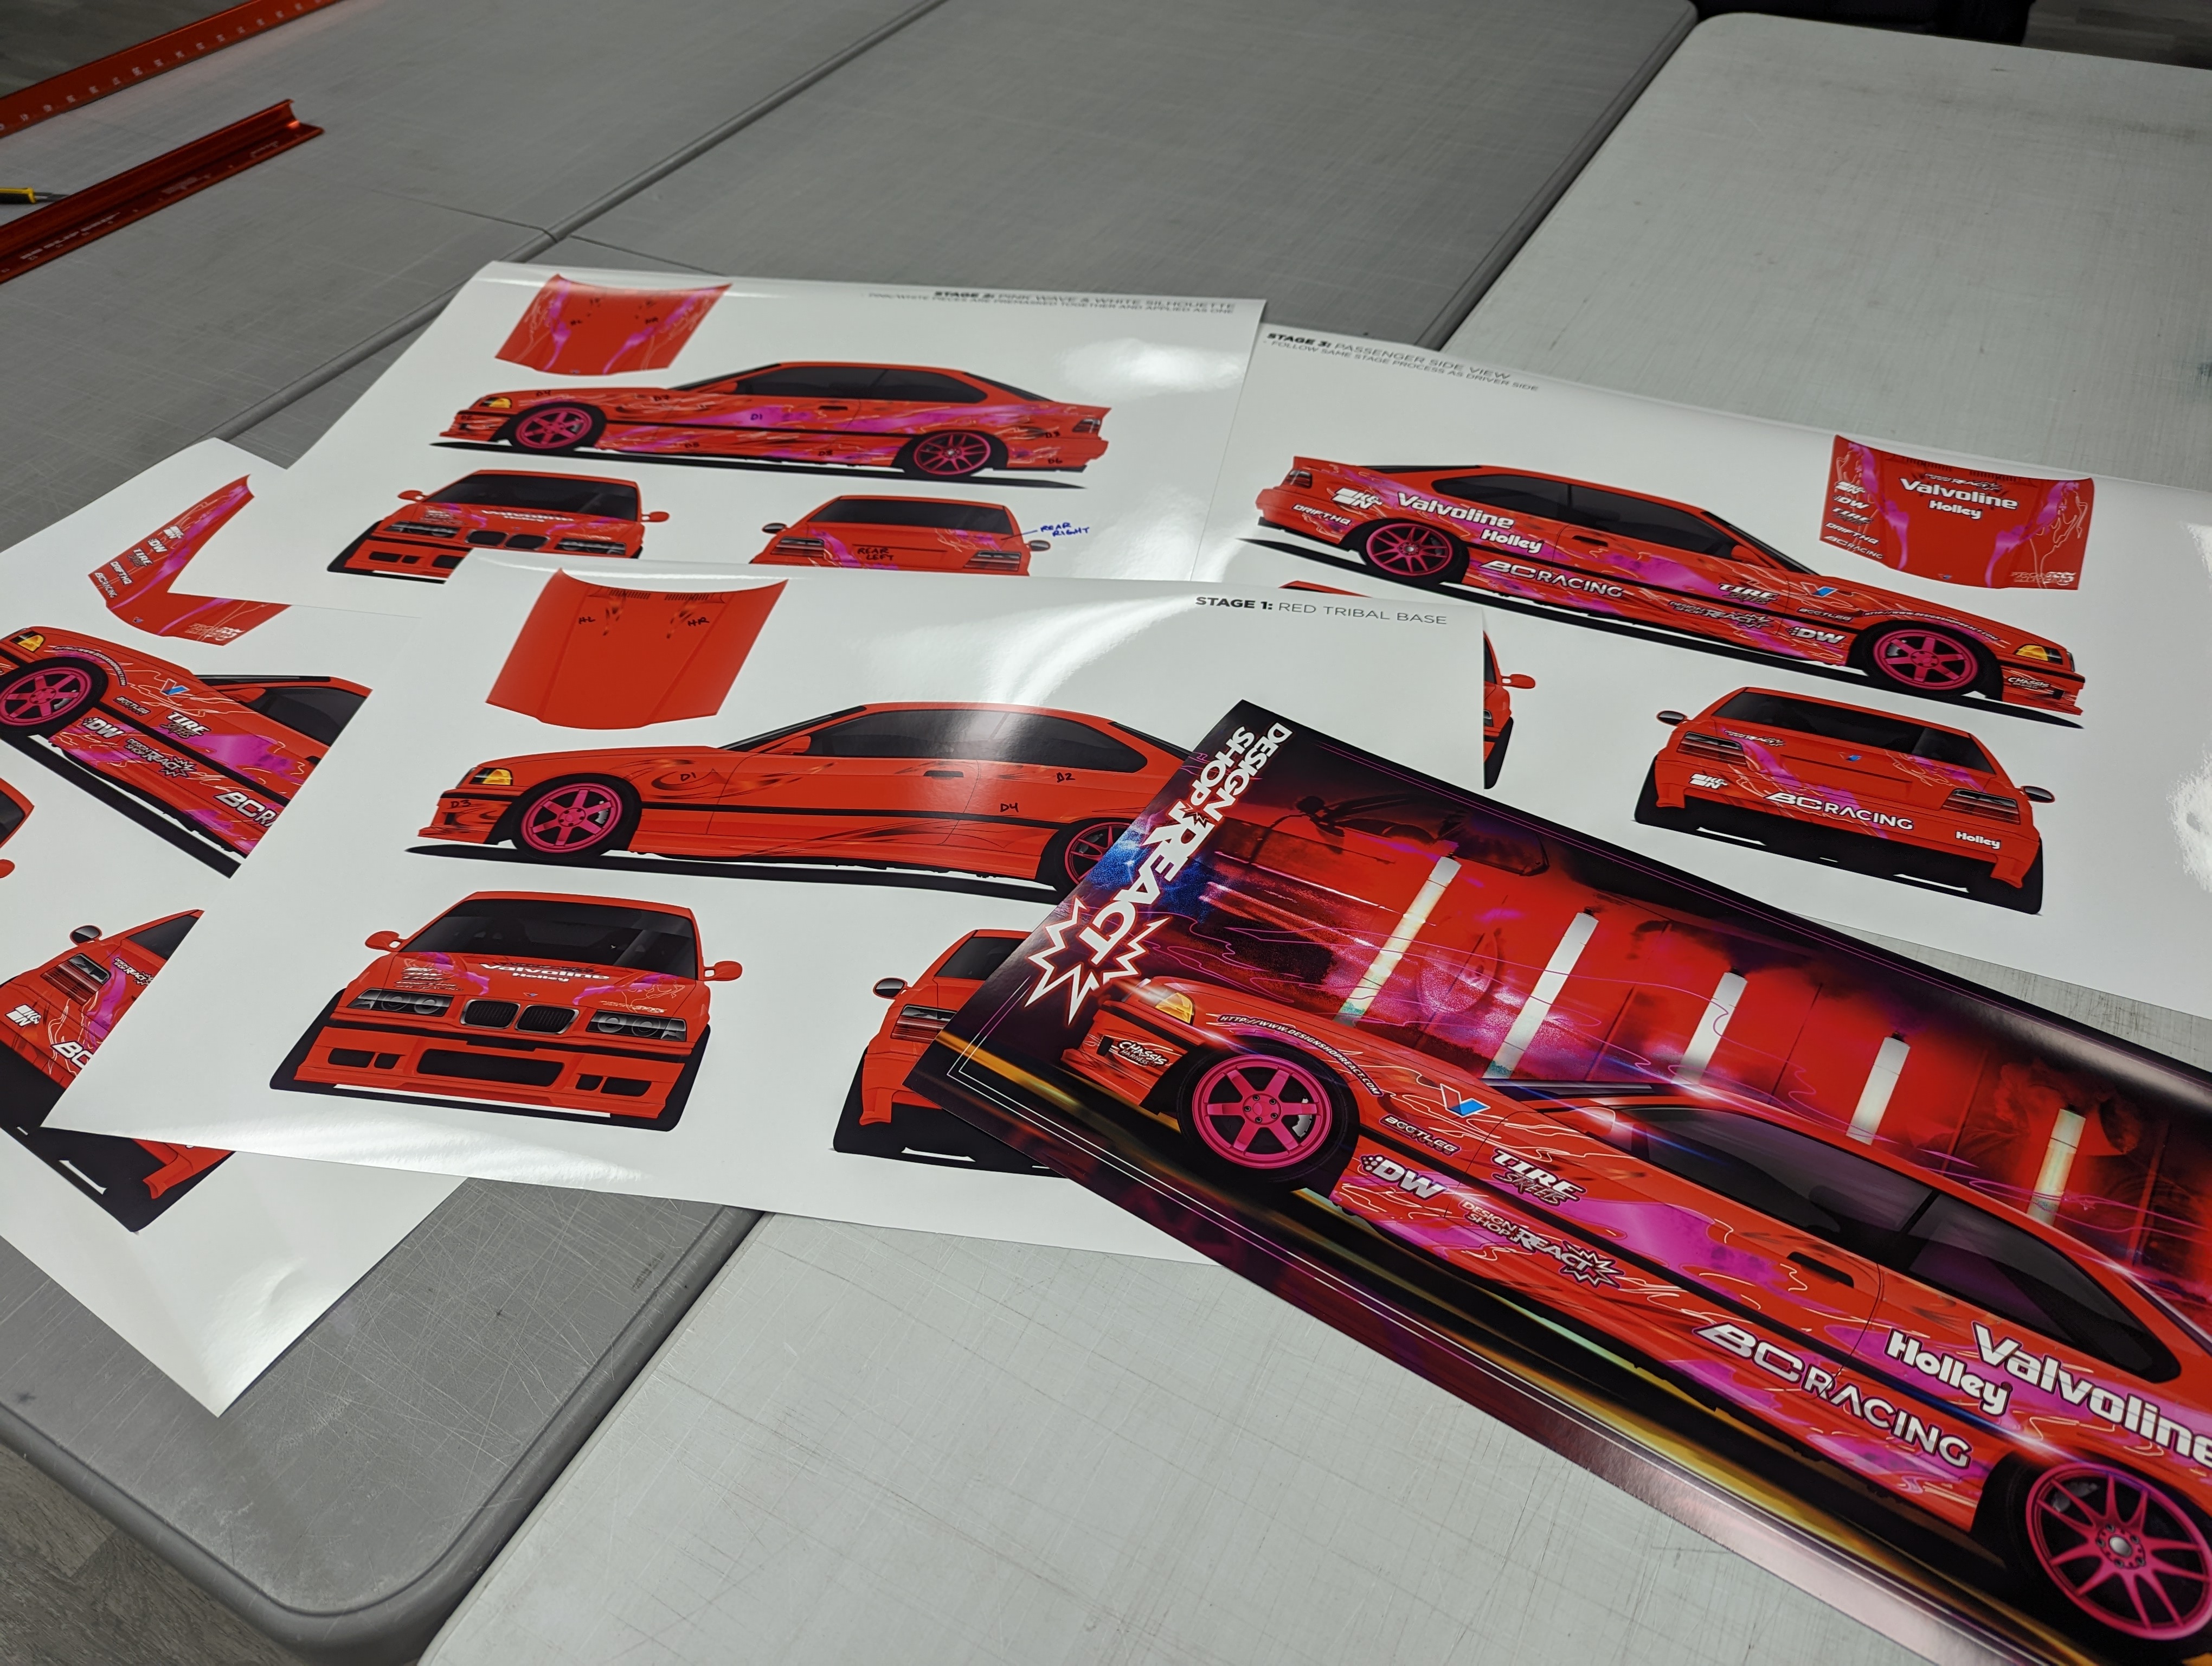
The timeline of a print all depends on the design, but for the most part it’s all the same. It gets printed, you take it off the printer, go over to the laminator for either gloss or matte lamination, then to the plotter so it can cut everything out right, and then go onto the table in the production room to weed it all out. Then you premask it, cut it up, and organize it.
If I’m sending a design out, I have a pretty extensive documented instruction booklet if I'm not installing it. It’s labeled well, and very detailed - things like explaining which pieces go first, second, and so-on for a seamless install. I have to eliminate room for error so at the end of it all I can roll it up, put it in a box, and send it out with confidence. That's a part of the craft most people aren’t aware of until they do it.
THE INSTALL
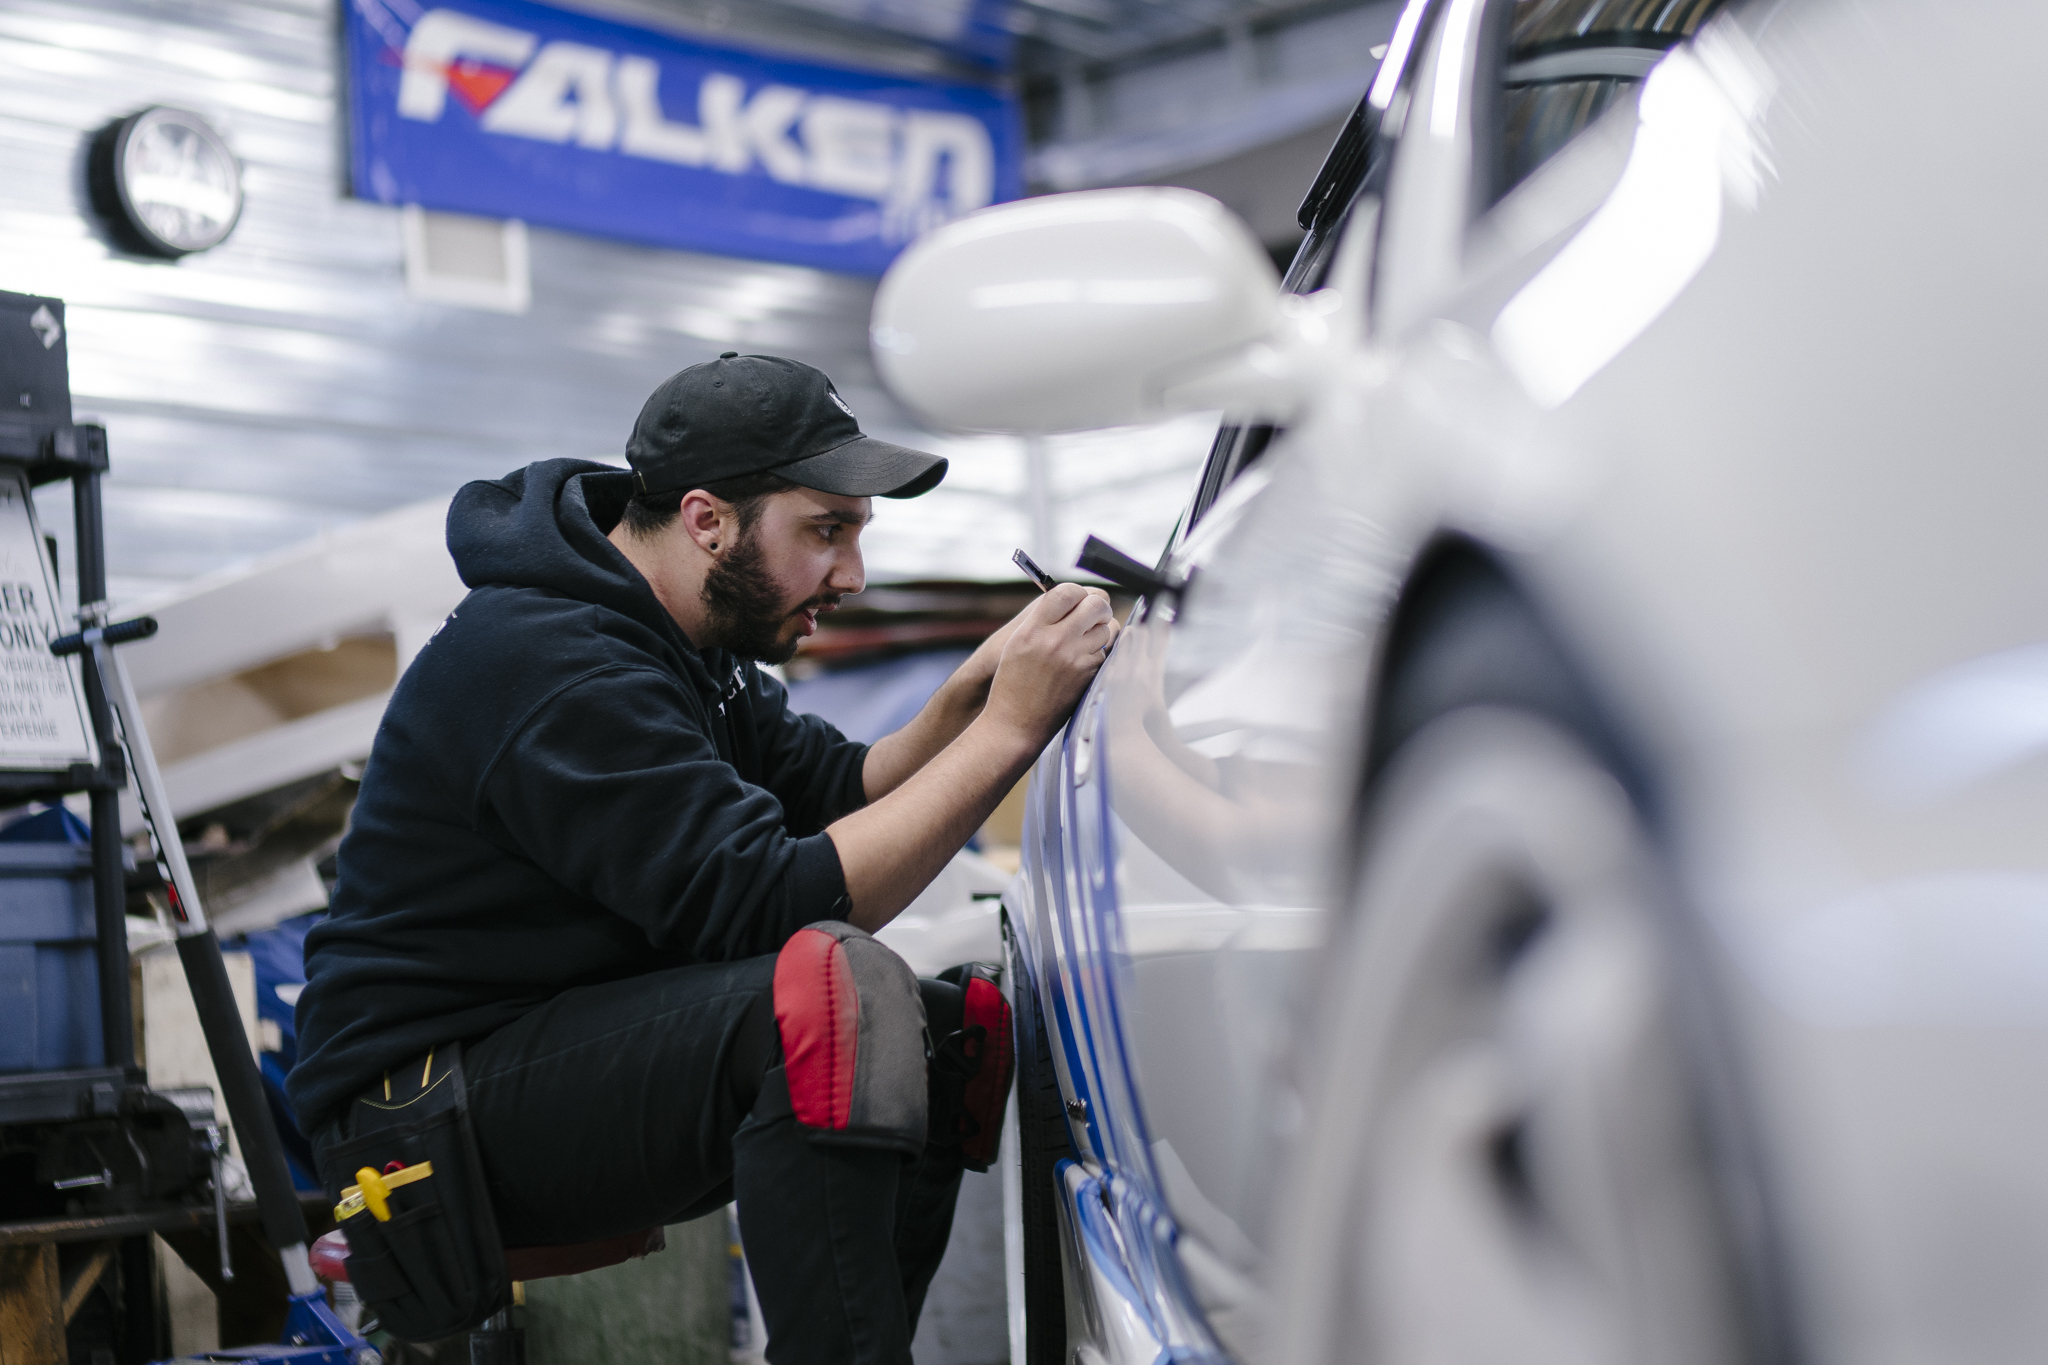
If I'm installing it, and don’t need to reference an instruction booklet, I can get started right away. Where I want to install it is in a clean shop. That's why my shop is as clean as I can keep it. I hate installing in a dirty or dusty shop. I do mobile installs sometimes, so I'm sitting on the floor a lot, and it can compromise the materials. Not only should it be clean, but you want to have good lighting.
Step one is to wash and dry the car. Then have your shop space clean, and have the tools that you're comfortable with. Each installer has their own tool sets they like to use. I have a bunch of different tools that help with the install, and a really good knife that’s comfortable in my hand. That’s actually a big part of it. If I'm upside down or underneath the car I like a knife that has a little bit of weight to it but isn't too heavy. It sounds weird, but those things make a big difference on a good install. You also want a good sharp blade that doesn’t dull every two seconds. Spending the money on your tools is just like that of a mechanic - it’s worth it. I also have good squeegees, and good buffers on the squeegees so they don't scratch the vinyl.
For laying out vinyl and ensuring it all lines up, I have magnets that I use when the car isn’t all fiberglass. Other than that, you can use good quality painters tape. 90% of the time you're improvising on install when it comes to some little things because cars have so many different shapes, and unless you have a perfect 3D-scan and have a full render with exact measurements, you're never going to get it exact, so as a designer and and an installer I look to see what looks best. If it doesn't line up how it's supposed to, I make it look how it should on the car in that situation, and as you do more of them you develop a better eye for it.
There are also some techniques to ensure long-term durability - the most impotant of which is something we call post-heat. You do it with a full vehicle wrap, and you should do it with any vinyl. You post heat it because vinyl has memory designed into it. Using a heat gun and an infrared thermometer, we heat up the vinyl to a certain temperature which kills the stretch memory in it, causing it to stay exactly where it is. It essentially resets the memory of the material to the shape it’s in now.
You also want to ensure your edges are down flat. If one edge is up and it rains, the water gets in there and it will spread. To avoid this, you need to clean around all the edges, and make sure everything is cut the way it needs to be cut. The usage of the vehicle determines some of this as well. For example, if it’s a show car, or a car with ample wheel clearance, I’ll wrap right around the edges with a big cut margin to go all the way around the panel, whereas on my drift car, I’ll cut it short at the wheel arches because I’m likely to rub tire or fling burnt rubber into those edges, which would compromise the material.
At the end of the job I always try to appreciate the overall result and really try to make sure the client is more than happy with how things went, or what they turned out to be. My number one goal is to make sure the client’s vision is executed right and there isn't anything left on the table. It's their car and their hard work, so it should be appreciated in all aspects from anyone involved.
If you’re looking for examples of Design Shop REACT automotive work, be sure to check them out on Instagram at @designshopreact. If you're a corporate head and you want to see the more professional client side, visit the website a DesignShopReact.com. Sending Martino a DM on Instagram is the best way to reach him, and if he doesn't answer there you can always shoot him an email at This email address is being protected from spambots. You need JavaScript enabled to view it.. Don’t forget to mention where you heard about Design Shop REACT!
Photography by Adam Gordon, Mike Martino, Santiago Gomez, Alex Grant
Related Articles
 Shop Tour: RAYS Wheels Head Office and Showroom
 ISC Suspension Ford Mustang Wheel Spacers
 Dress Up Bolts Honda S2000 Hardware Kits
 MCP Pre-Preg Carbon Fiber Spoiler for Tesla Model 3/Model S
")
") PASMAG #166 (Tuner Handbook + Style)
PASMAG #166 (Tuner Handbook + Style)