
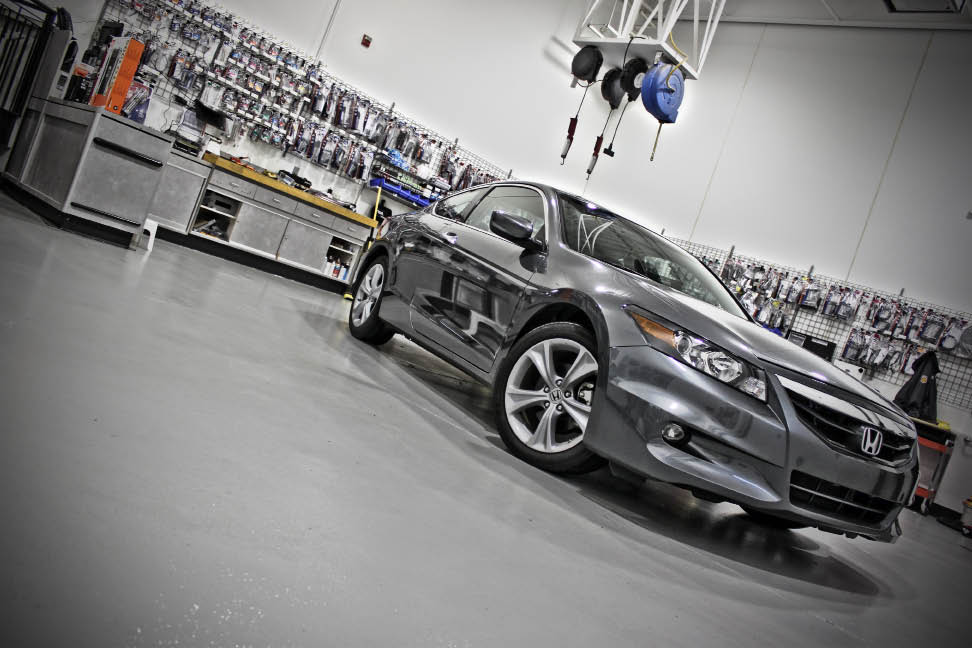
Project: Honda Remix 2.0 continues with the audio install on the second of two cars provided from Honda. This 2012 Accord will soon have some hop in its step and will greatly benefit a stellar audio upgrade from JBL and Bazooka, installed by our friends at Geek Squad and Best Buy.
Products:
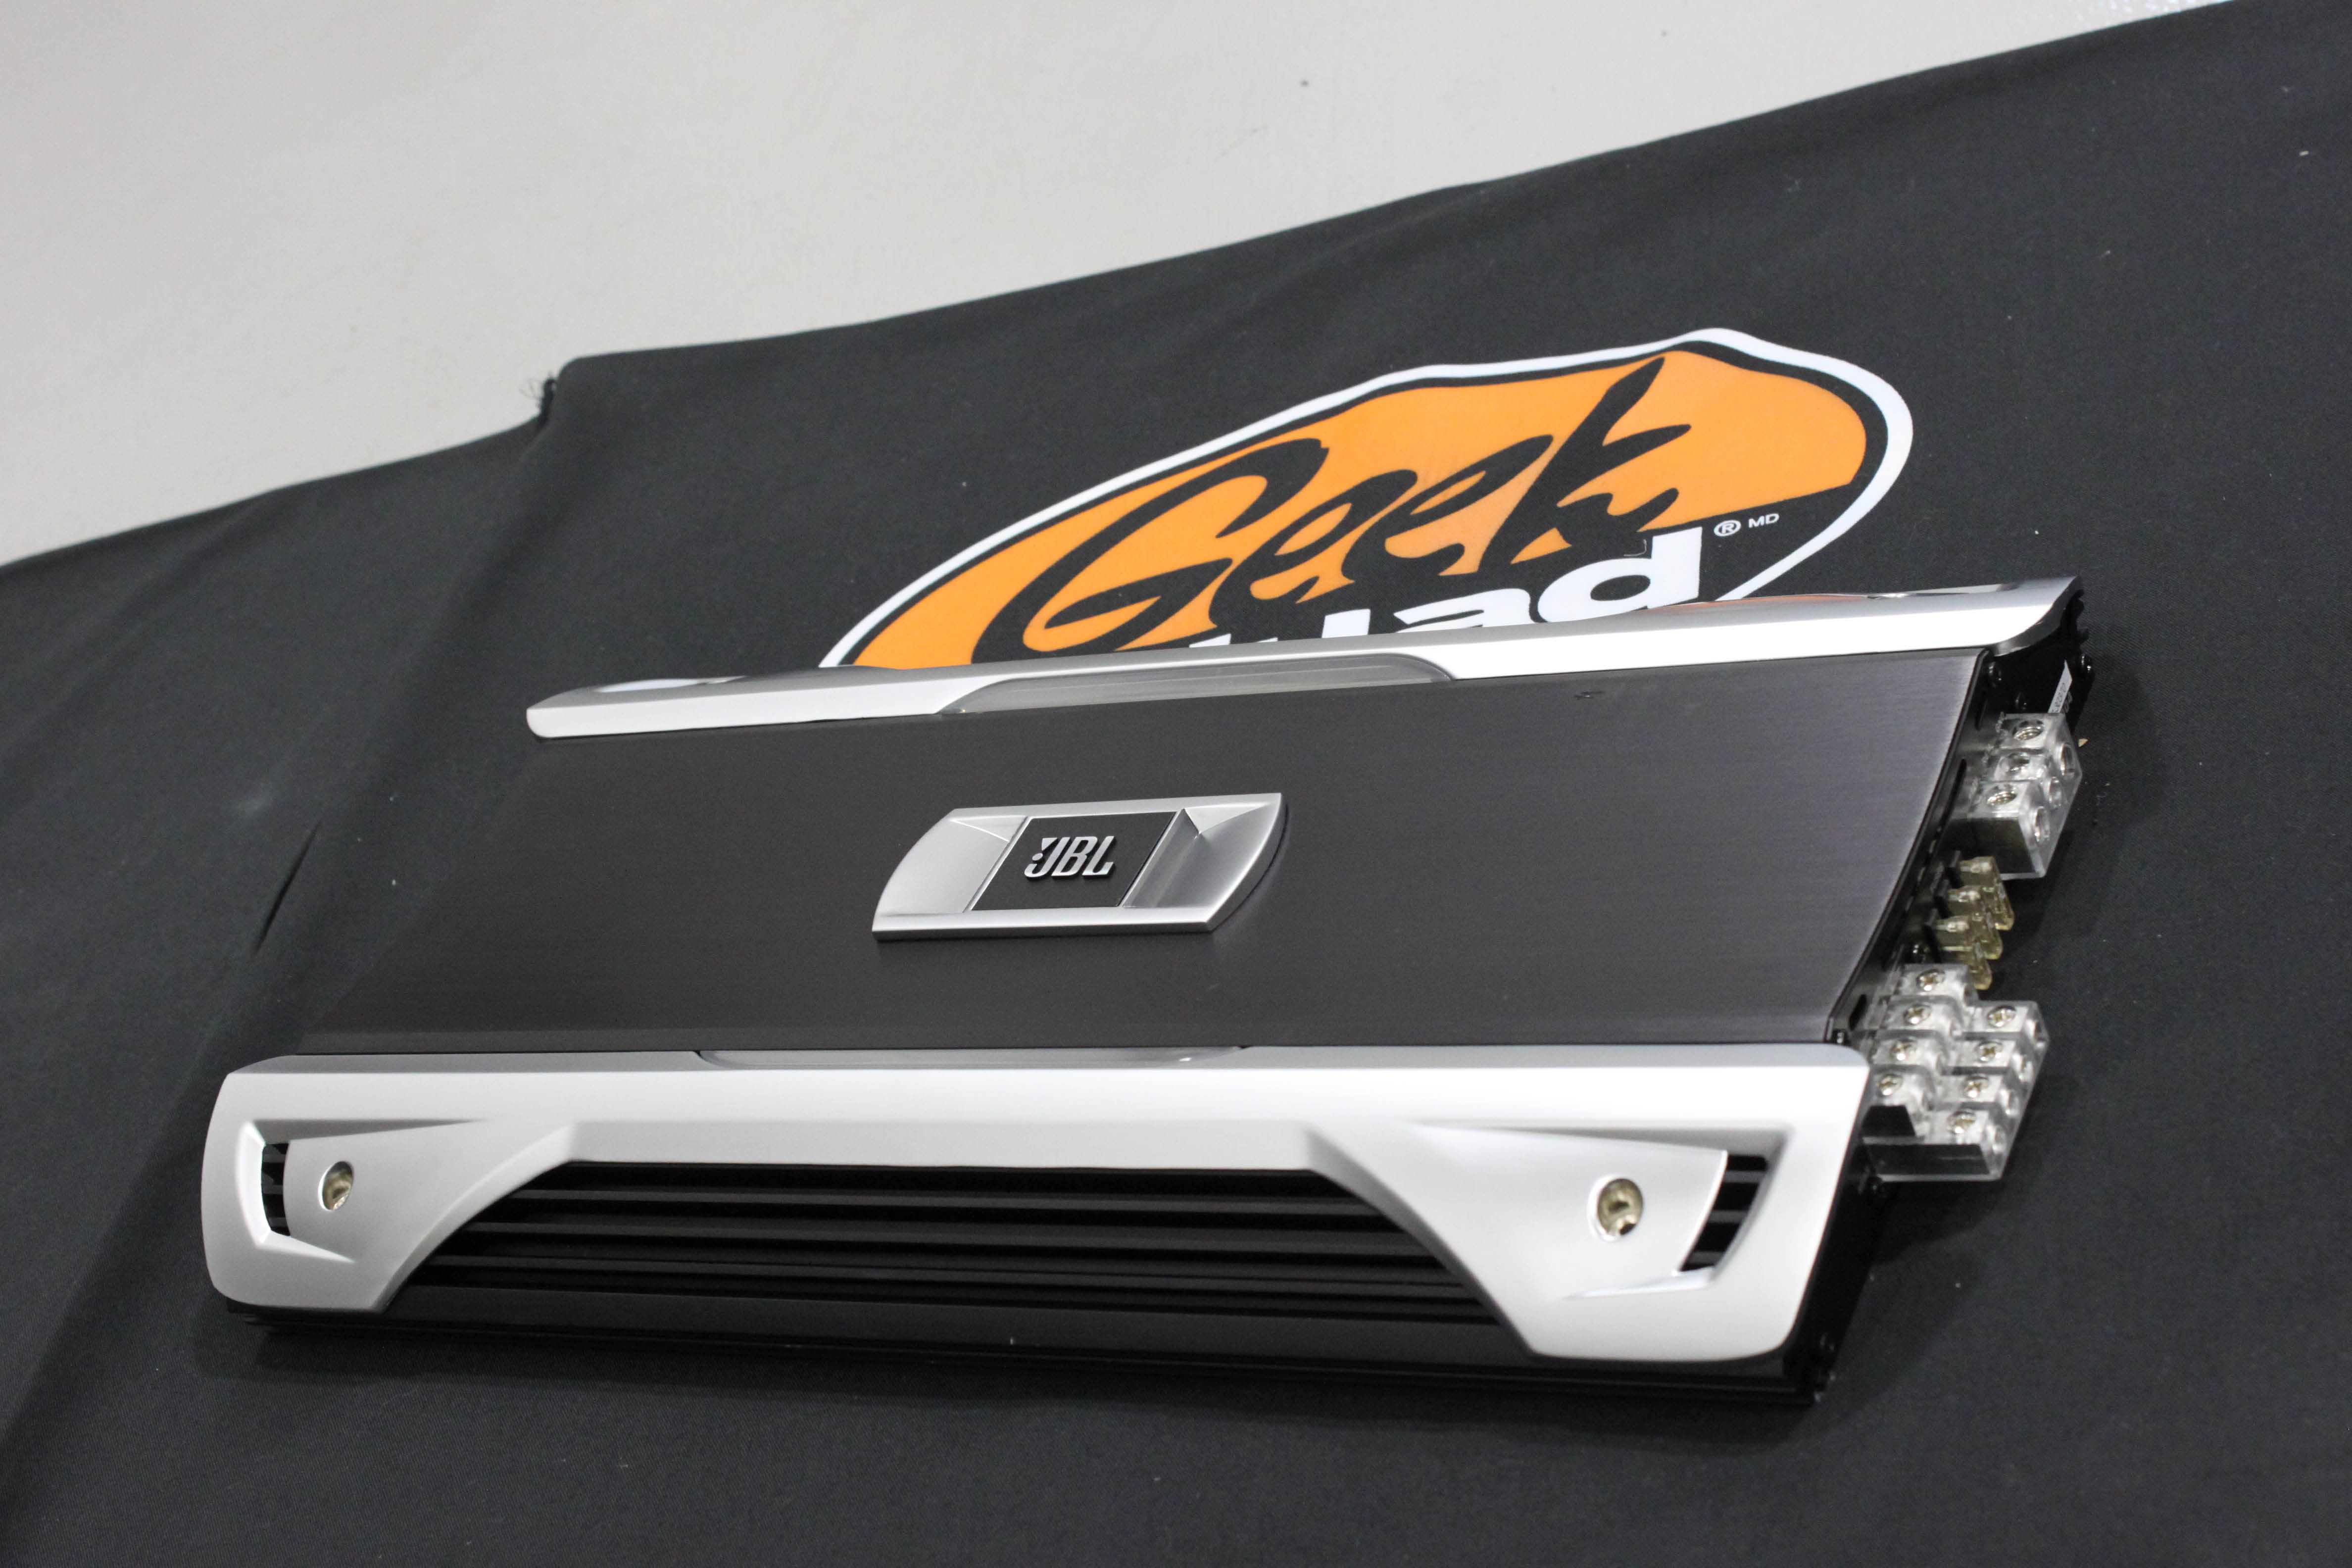
JBL GTO1004 600-Watt, 4-channel, full range amplifier with variable electronic crossover & bass boost
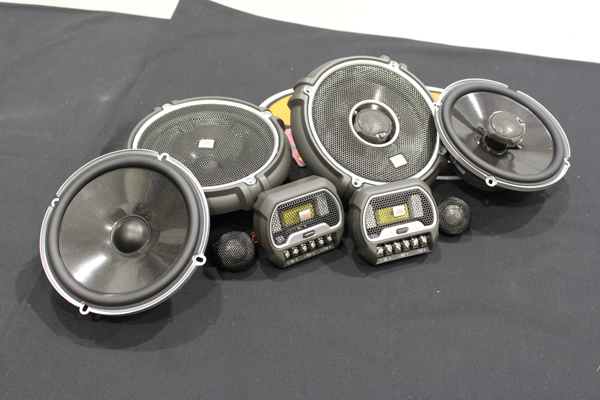
JBL P660C 6-1/2" 2-Way Component Speaker System
JBL GTO628 6-1/2" 2-Way Loudspeaker
Stinger 1-Farad Power Capacitor With Digital Voltmeter
Bazooka BTA10100FHC 10" Amplified Basstube
iConnects USB Car Charger Kit
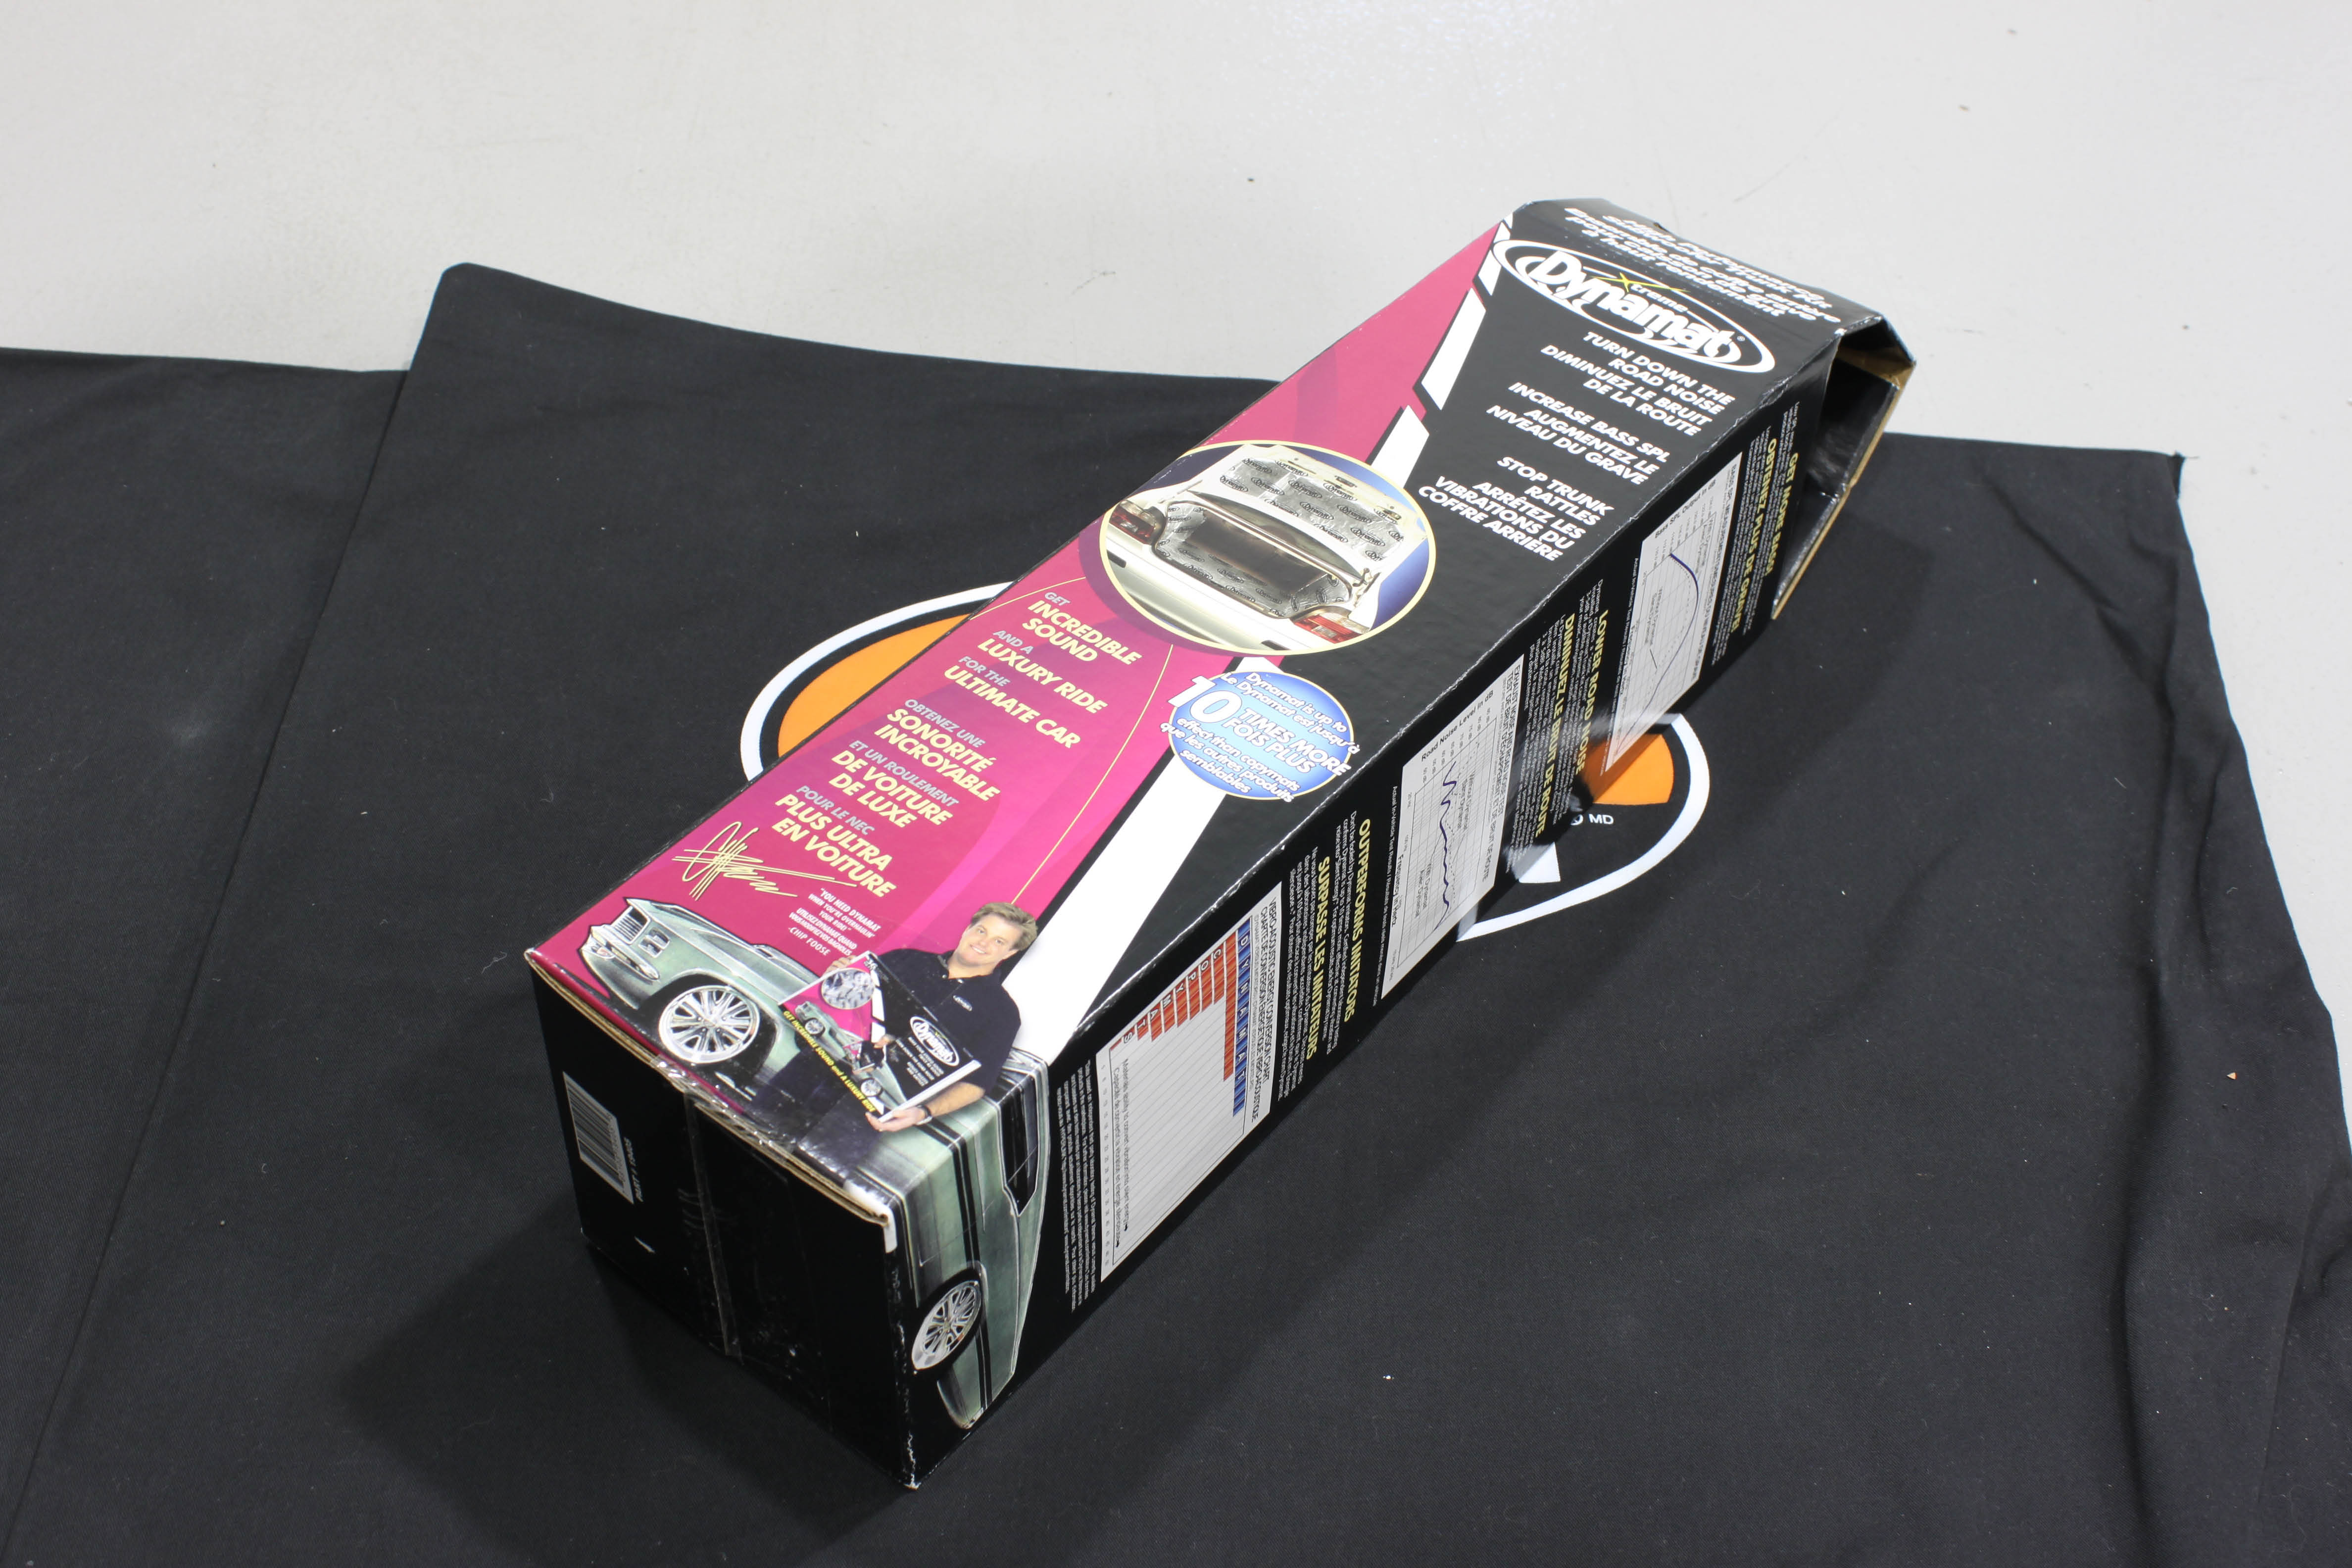
Dynamat Trunk Kit
Stinger Wire Kit With RCA
Stinger Pro 3 17' RCA Interconnect Cable
PAC Audio SOEM-4 Line Output Converter
Best Kits BKSAHC634 Speaker Adapter Pair for 6 1/2
 |
 |
 |

Plan
The first real step in any build is to plan everything. Where you want to mount an amp, sub enclosure (or Basstube), run cables in the engine bay, everything. When you have a concrete plan about how it should be done then get to it!
Power Cable
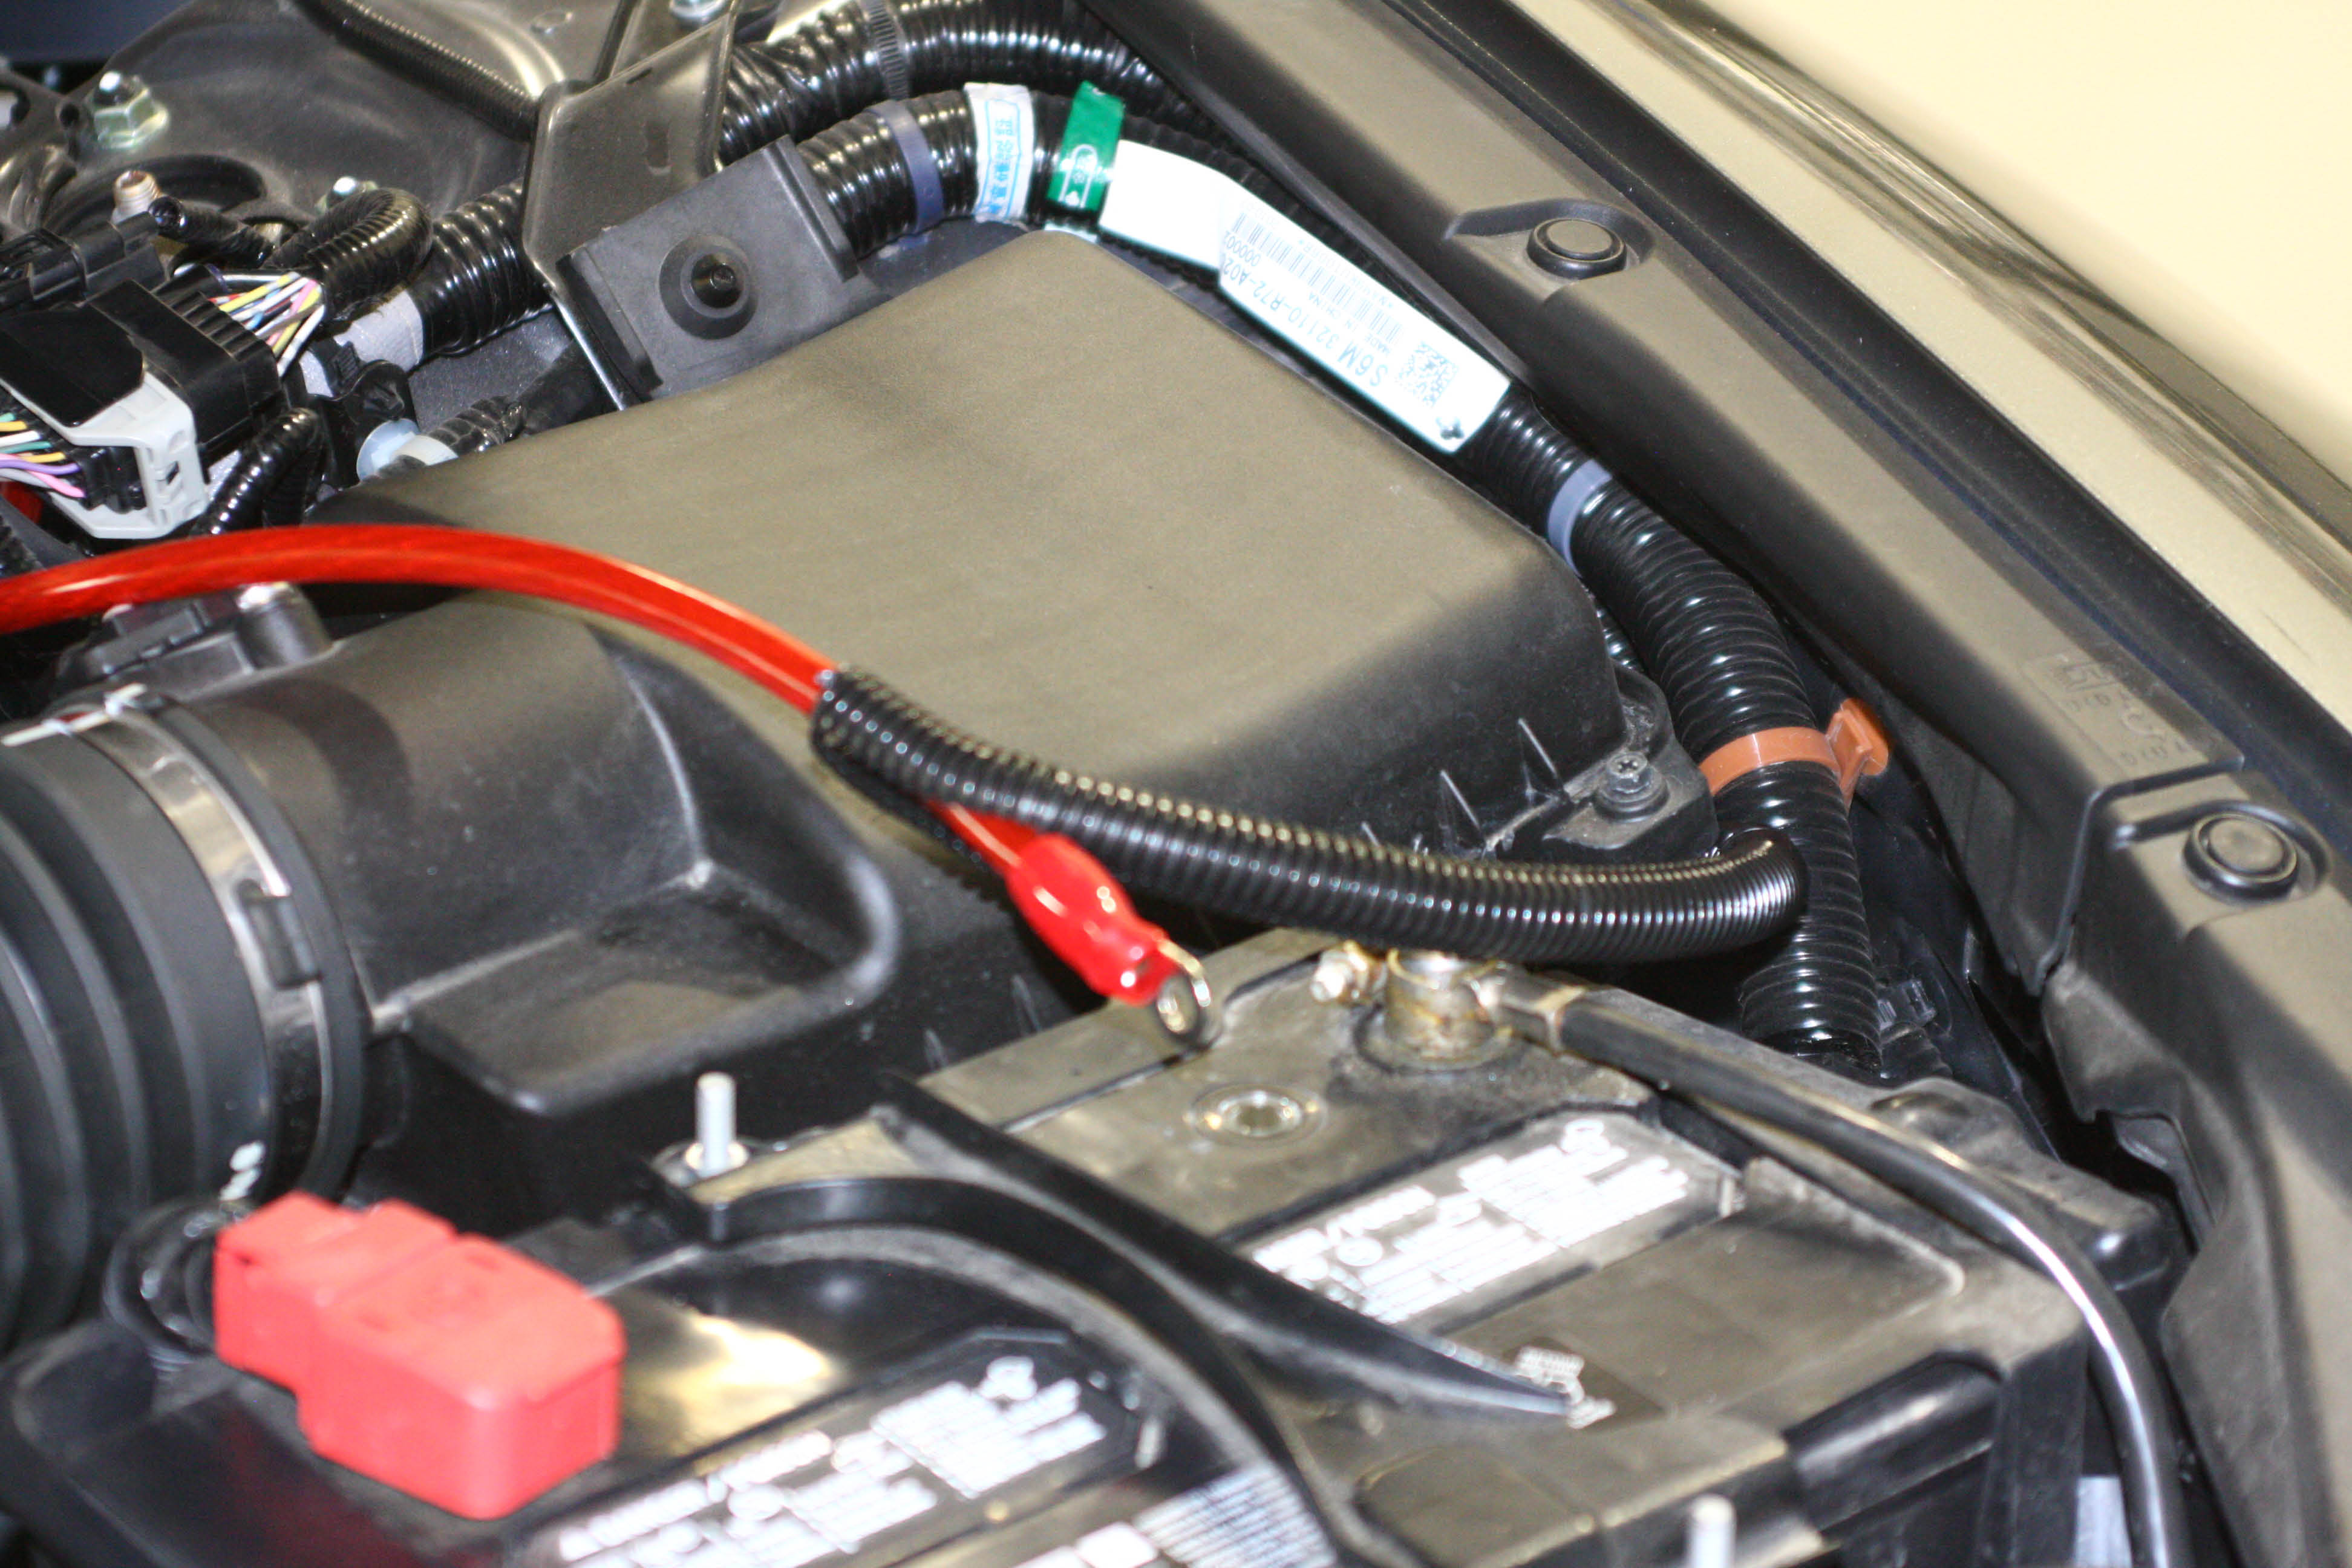
1 – Mount the fuse holder to a location within 18-inches of the battery. Rout one cable to battery (don’t hook it up yet) and the other through a firewall grommet into the cabin.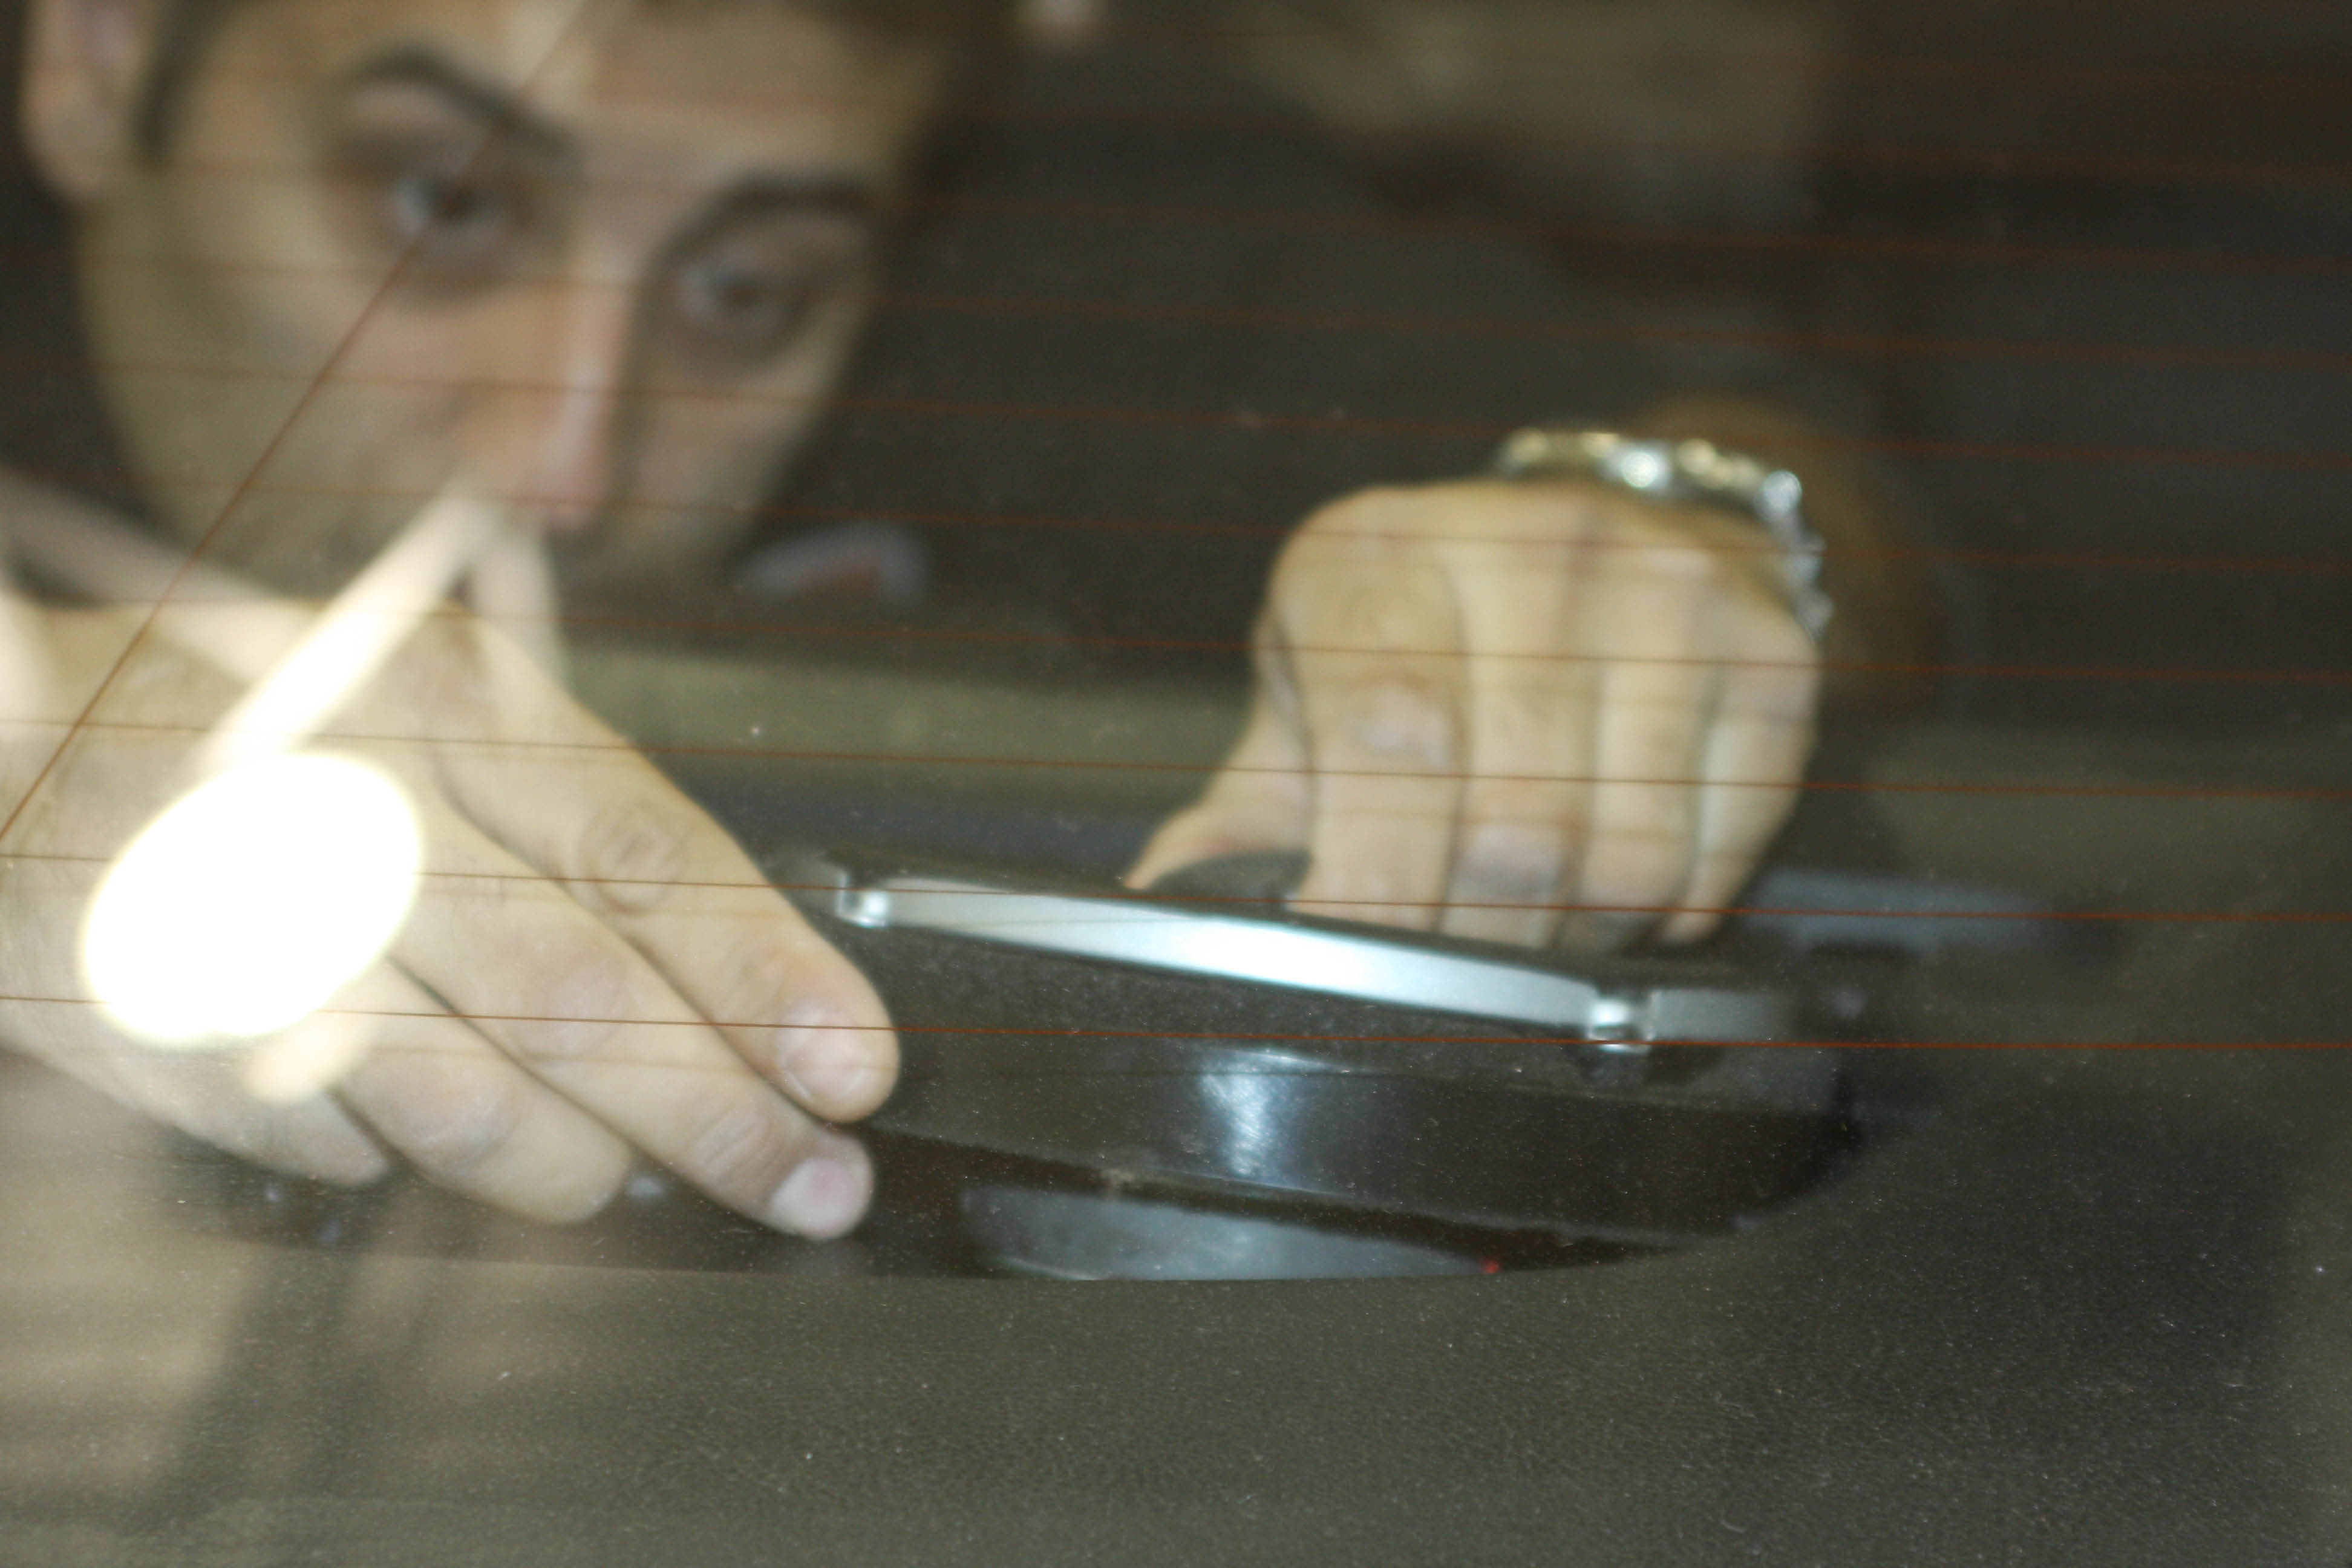
2 – With the cable through the firewall it’s time to run the cable under the lower dash, carpet, doorsill and back seat, which will finally get you to the trunk.
PAC Line Output Converter (steps 3 and 4 can all go together as one big ass step)
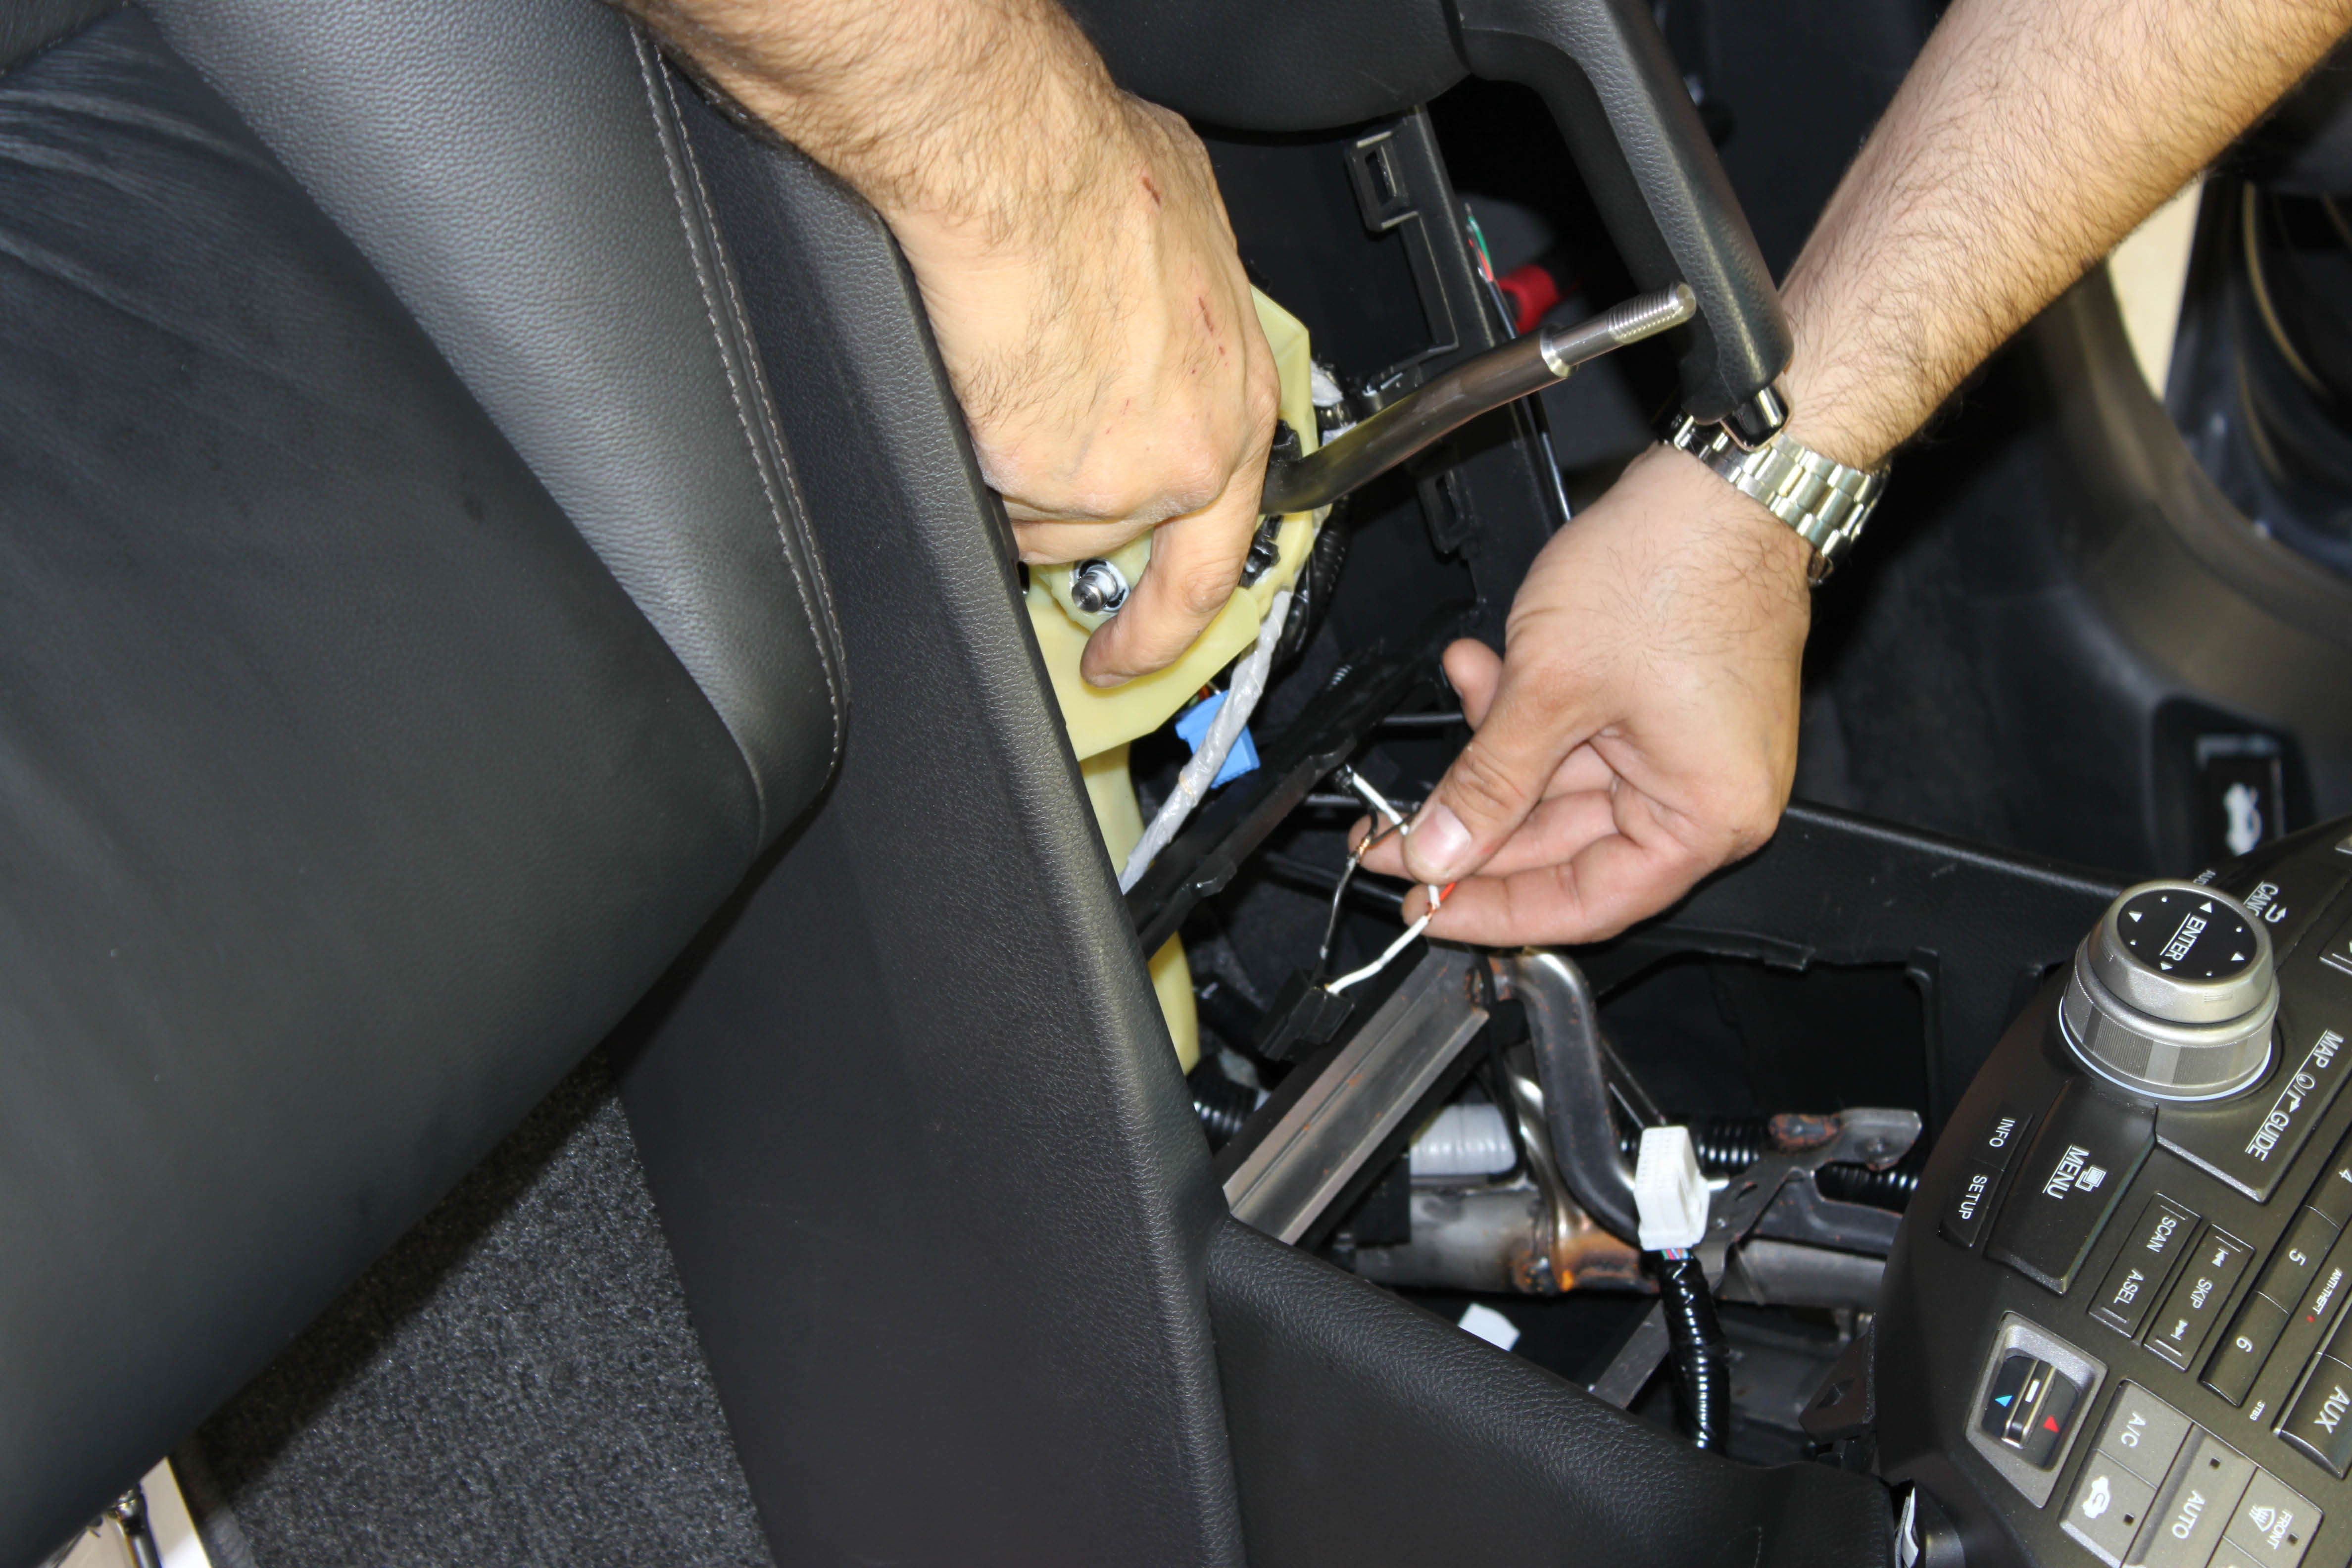
3 – Remove glove box (where the SOEM-4 will be mounted), locate OEM amplifier speaker wiring harness, and power wire and subwoofer speaker cable. Attach SOEM-4 power to OEM wire and ground to chassis.
4 – Connect OEM speaker outputs to SOEM-4 speaker inputs. Attach 2 sets of Stinger Pro 3 RCAs to the SOEM-4 outputs, attach amp remote wire and route (with extended subwoofer speaker cable) to the trunk on the opposite side of the power cable.
iConnects USB Car Charger
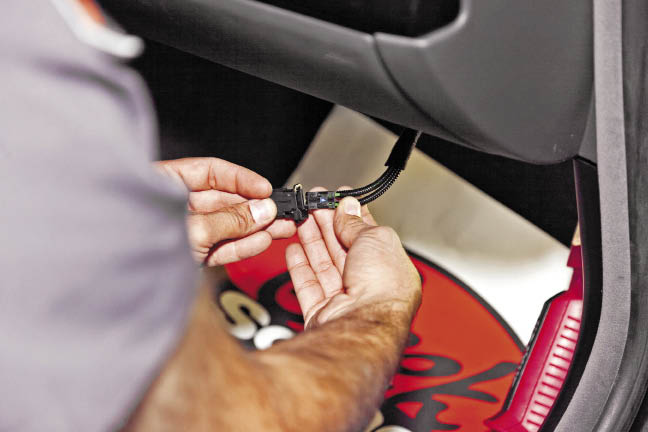
5 – Remove center console pocket and drill a hole in the back of the pocket for the iConnects USB cable to run through. Using the power from the cigarette lighter attach the power wire from the USB and then ground negative to chassis. Reinstall pocket and mount USB cable using supplied screws.
Door
6 – Remove interior door skins, OEM A-pillar tweeter pod and OEM speaker
7 – Peel away the moisture barrier to expose bare metal and apply more of that shiny Dynamat!
8 – With an increase in speaker size a Best Kits 6.5-inch speaker adapter was installed to the OEM speaker location. Connect the speaker cables to the back of the new JBL P660C mid, mount to the adapter and reapply the moisture barrier.
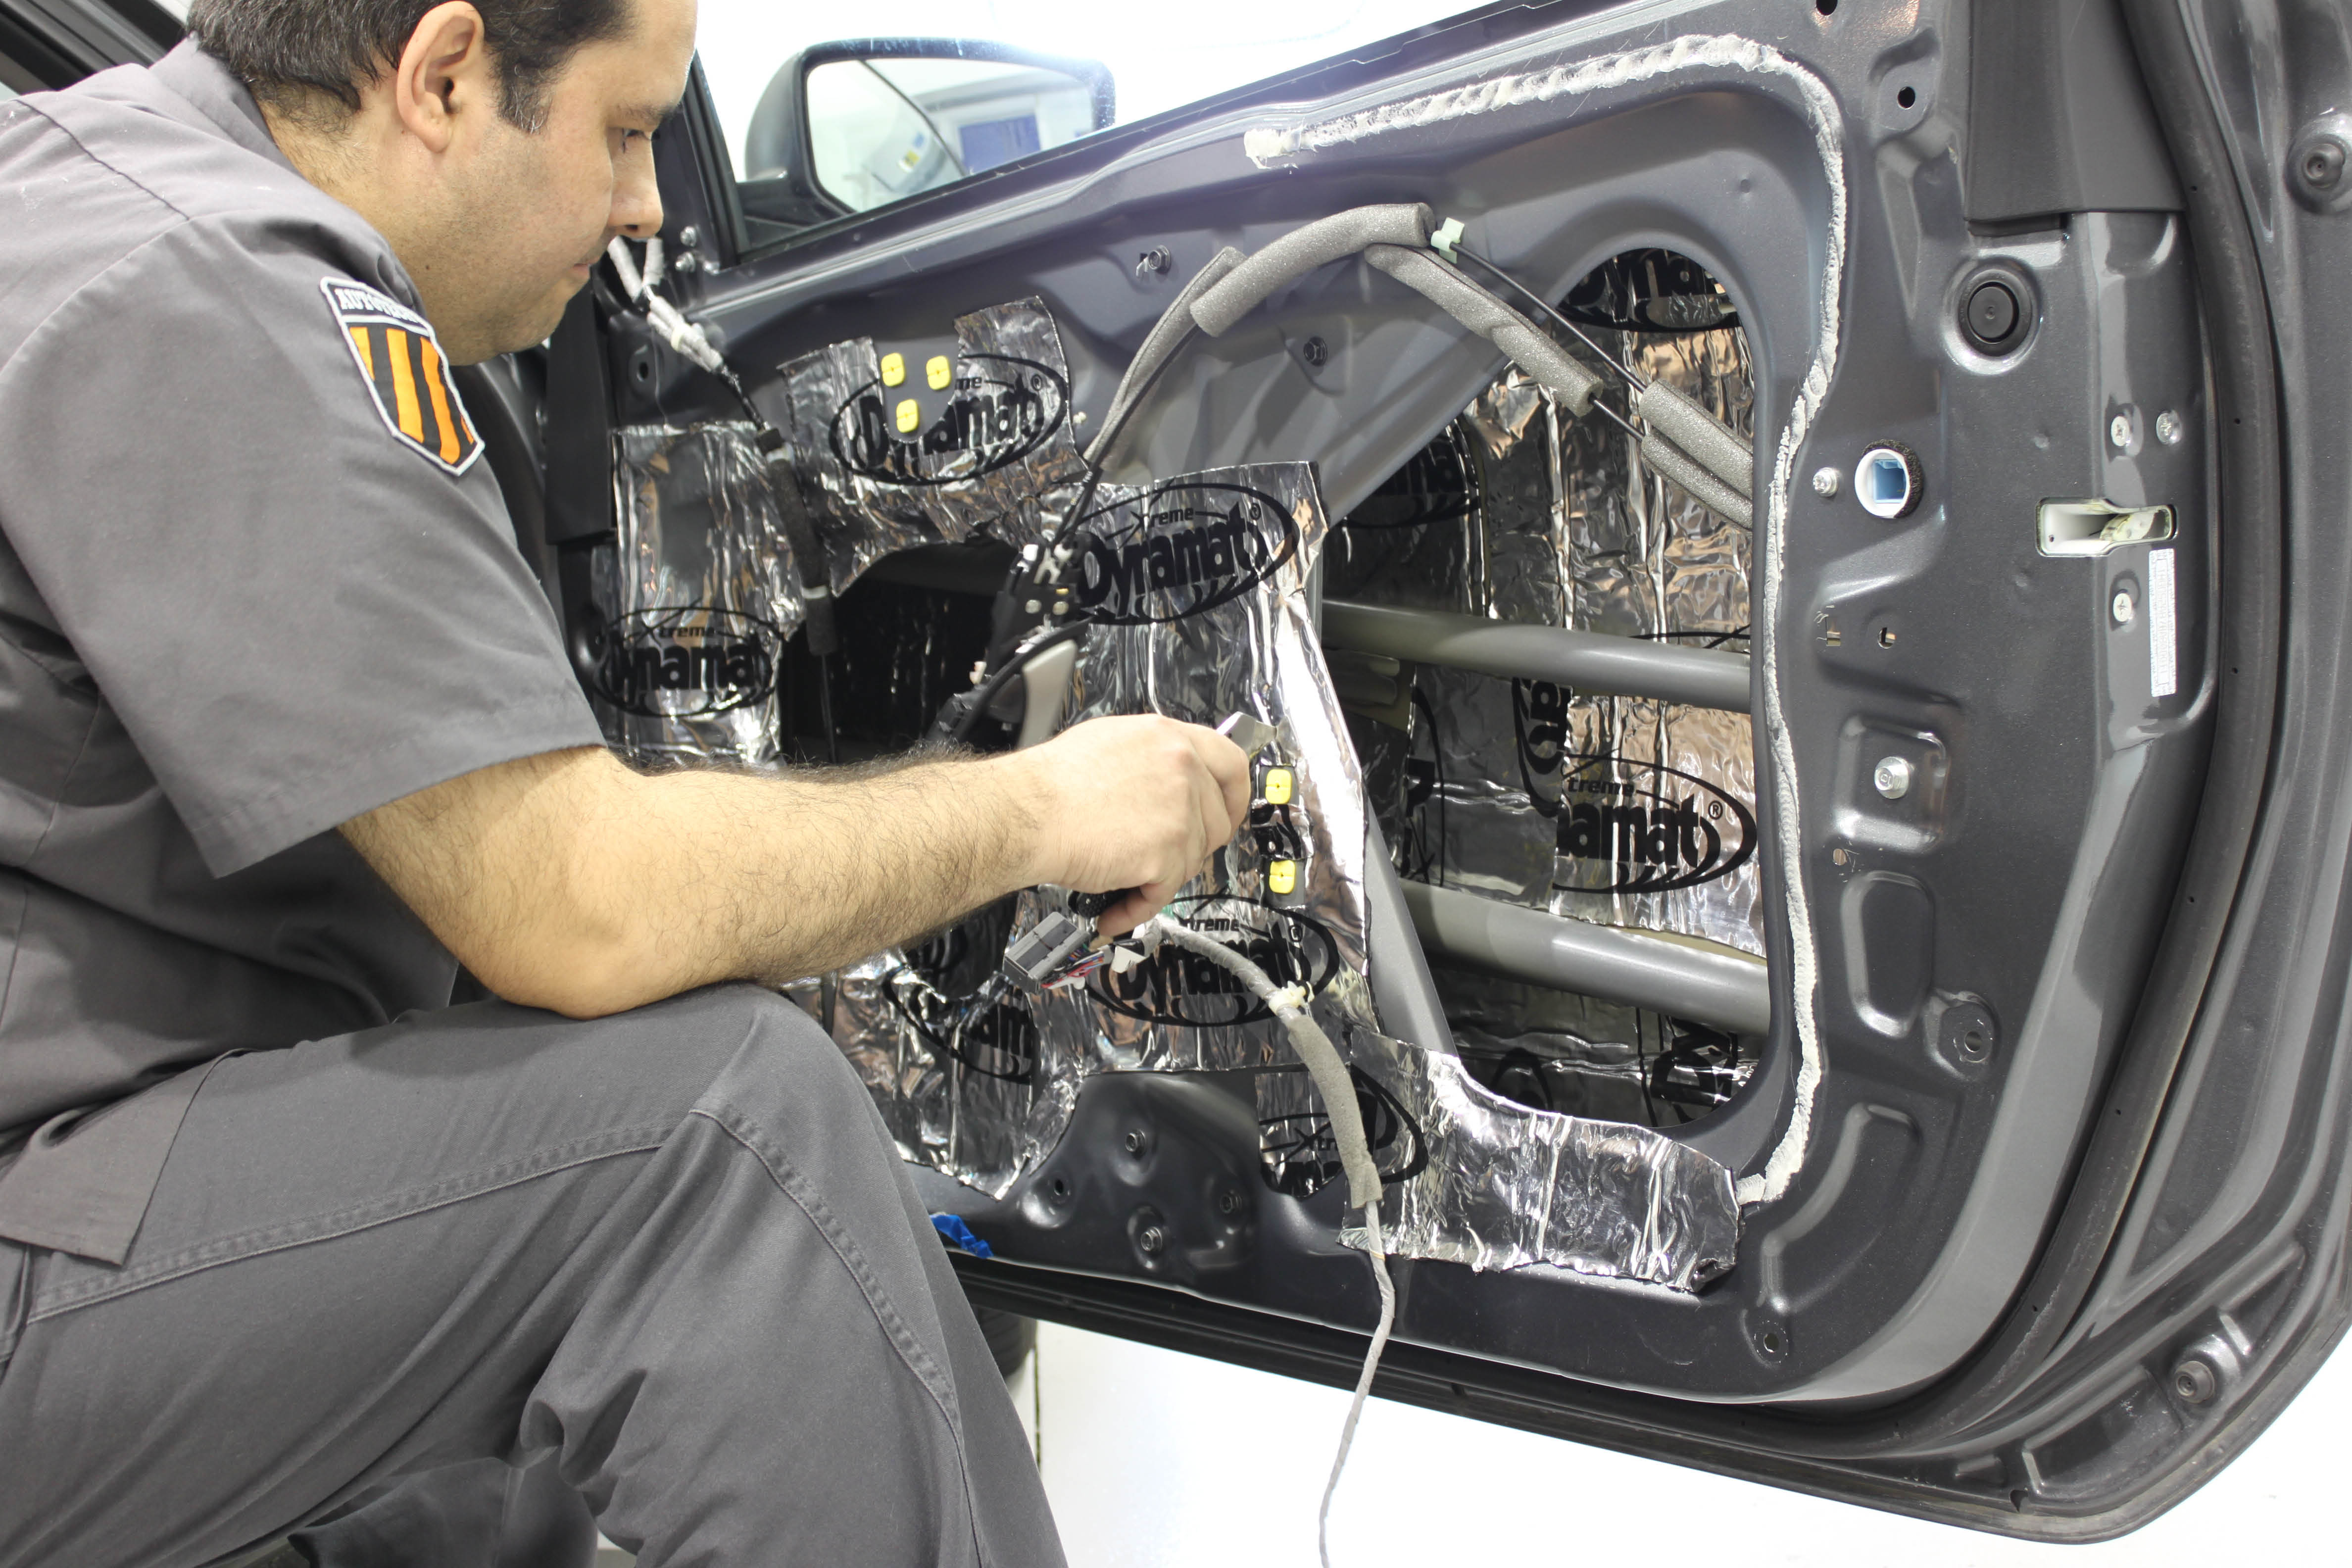
9 – Carefully pry the OEM tweeter from the pod to make way for the JBL P660C tweeter upgrade, which in this case was given some hot glue to keep in place. Connect the speaker cables to the tweeter before you reinstall the pod to the A pillar.
10 – Mount the crossover and run all speakers cables from behind the door to the outputs on the crossover, and inputs to the factory speaker cables for a neat and tidy install.
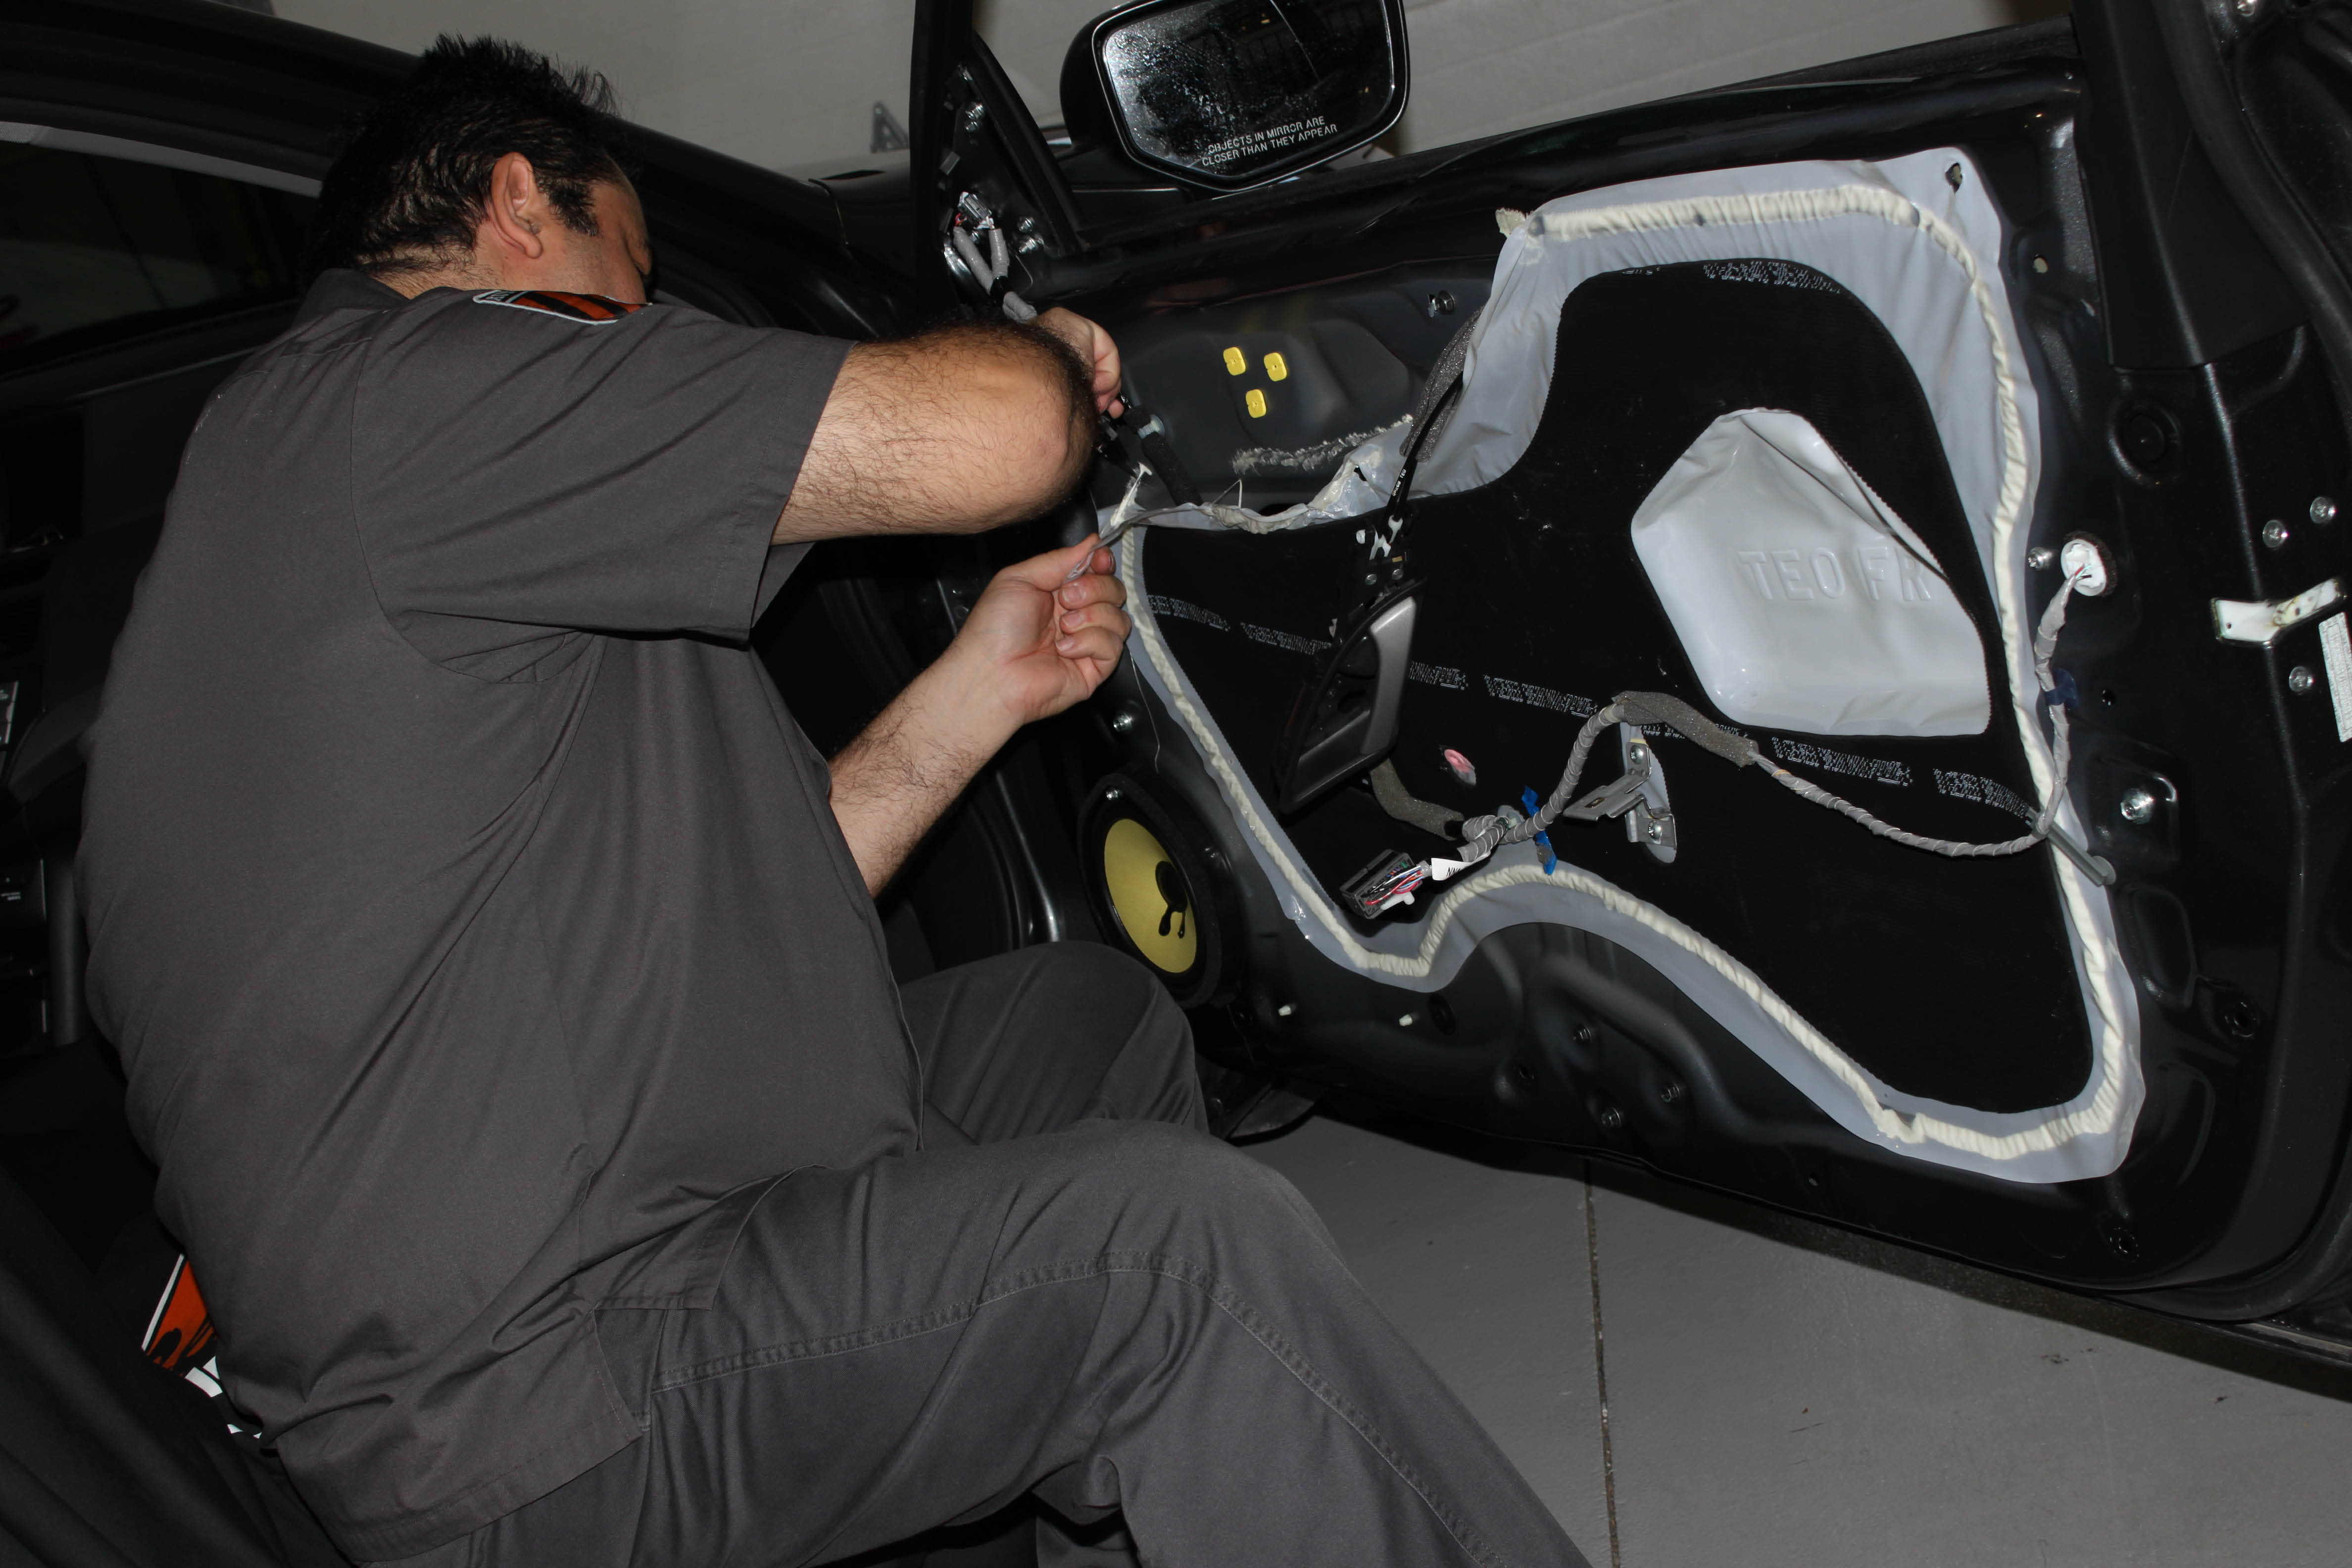
11 – Remove the speaker grills from the rear deck and unscrew OEM speakers.
12 – Install another Best Kits 6.5-inch adapter to the new JBL GTO628 speakers, mount to the rear deck, drop in the grilles and connect speaker cables from the JBLs to the factory speaker cables.
 |
 |
 |
Dynamat application (Trunk)
13 – Remove trim panels, carpet, padding and trunk lid liner from trunk.
14 – Lay out the Dynamat sheets in the trunk and inside the trunk lid to cover as much bare metal as possible. Trim where needed.
15 (Finished shot) – Road noise and vibration is no longer a problem, and it will also keep food and beverages warm!
 Ground connection (step 16 & 17 will have to be together)
16 – With the JBL amp and capacitor mounted measure the length of your route from the capacitor to the ground contact area, cut the length in some Stinger black 4-gauge and attach another ring connector.
17 – To create a ground connection, locate an area of the car chassis close to where the amp will be mounted. Check for clearance on the other side to make sure you don’t drill into something. Clear? Sand down a small area to bare metal, drill a hole or use a self-tapping screw to secure the ground cable’s ring connector to the chassis.
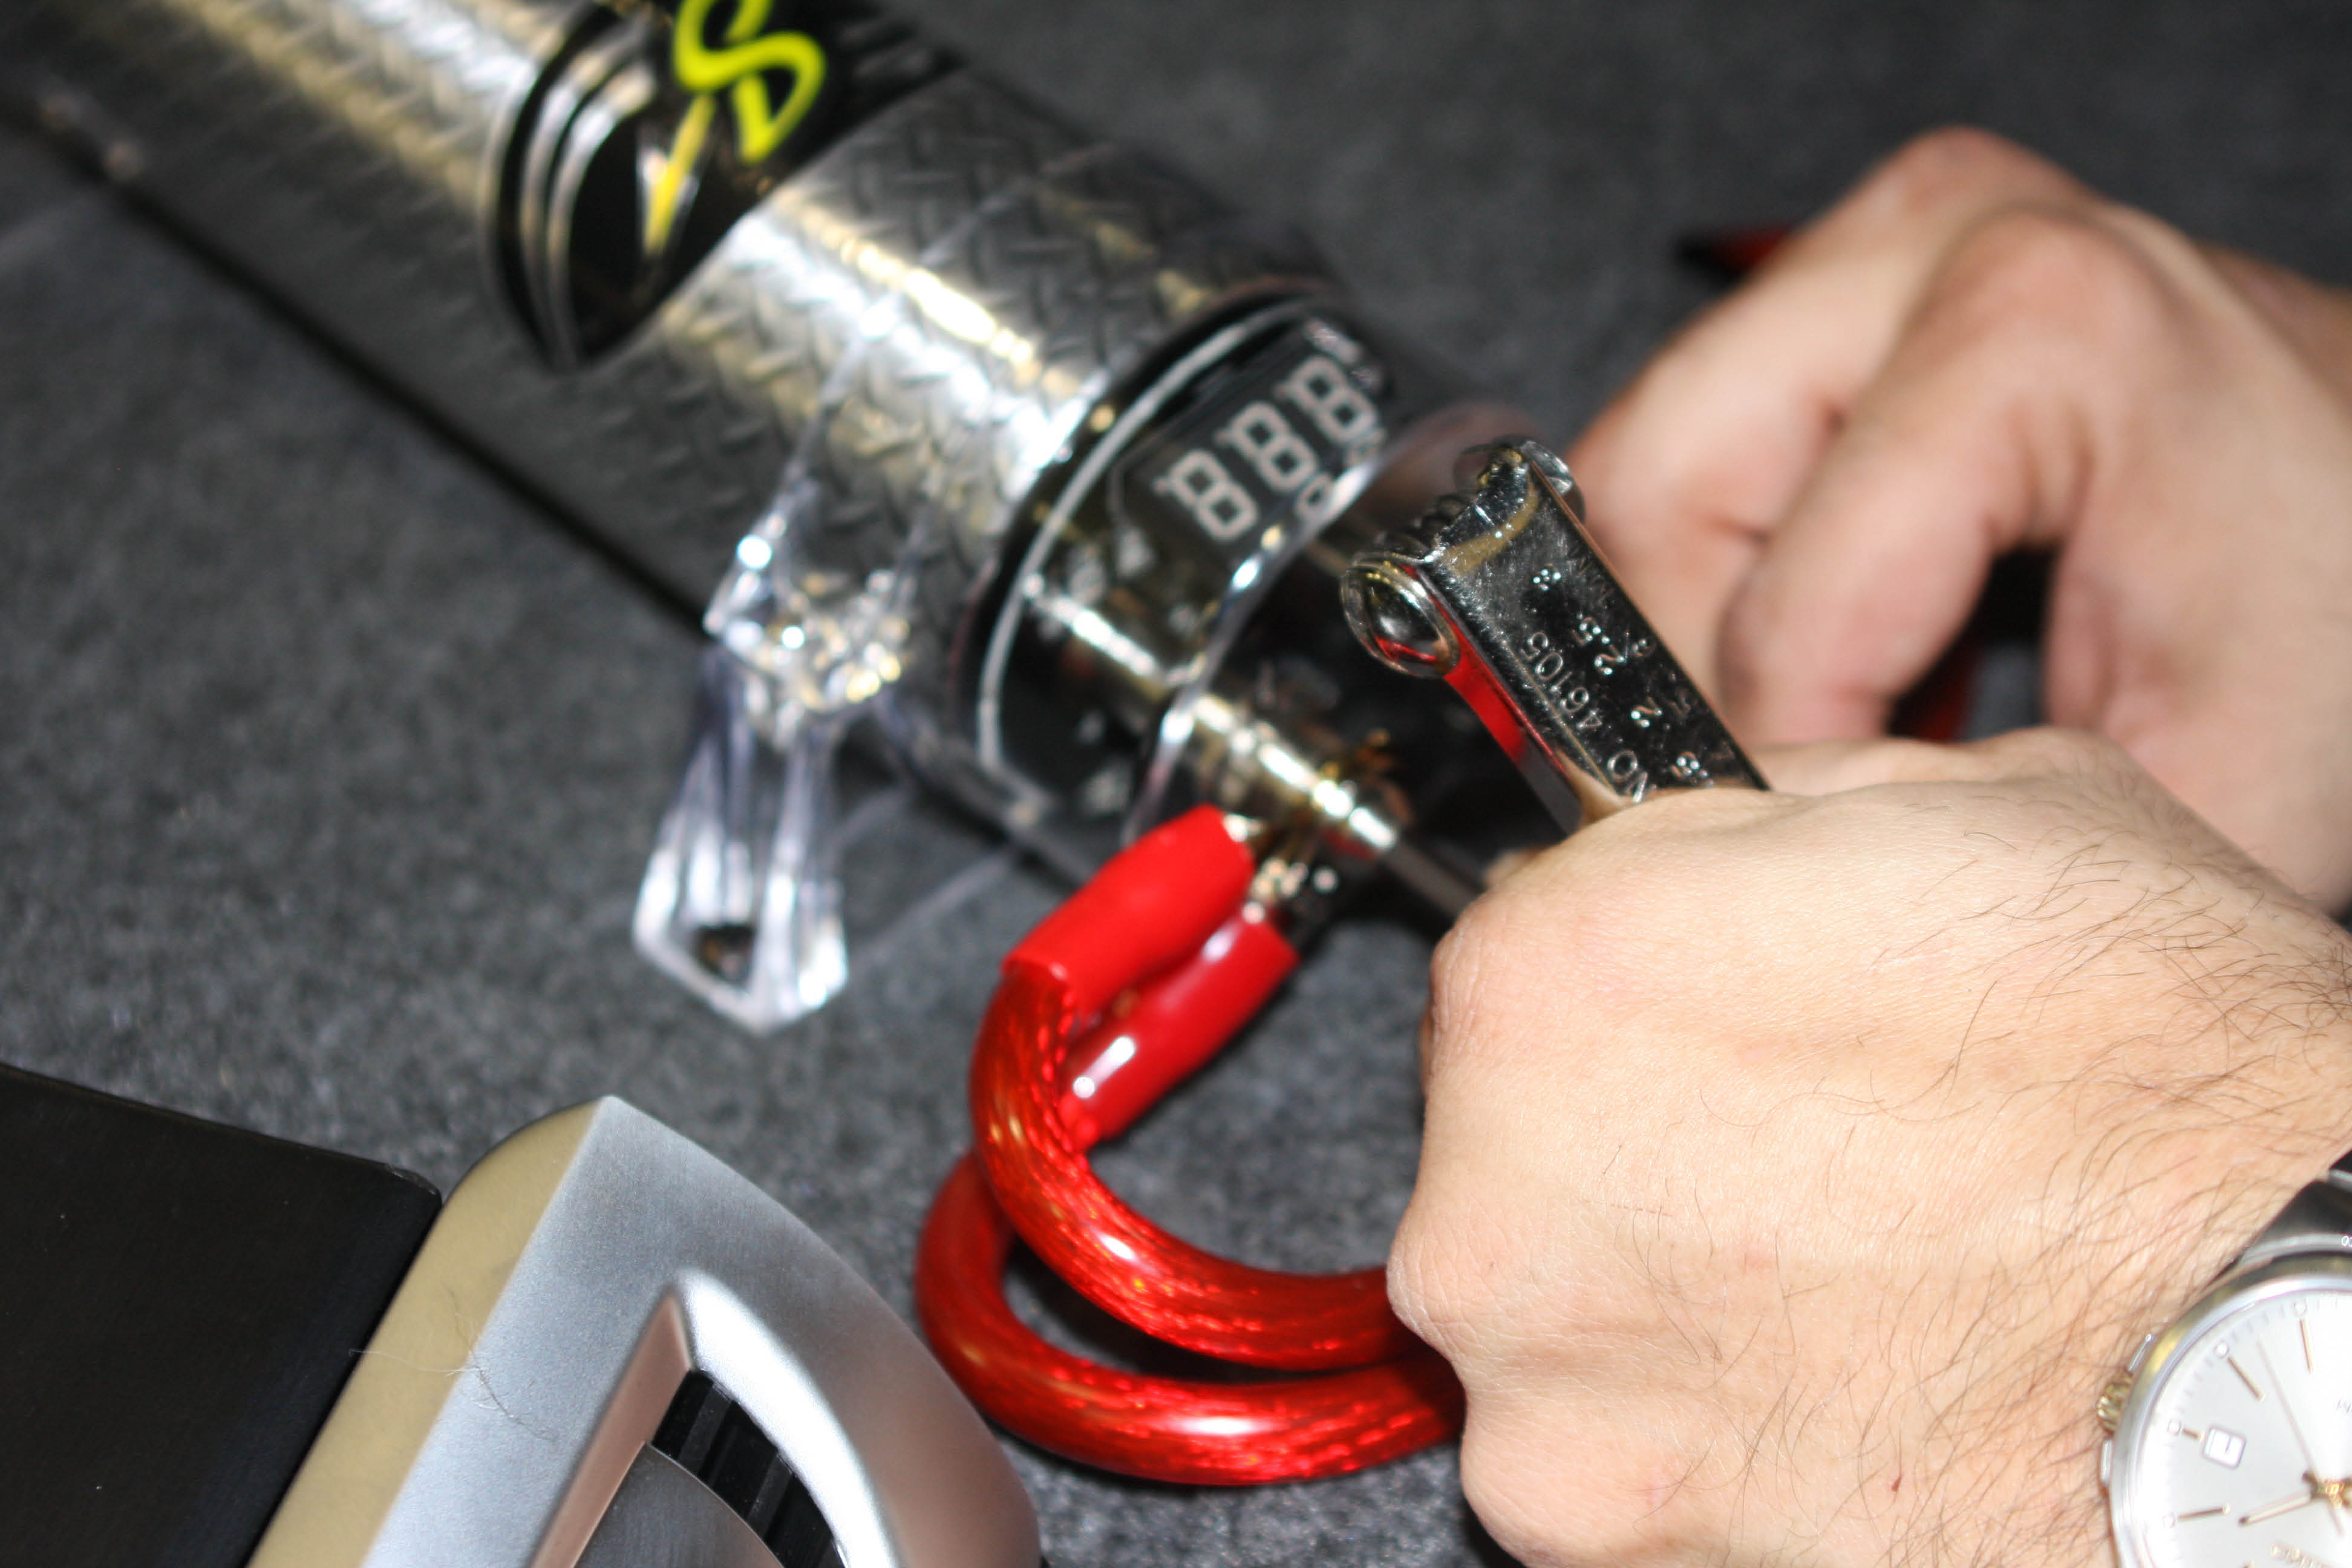
Stinger Capacitor
18 – Attach the power and ground cables to the corresponding posts on the Stinger Capacitor and run corresponding cables from the capacitor straight to the amp power and ground inputs. Attach RCA cables, remote cable, and speaker cables to the amp.
 |
 |
 |
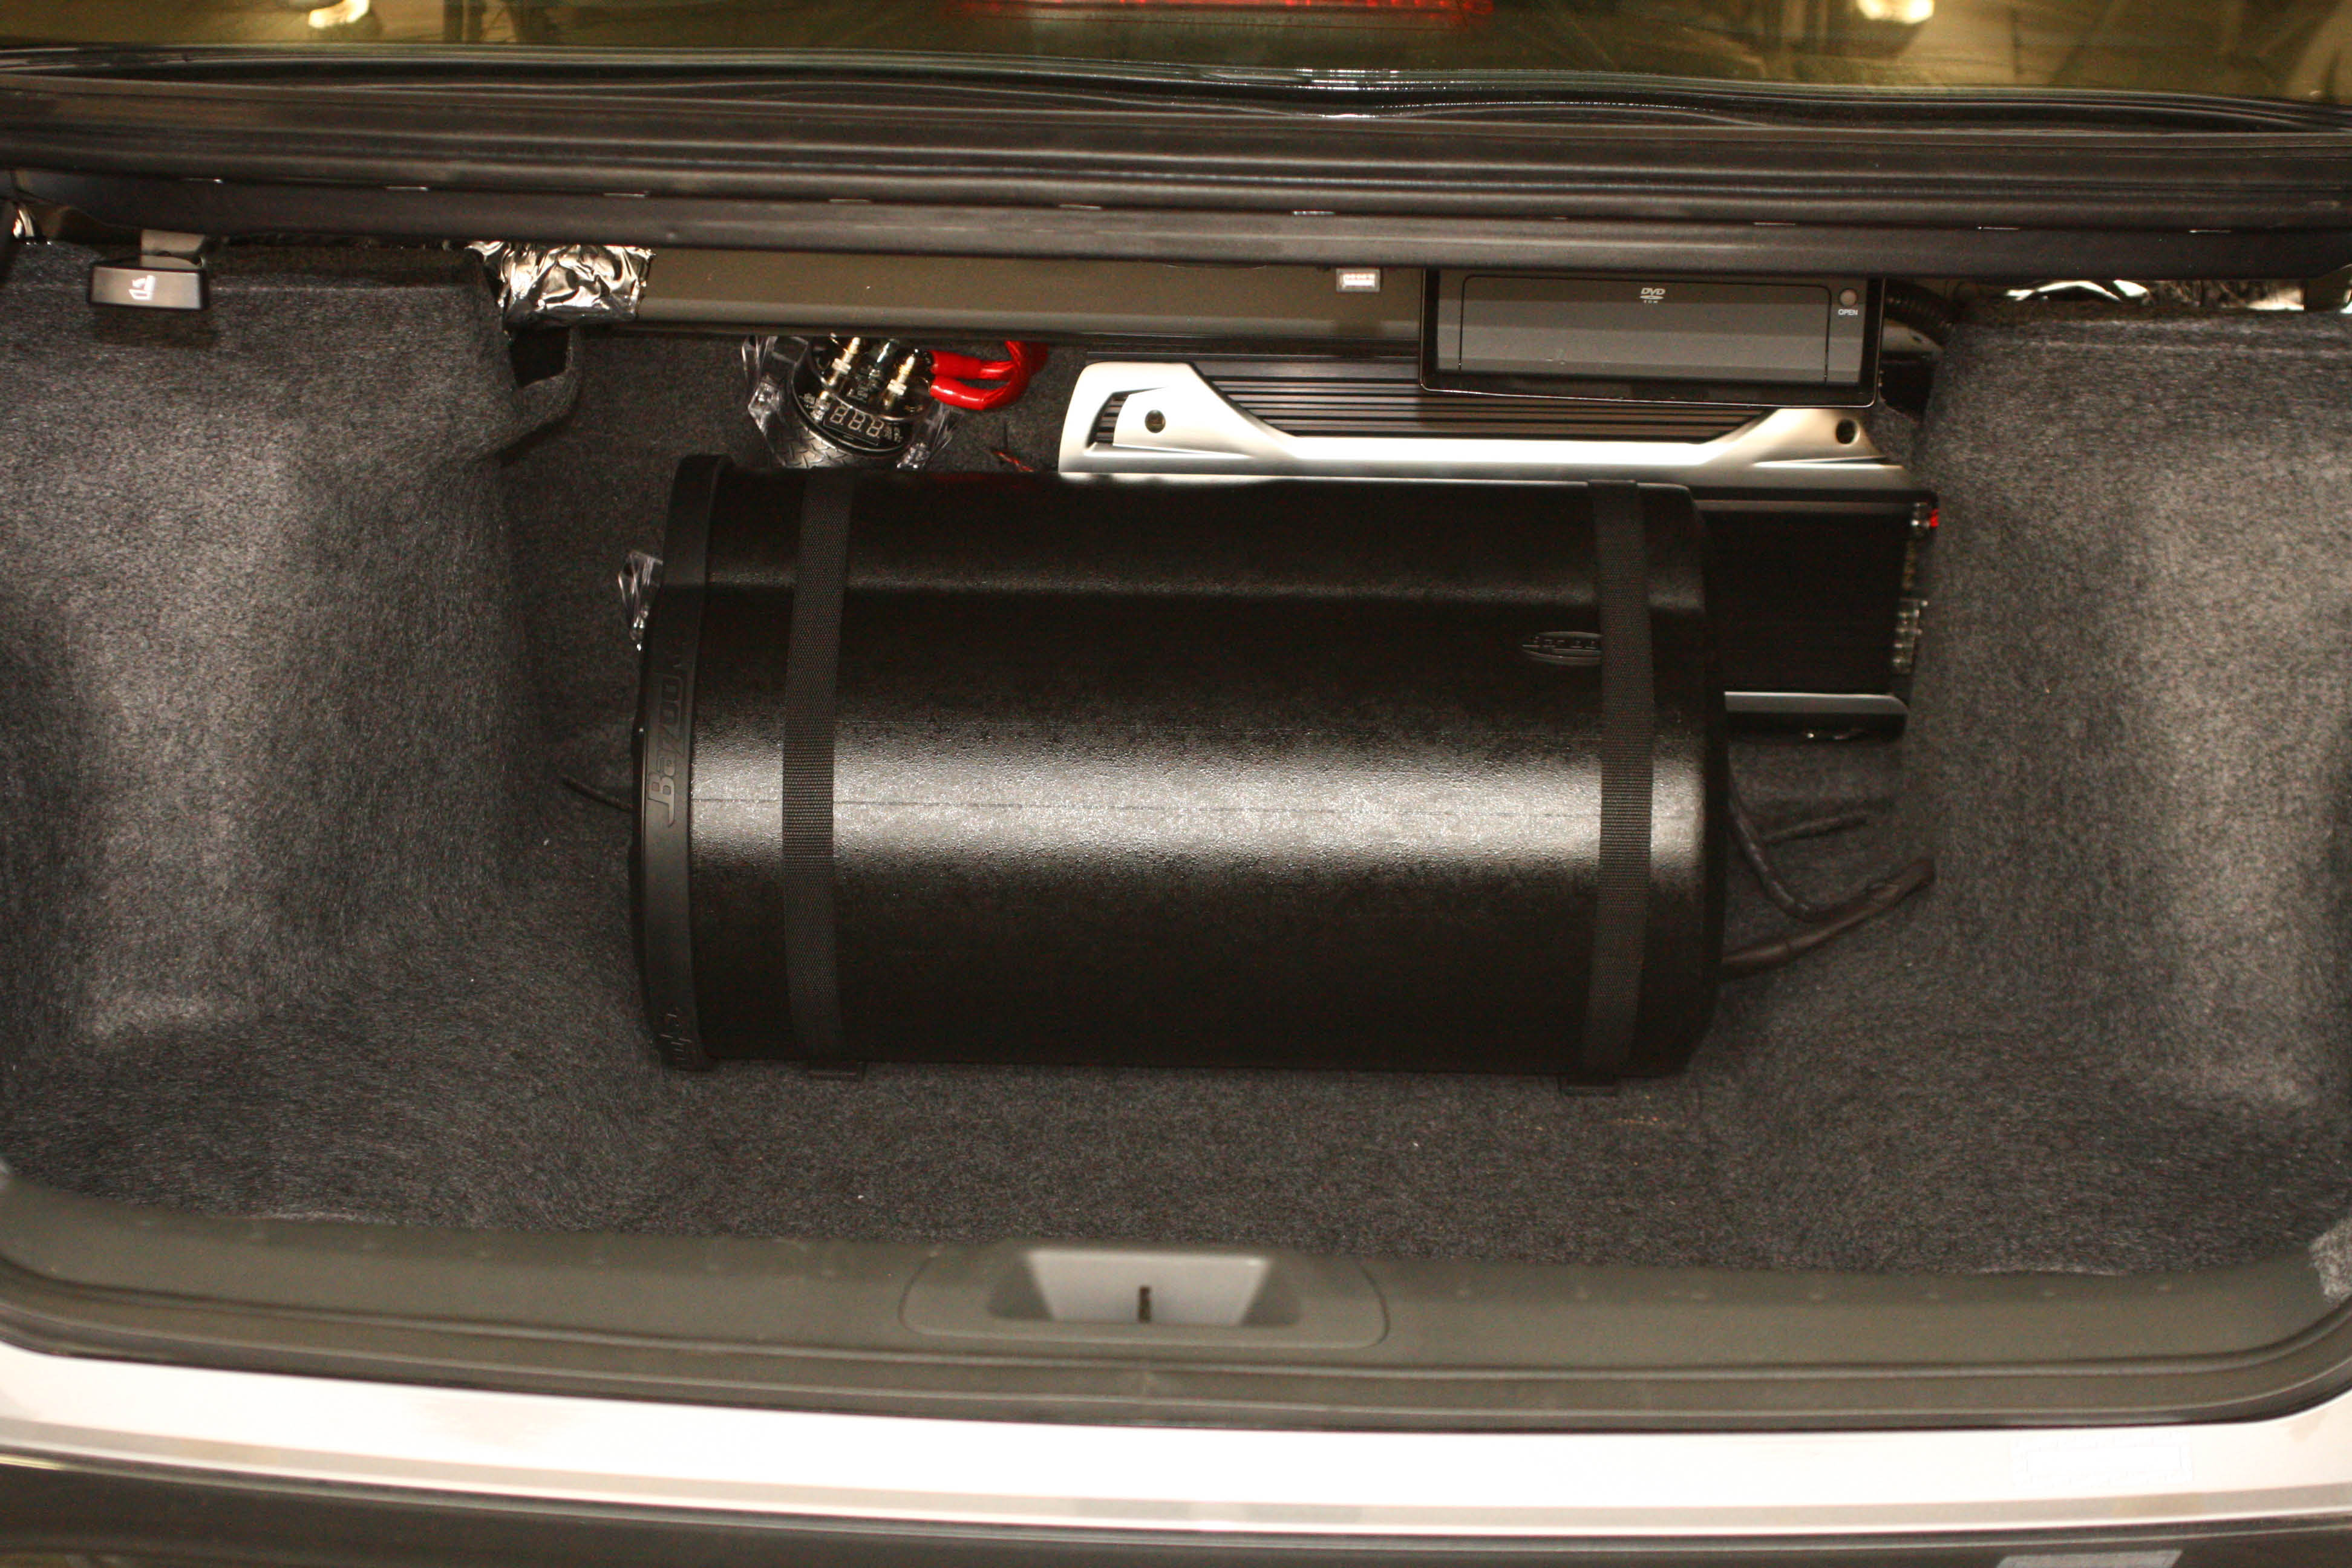
Bazooka Basstube
19 – Wire the included Bazooka FAST-9999 universal harness and the OEM subwoofer speaker cable in parallel. Then connect the power cable to the positive post on capacitor, and remote wire to remote from SOEM-4. Ground the BTAH cable to chassis and attach to FAST-9999 cable.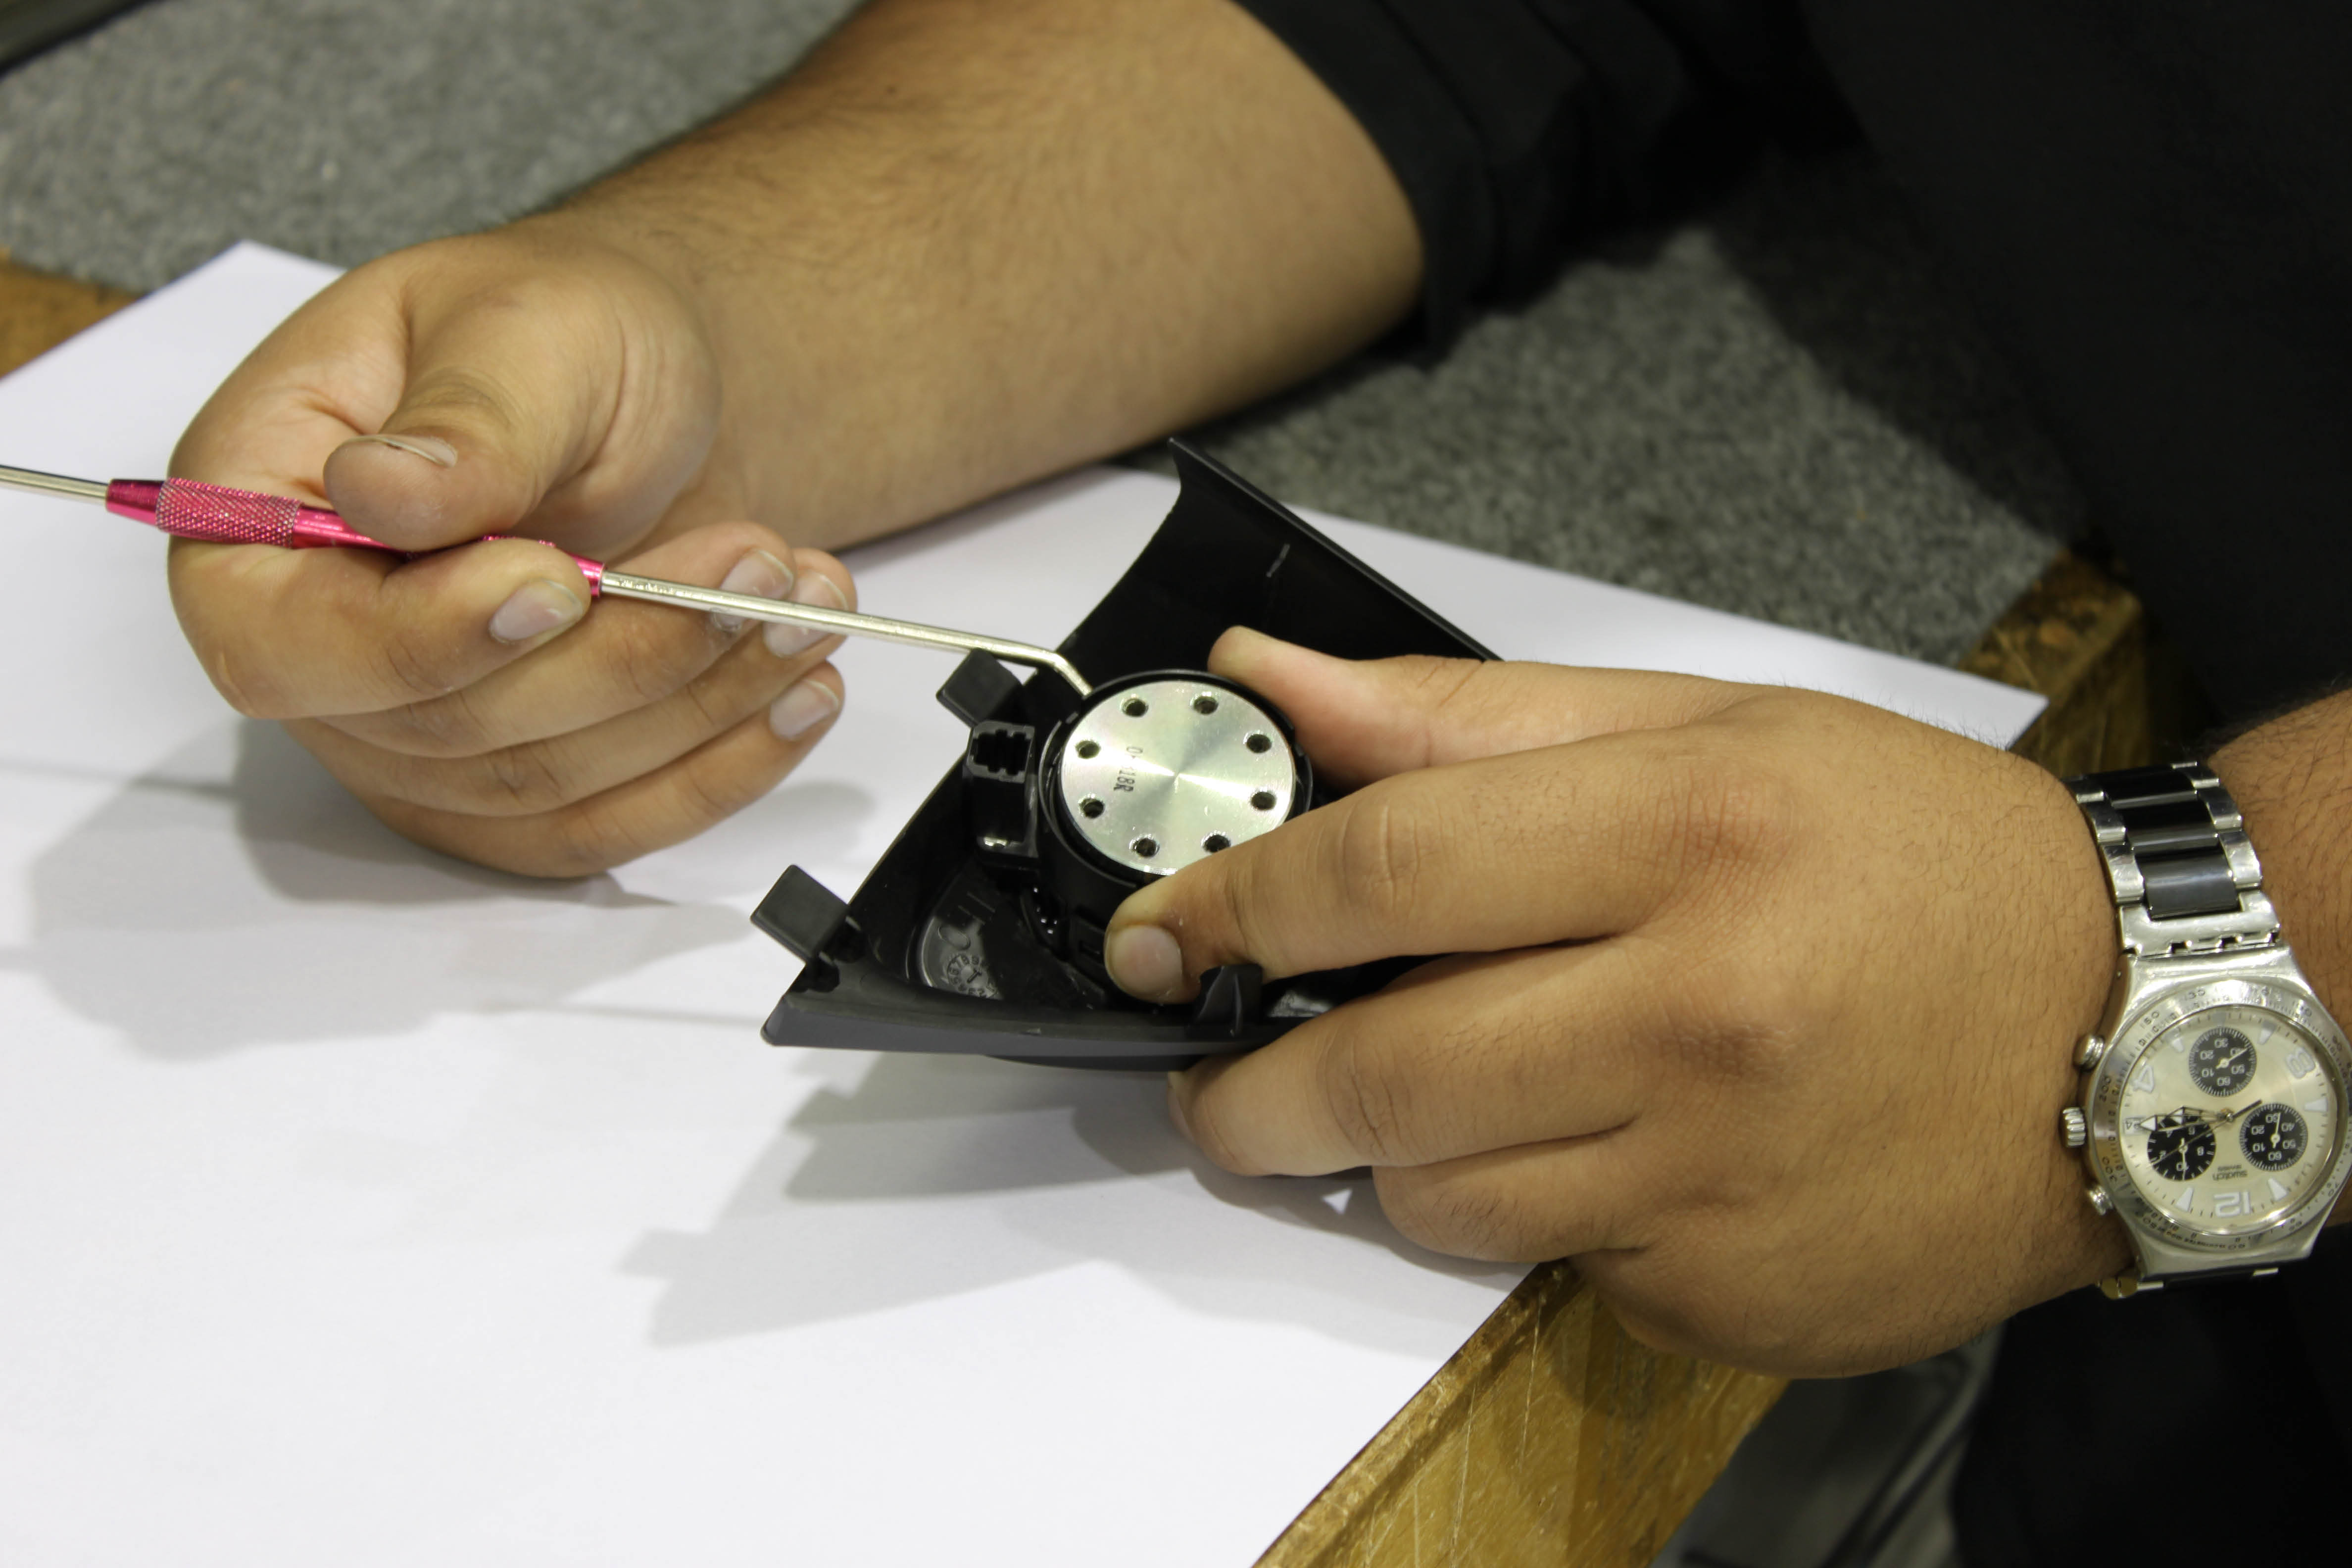
20 – Remove the OEM trunk liner carpet, measure for Basstube side clearance and attach the mounting straps. Secure tube snuggly and test fit back in the trunk, adjust where necessary and plug in BTAH cable.
21 – Attach the power cable back at the battery, select your track, play stereo at ¾ volume levels, listen and adjust both JBL and Bazooka amp gains just before distortion.
Now that we’ve covered the audio with help from the Geek Squad at Best Buy, the Accord is on its way to IAC for some body work. Next up is the Civic, which will be getting an audio replacement from Kenwood and Alpine. Stay tuned because 2012 will be the year for PräJekt Honda. Over the course of the year PASMAG will bring you in depth coverage of all the installs.