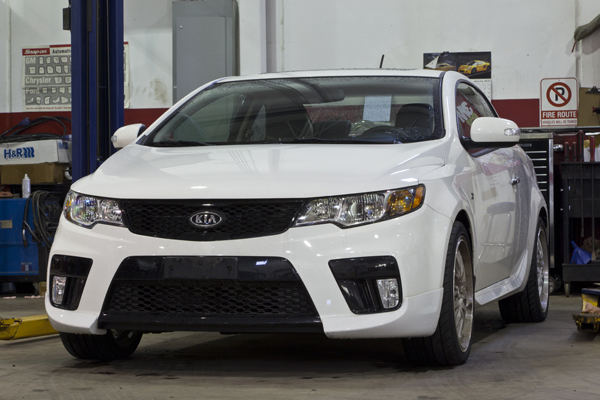
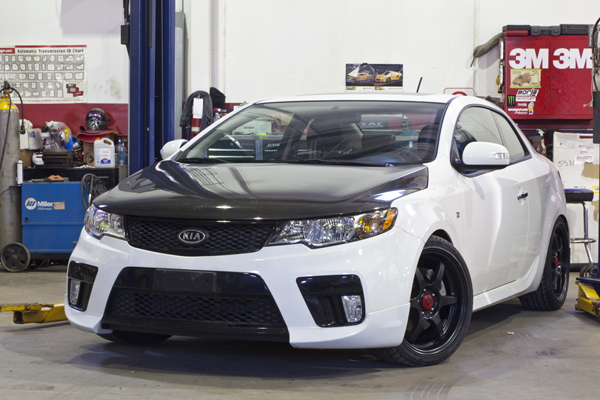
Despite the KIA Forte Koup having a well tuned suspension system from factory, the need for more aggressive cornering ability and a lower stance could not be ignored. The switch to a coilover setup from HSD Suspension will provide a stiffer ride with the use of high compressed springs, adjustable dampening on-the-fly and adjustment for a dropped look. 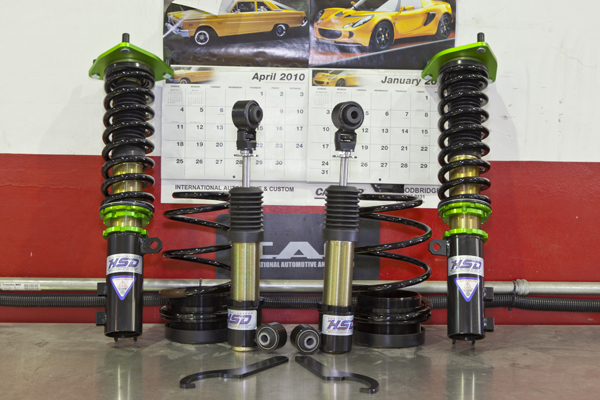
Below, is a step-by-step explanation on how the KIA Fore Koup went from having a sporty look to near racecar appeal all with this swap. 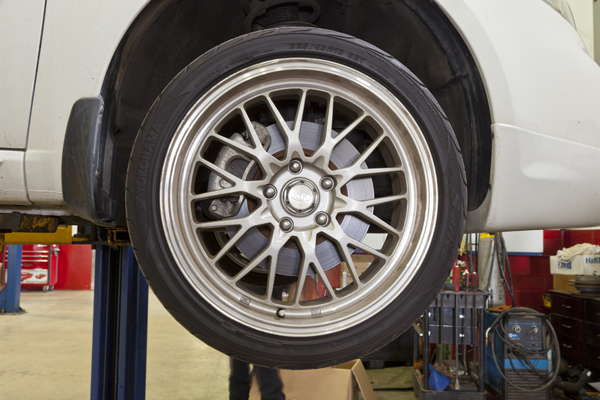
Step 1: Prepare vehicle for lifting
- Get car positioned for the hoist
- If car is too low for the hoist arms, raise the back end with a jack
Step 2: Remove wheel
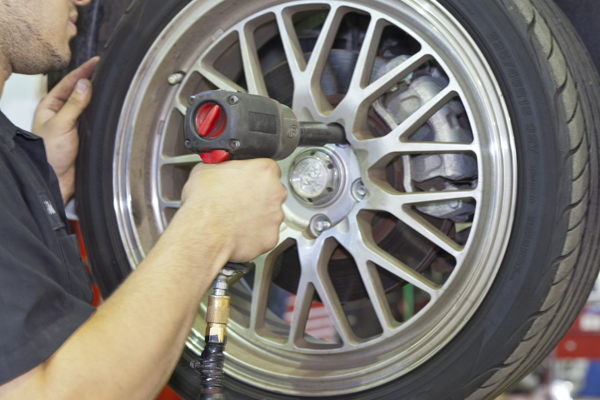
- Loosen lug nuts and remove wheel, place nearby

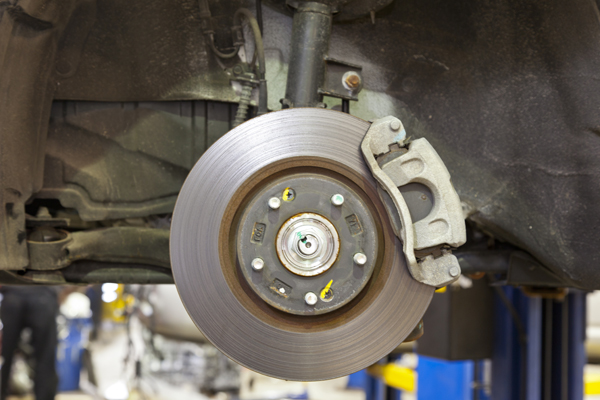
Step 3: Remove factory front suspension
- Begin by removing the nuts that secure the front sway bar links, brake line and ABS sensor.
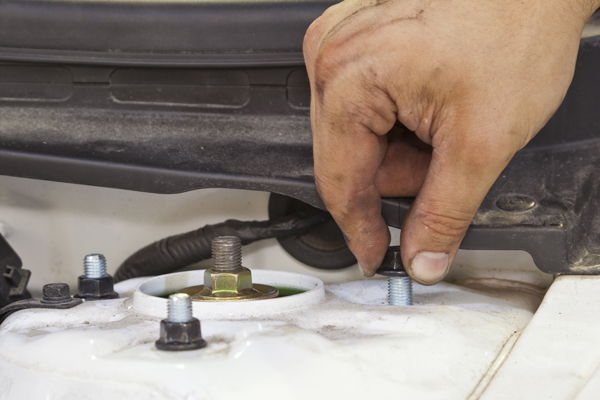
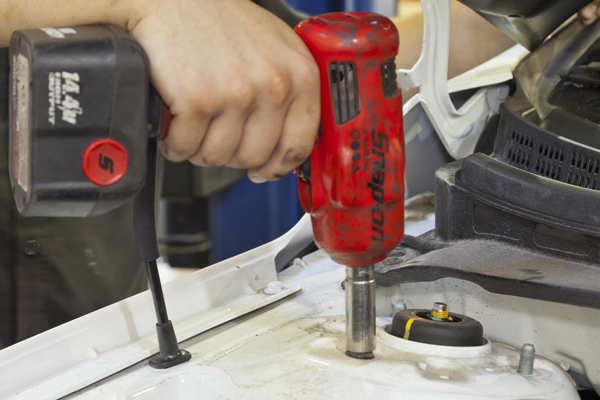
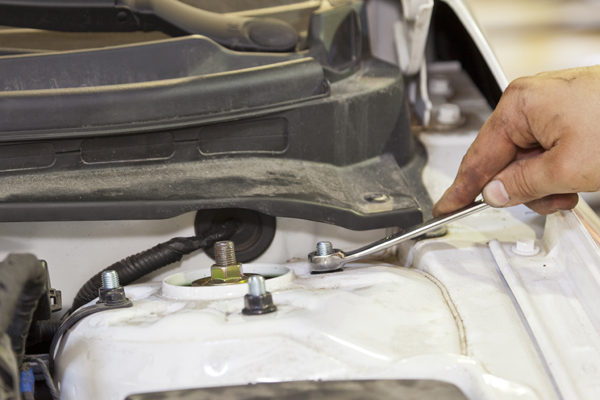
- Next, remove the two (2) lower strut bolts and three (3) bolts on the upper strut tower. *A penetrating lubricant might be required as most nut and bolts seize with time
- Wiggle out suspension until cleared
 |
 |
Step 4: Remove factory rear suspension
- Begin by jacking up the lower control arm so that spring does not dislodge
- Next, remove the two (2) lower bolts located at the shock and knuckle.
- Lower the jack stand and remove the factory spring.
- Open trunk and remove plastic covers to access the nuts on the factory shock strut tower
- Follow instructions on removal of factory front suspension to remove the remaining bolts
- Once the suspension pieces are accessible, wiggle out until cleared
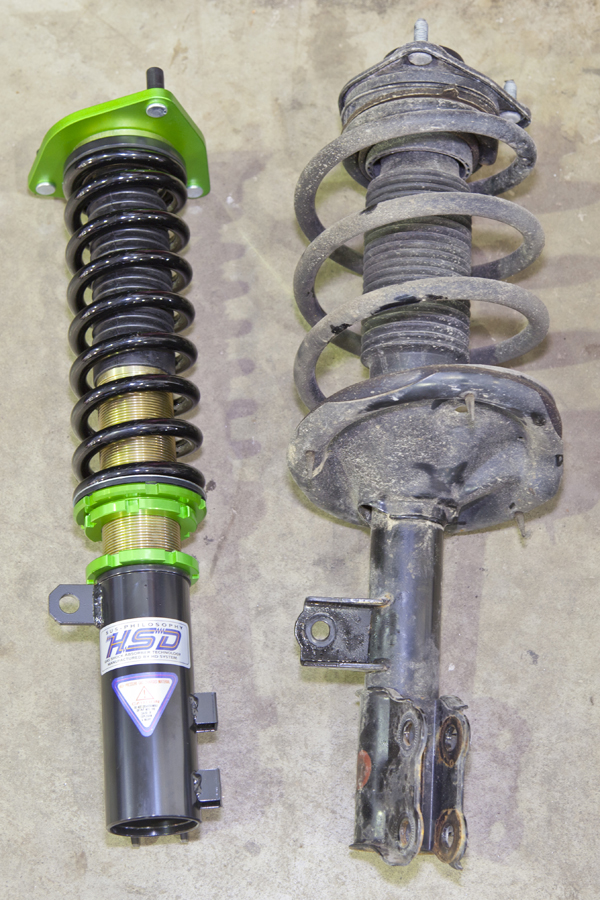
Step 5: Preparing new suspension
- Take factory suspension to the spring compressor (if available) and remove the upper strut mounts (hats).
- Transfer and sintall upper strut mounts (hats) to new coilover setup and tighten.
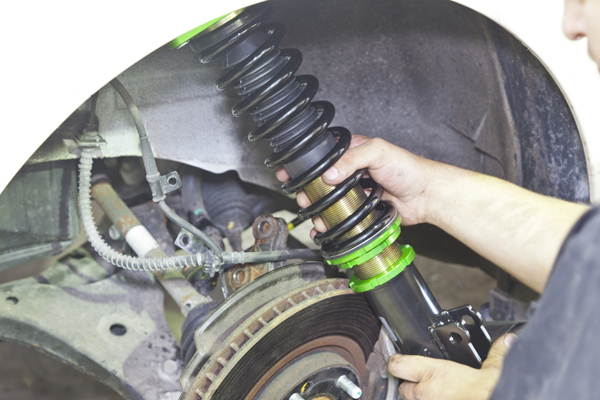
Step 6: Installing new suspension
- Install new coilovers in the same fashion that the factory suspension was removed, starting from inserting the top first into the strut tower then the bottom to the suspension mounting points.
*When installing new bolts, pull as far out as possible before tightening to avoid any camber issues
Step 7: Final adjustments of new suspension
- Adjust ride height on coilover suspension with sprocket keys. Each key locks onto a ring on the shock and turn in the direction against each other.
*Note: Assistance might be required for this.
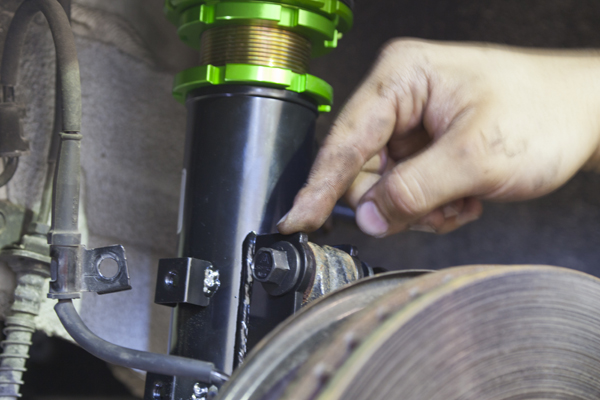
Step 8: Install centering rings
- With the hub-area exposed, install a centering ring by placing it on and simply popping it on by hand.
*Note: Position of centering ring must be correct – see photo for example
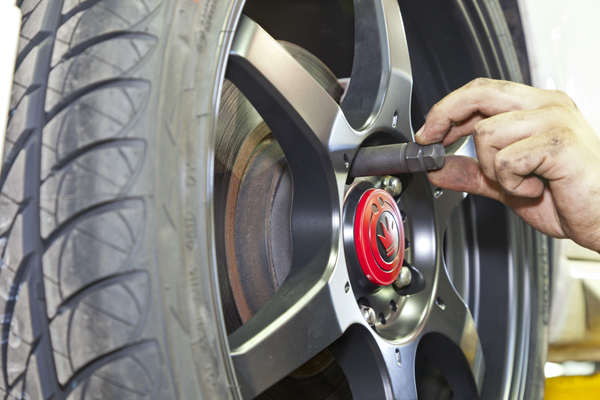
Step 9: Re-installing wheels and lug nuts
- Put wheels back on vehicle and hand tighten each lug nut
- Next, tighten lug nut with air tool (if available) if not with proper tool
 |
 |
- Lower vehicle from hoist and / or jacks and tighten wheel lug nuts with torque wrench. Be sure to make sure to meet proper tightening measurement (Psi) as per factory specifications.
*Note:
- A full alignment is necessary when suspension install is complete.
- Before driving the vehicle, make sure to check for wheel clearance.
- Drive vehicle for a few minutes with windows down and listen for any unusual noises. Be sure to take driveways on an angle now that the vehicle has been lowered.
- If vehicle is too low or high, make ride height adjustment with sprocket keys by removing the wheel and following Step 7.
Related Articles
 PASMAG Editors’ Top 5 SEMA Builds of 2025
 ACT Releases SFI-Approved 225mm Mod-Twin for 1989-1992 Nissan Skyline GT-R (R32)
 MID Wheels by RAYS Introduces the All-New D8 Off-Road Wheel
 Unitronic TCU Tuning for the 8Y Audi RS3
 Chopping Block: Acura RDX
 First BMW M EV confirmed for 2027


