Photos by Rob Robson, Micky Slinger
There’s a magical moment when you get into your new FR-S or BRZ for the first time, where you’re convinced you’re behind the wheel of the pinnacle of simple sportscar engineering. The car is light, nimble, and above all, a blast to drive. “Never mind what the haters have to say about a sportscar with only 200 horsepower,” you say to yourself, grinning away. And for quite a few of you Toyobaru Twin owners out there, you’ll stay happy with that for quite some time, laughing your way down twisty lanes.
There are also those of us out there who are never content with just the factory offerings under the hood. There comes a time where you start to get really sick of losing power going up an especially steep highway section, or seeing the sneering faces of Gen Coupe owners and their HKS SQV4 blow-offs blowing past you. Soon, 200 horses aren’t enough; the intake and exhaust upgrades aren’t enough. You need more power.
The next issue is finding exactly how you want to apply that extra power. Forced induction is the easiest way about it, and there are quite a few kits that require little to no modification to the car, as well as an easy install. Power numbers are also a huge thing to consider. Is the time needed to install, plus the cost associated worth the amount of power you’ll get out of the kit?
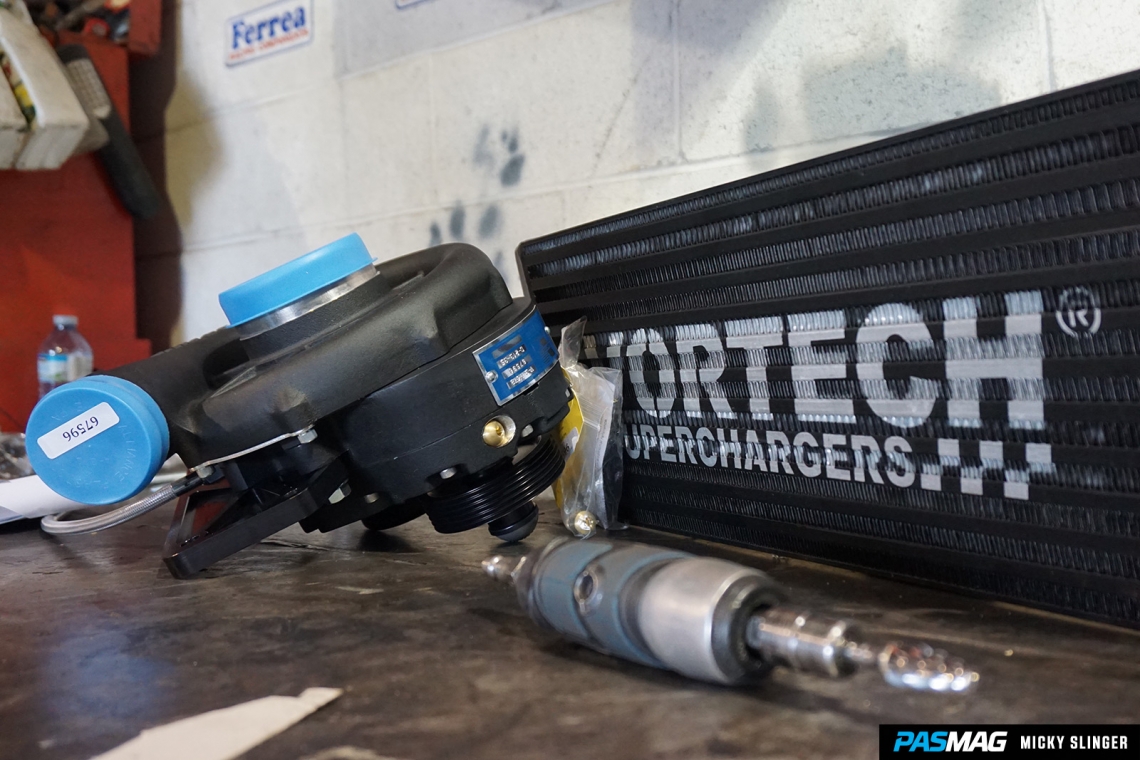
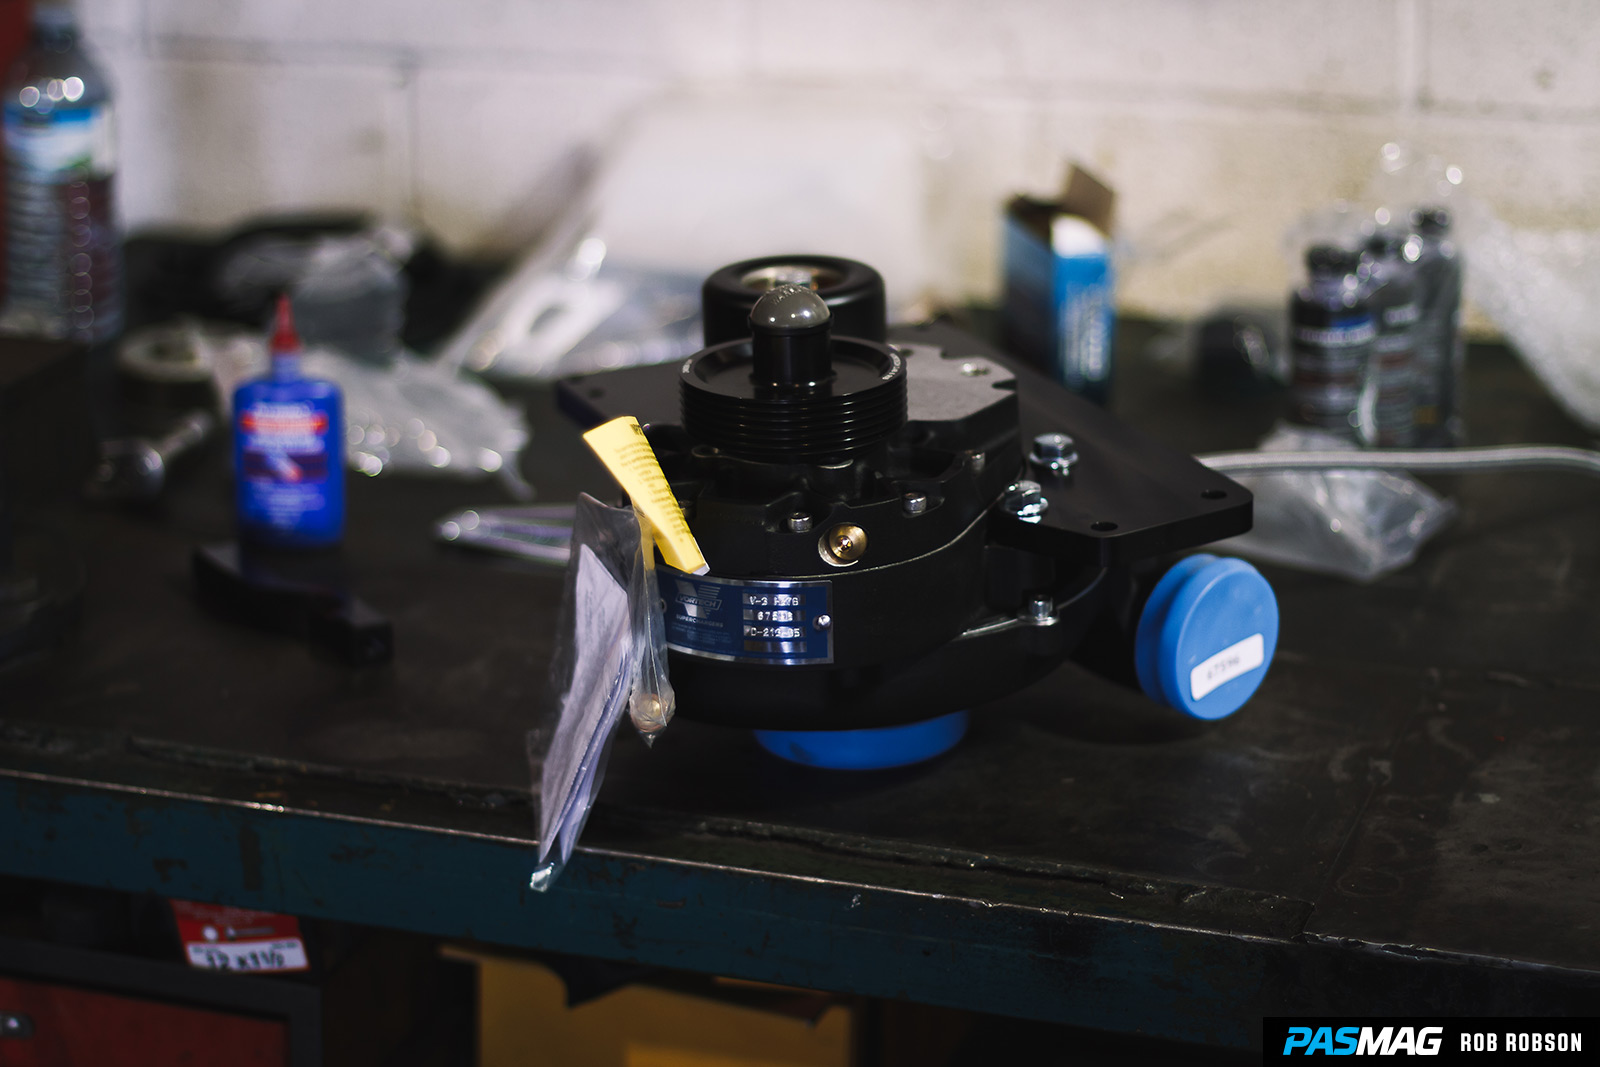
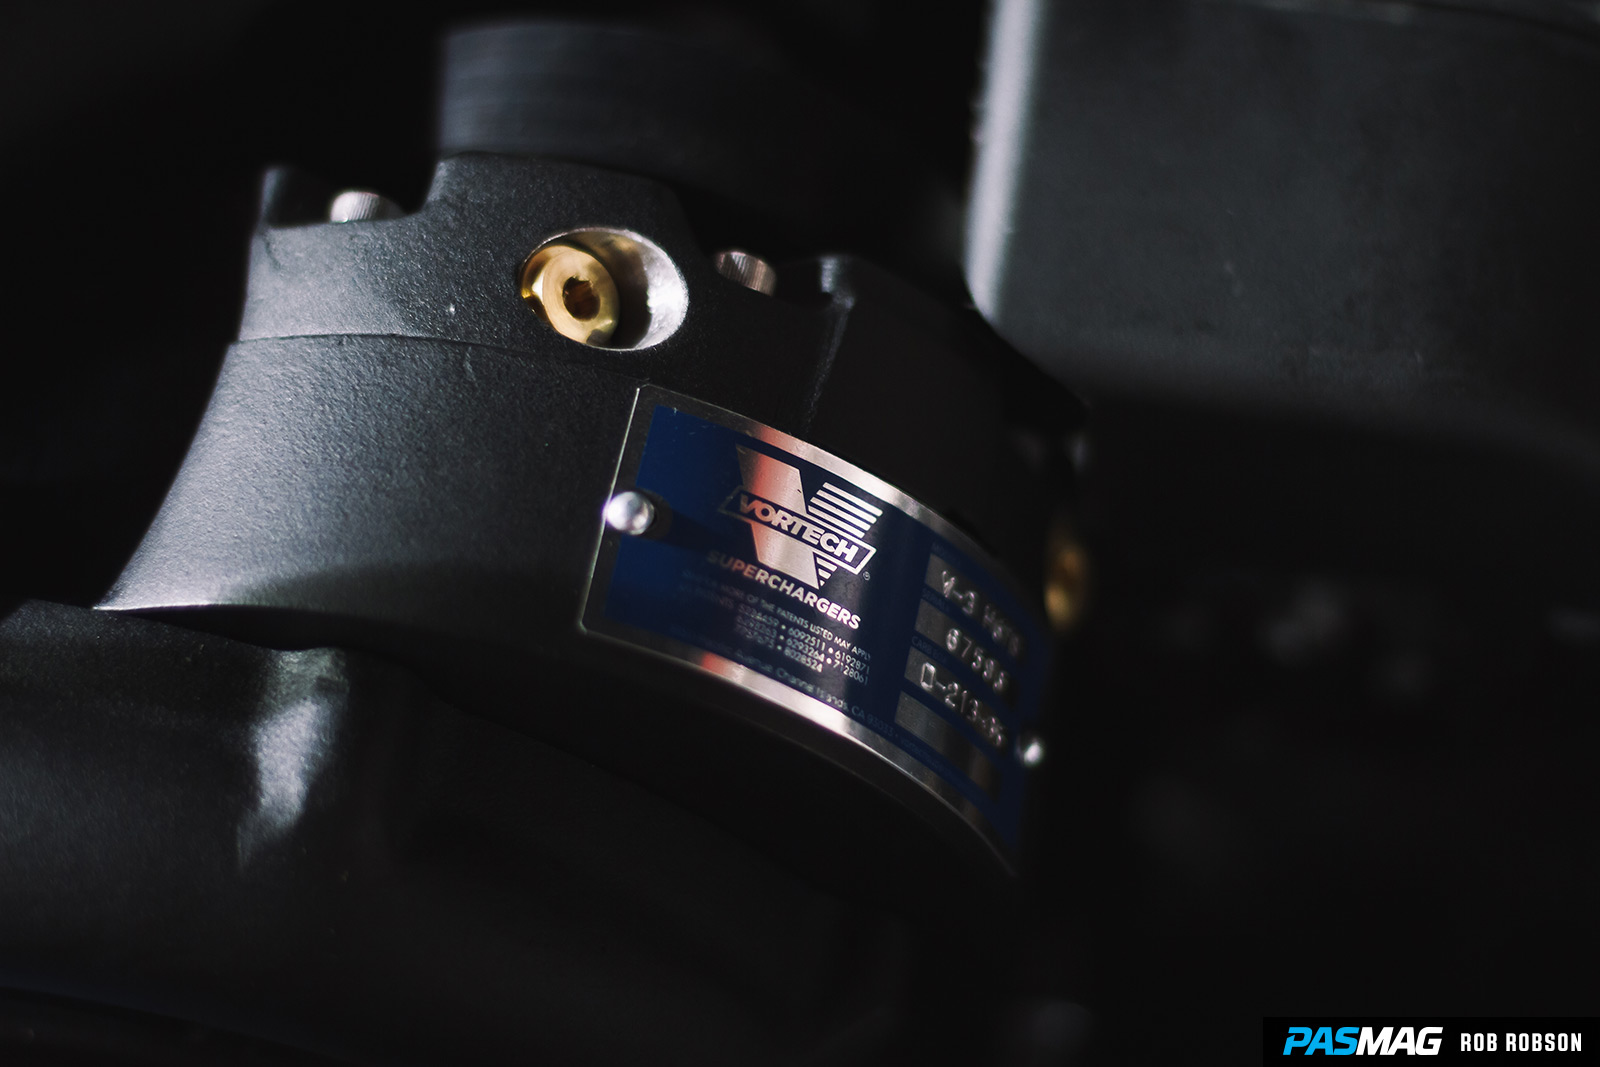
The answer to all those questions for me was Vortech’s V3 supercharger kit. Their complete kit offers a fairly turn-key power solution that has been proven to be reliable and true to advertised power specs. After tossing it into the engine bay, the Vortech centrifugal supercharger promises to make 294 horsepower and 210 lb-ft of torque at nine psi. The kit requires very little modification (washer fluid reservoir tank relocation, hood prop relocation, and a few bits of cutting plastic), requires no fueling upgrades, is CARB legal, and includes an intercooler, all charge piping and hosing, as well as a custom Vortech tune for 91-octane fuel through use of EcuTek’s re-flash programming.
Vortech’s supercharger kit is a centrifugal setup, which is like a blower with turbo characteristics. The supercharger itself is gear-driven by the drive belt of the car, which then causes the impeller wheel inside the compressor housing to spin. The resulting high-pressure, low-speed air is pushed into the engine to give it more to work with, giving you more power. The kit actually comes with a Bosche diverter and will make turbo-like blow-off noises, so don’t be too surprised if people start asking if your car is turbocharged.
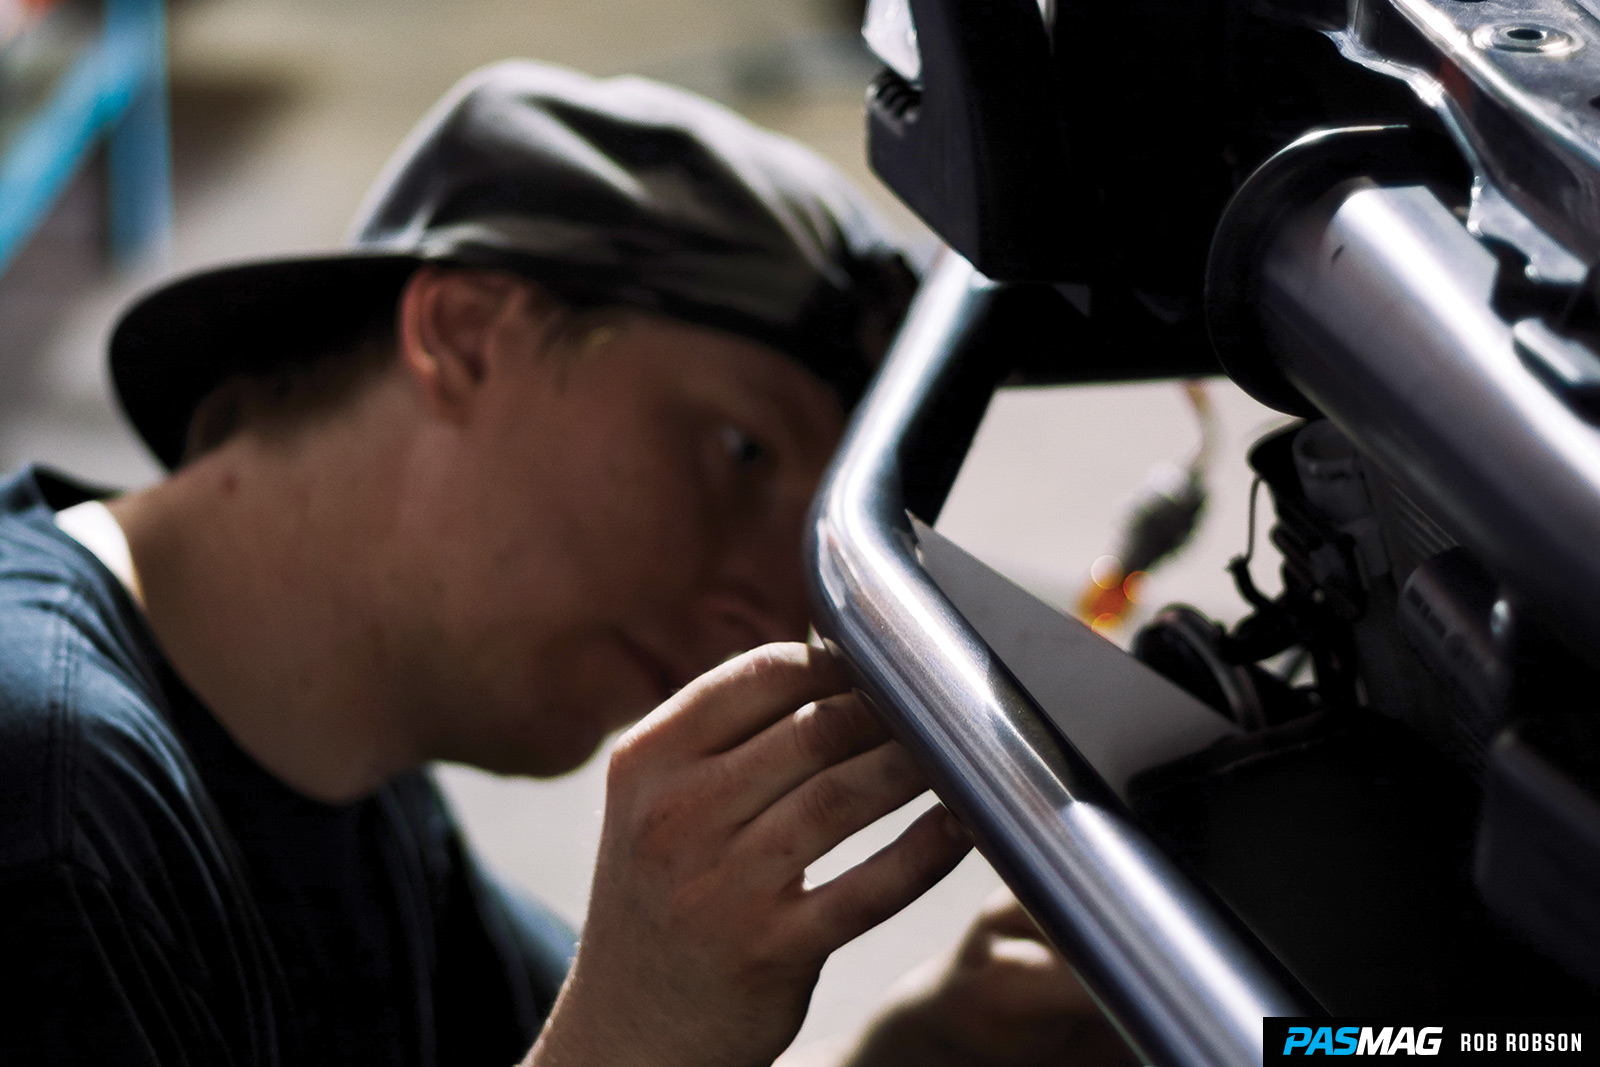
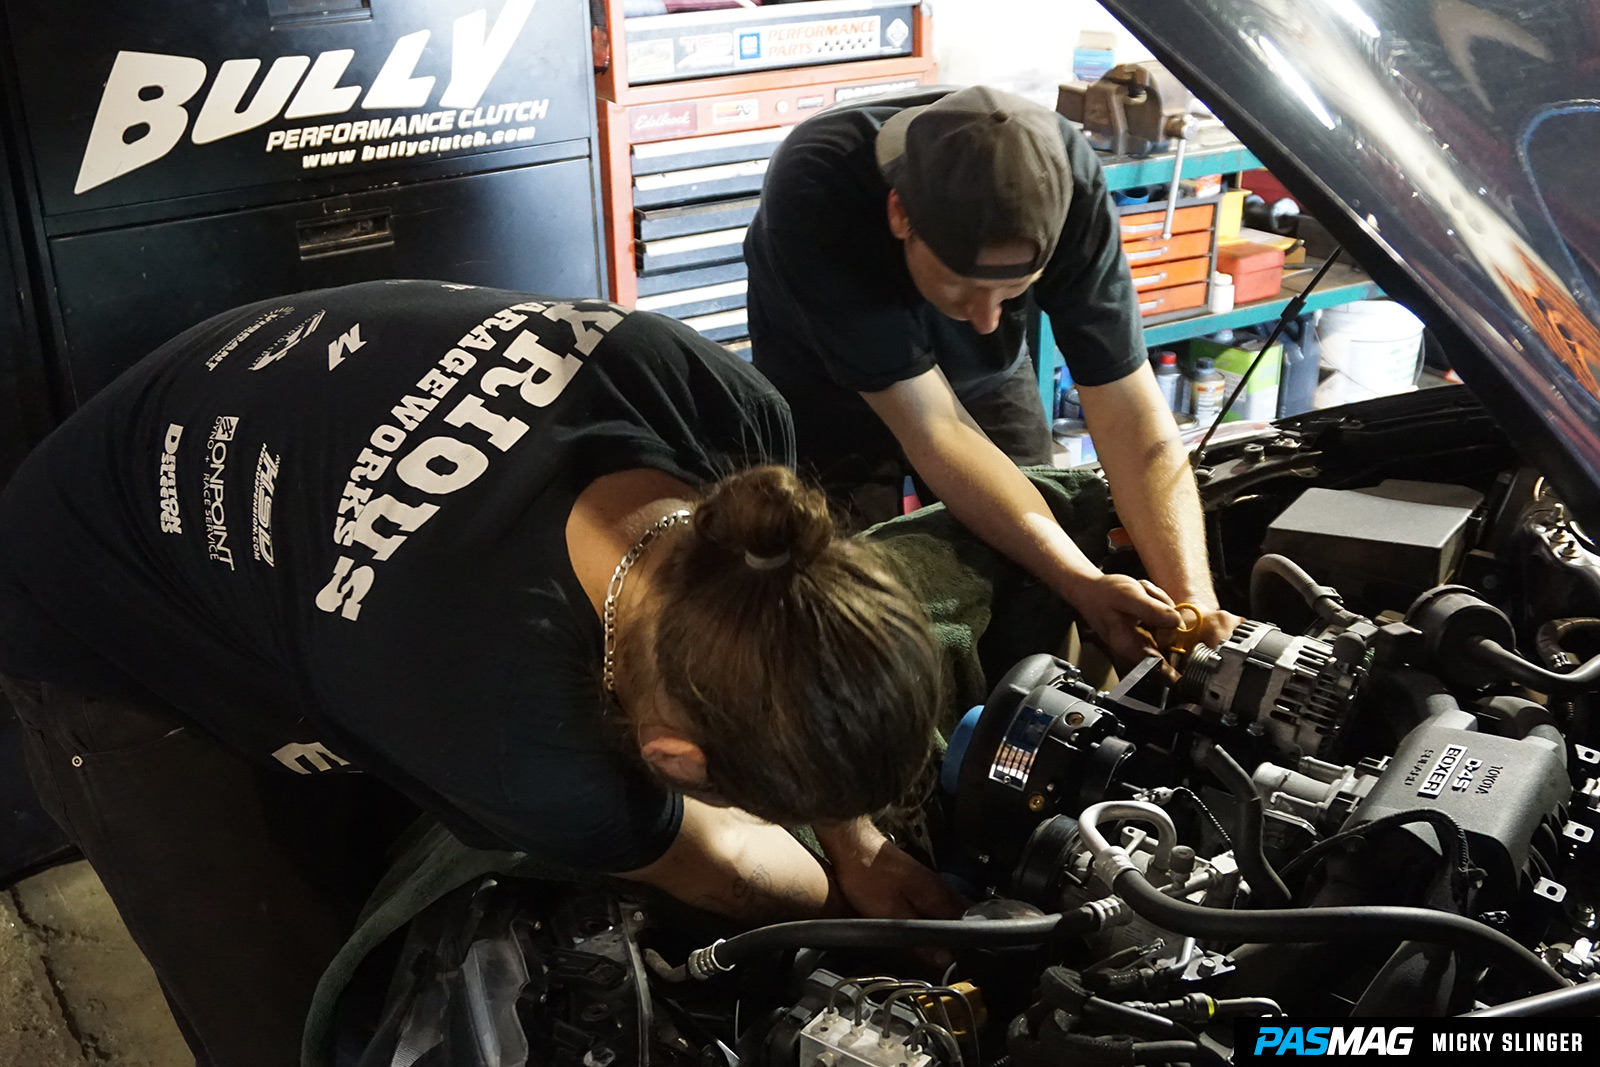
When it came to install the kit, I highly considered doing it myself. Vortech says it should take about four to six hours for two guys to do with some fairly basic tools. Bribe a buddy of mine to spend his Saturday in the garage with some beers and come out at the end of the day with a faster FR-S? Sounds like a solid plan to me. However, my garage isn’t exactly nice-looking and I’ve never actually installed a supercharger before, so I left it to the much more capable hands of Pat Cyr, 86 aficionado and Formula Drift Canada series professional drift driver. I can’t stress enough how not boosted my car would be if not for Pat’s help. People, if you have any doubts, please seek professional help. You will be so much happier. The hourly rate you pay will be worth so much more than broken boost dreams.
THE INSTALL
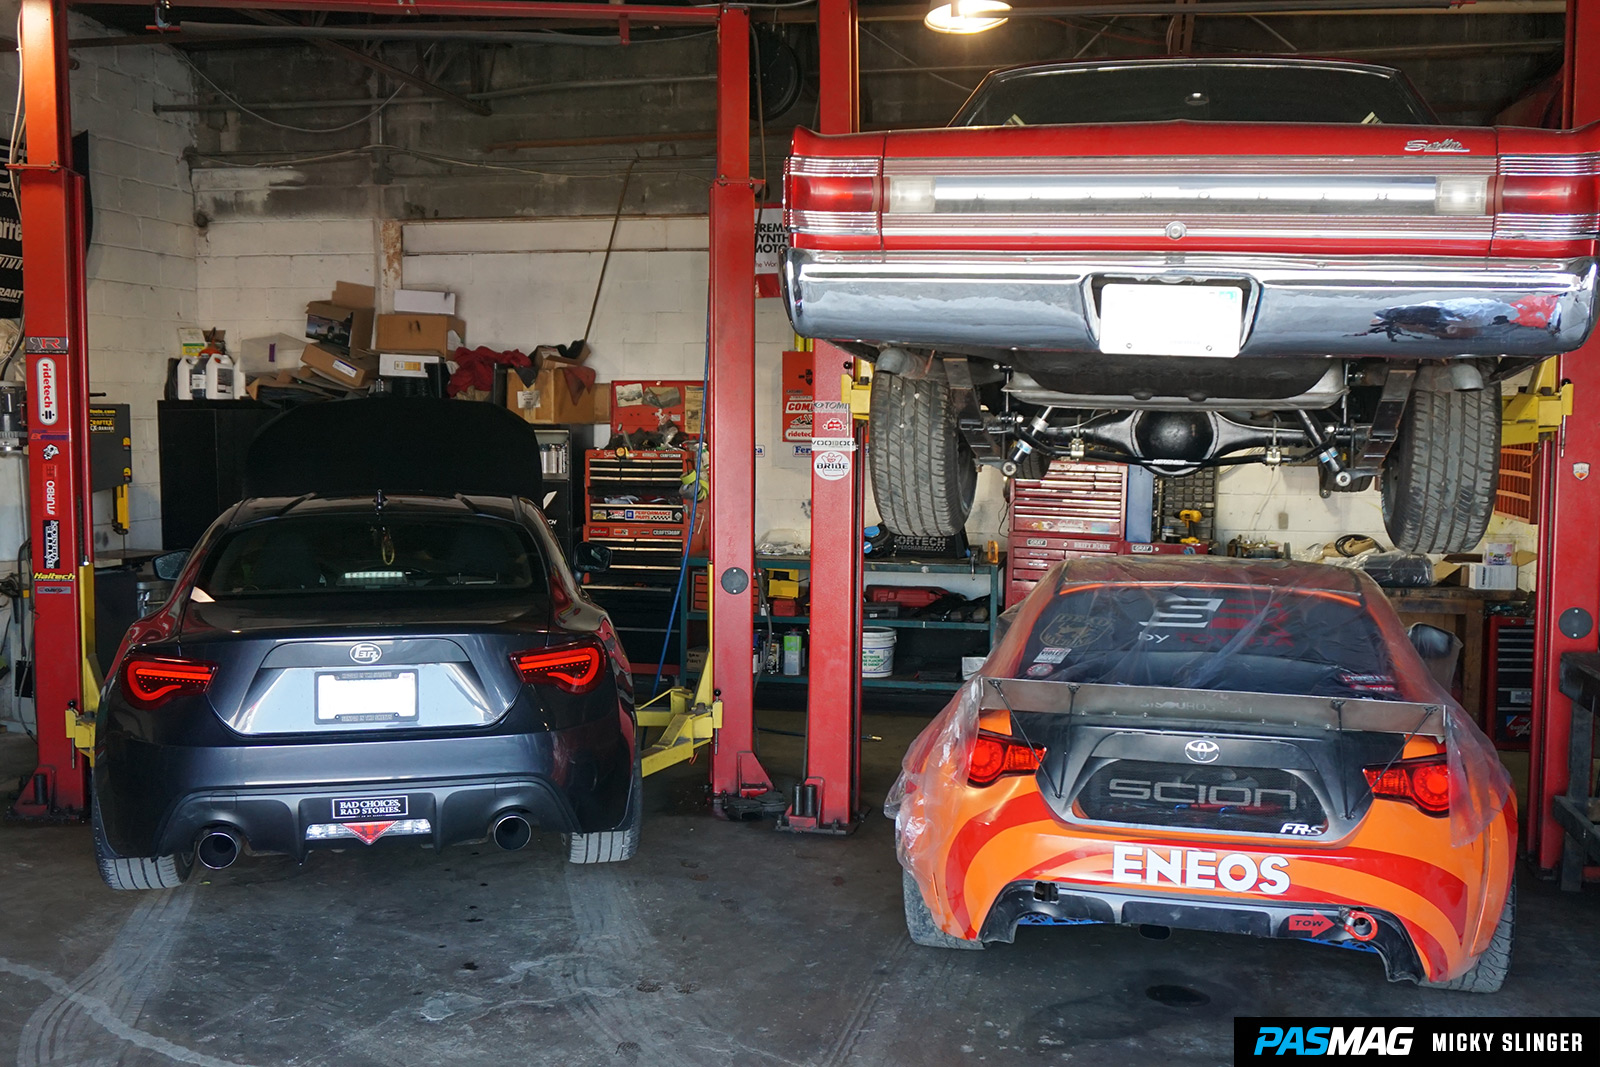
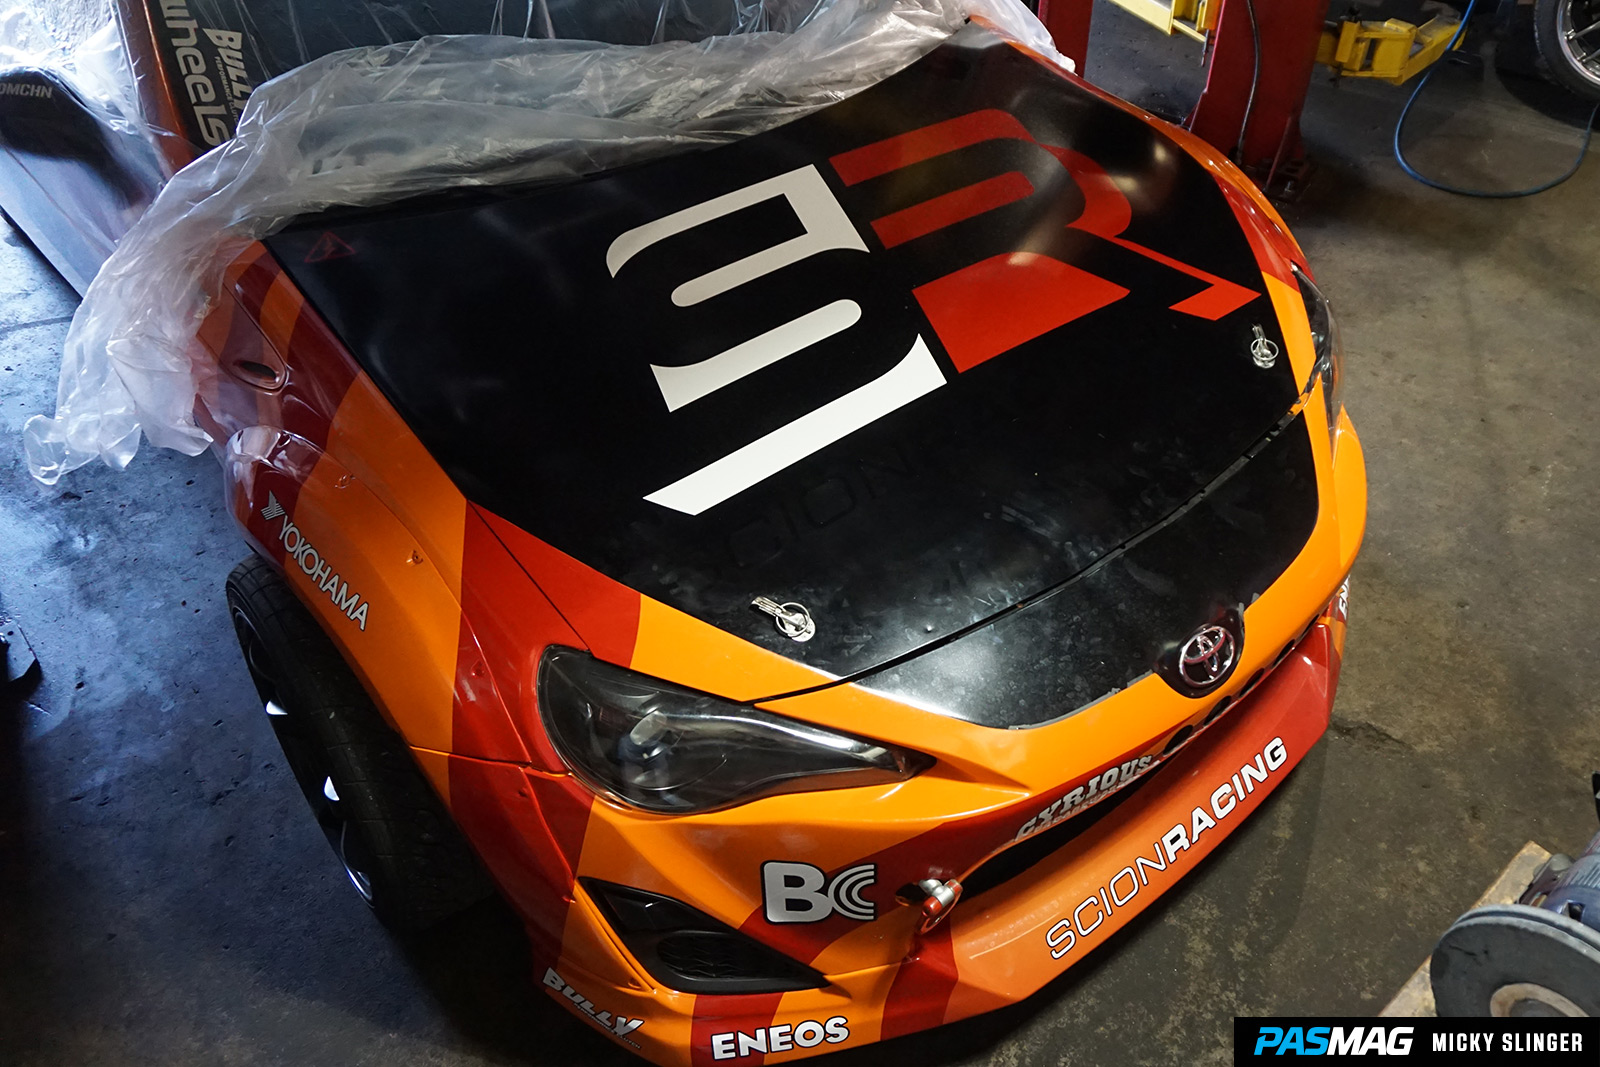
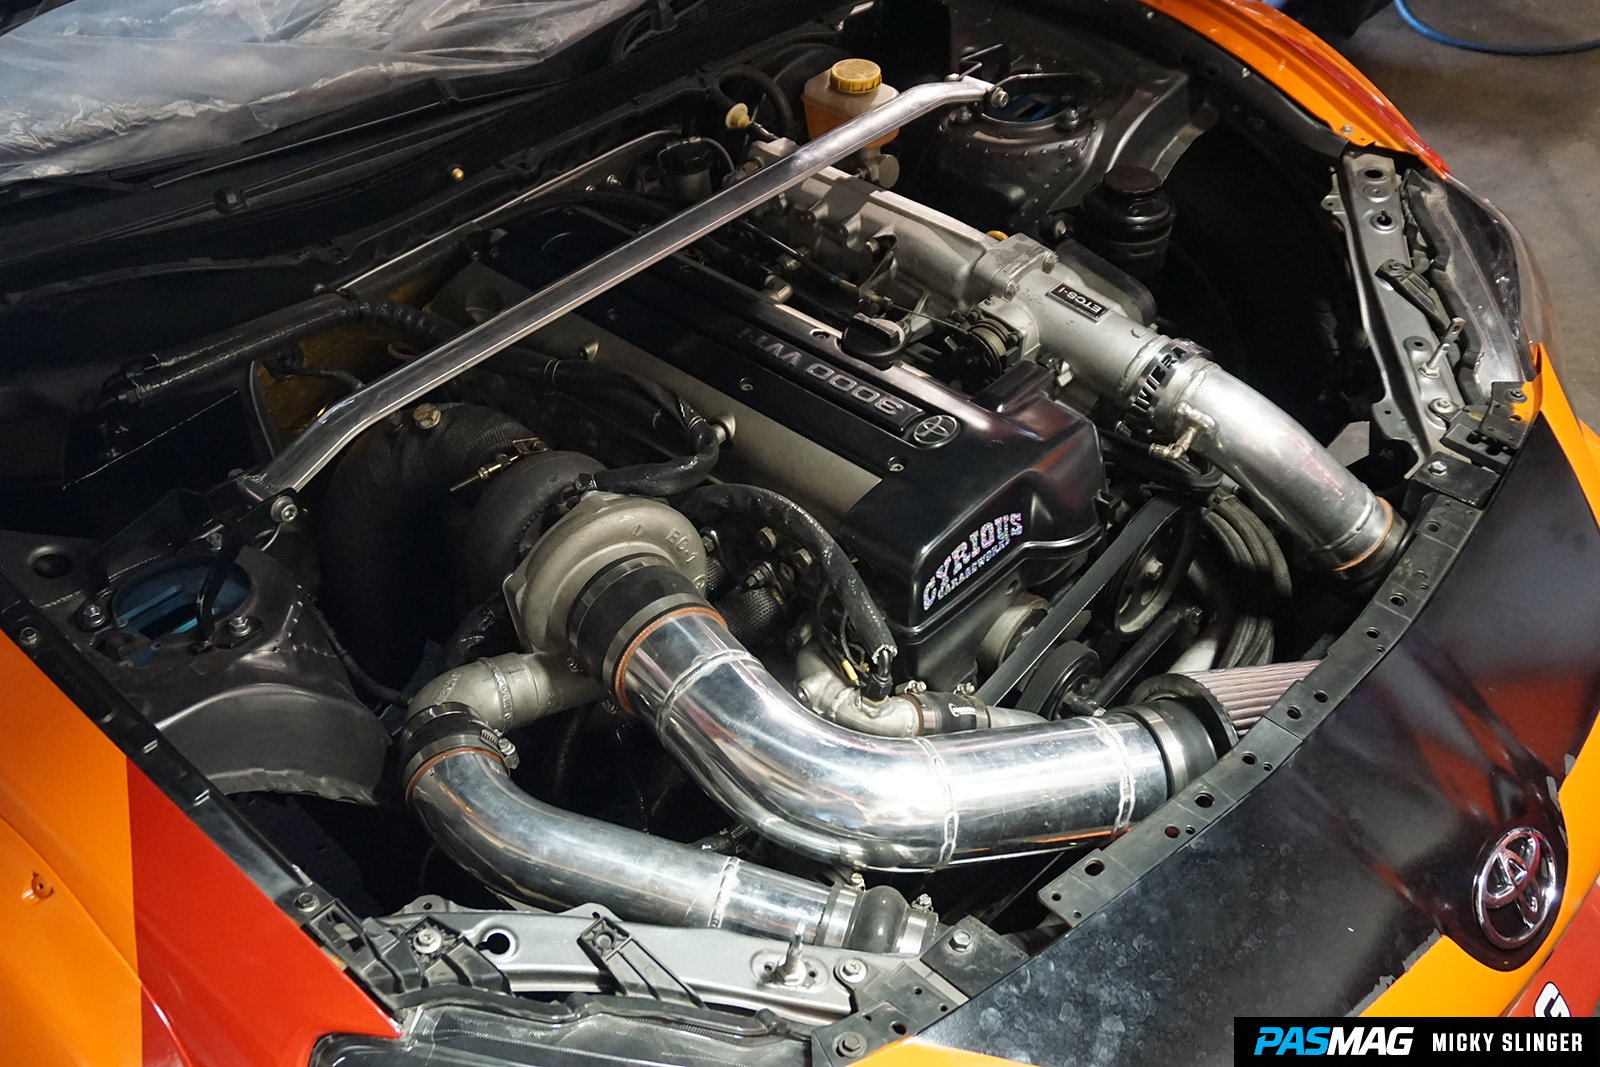
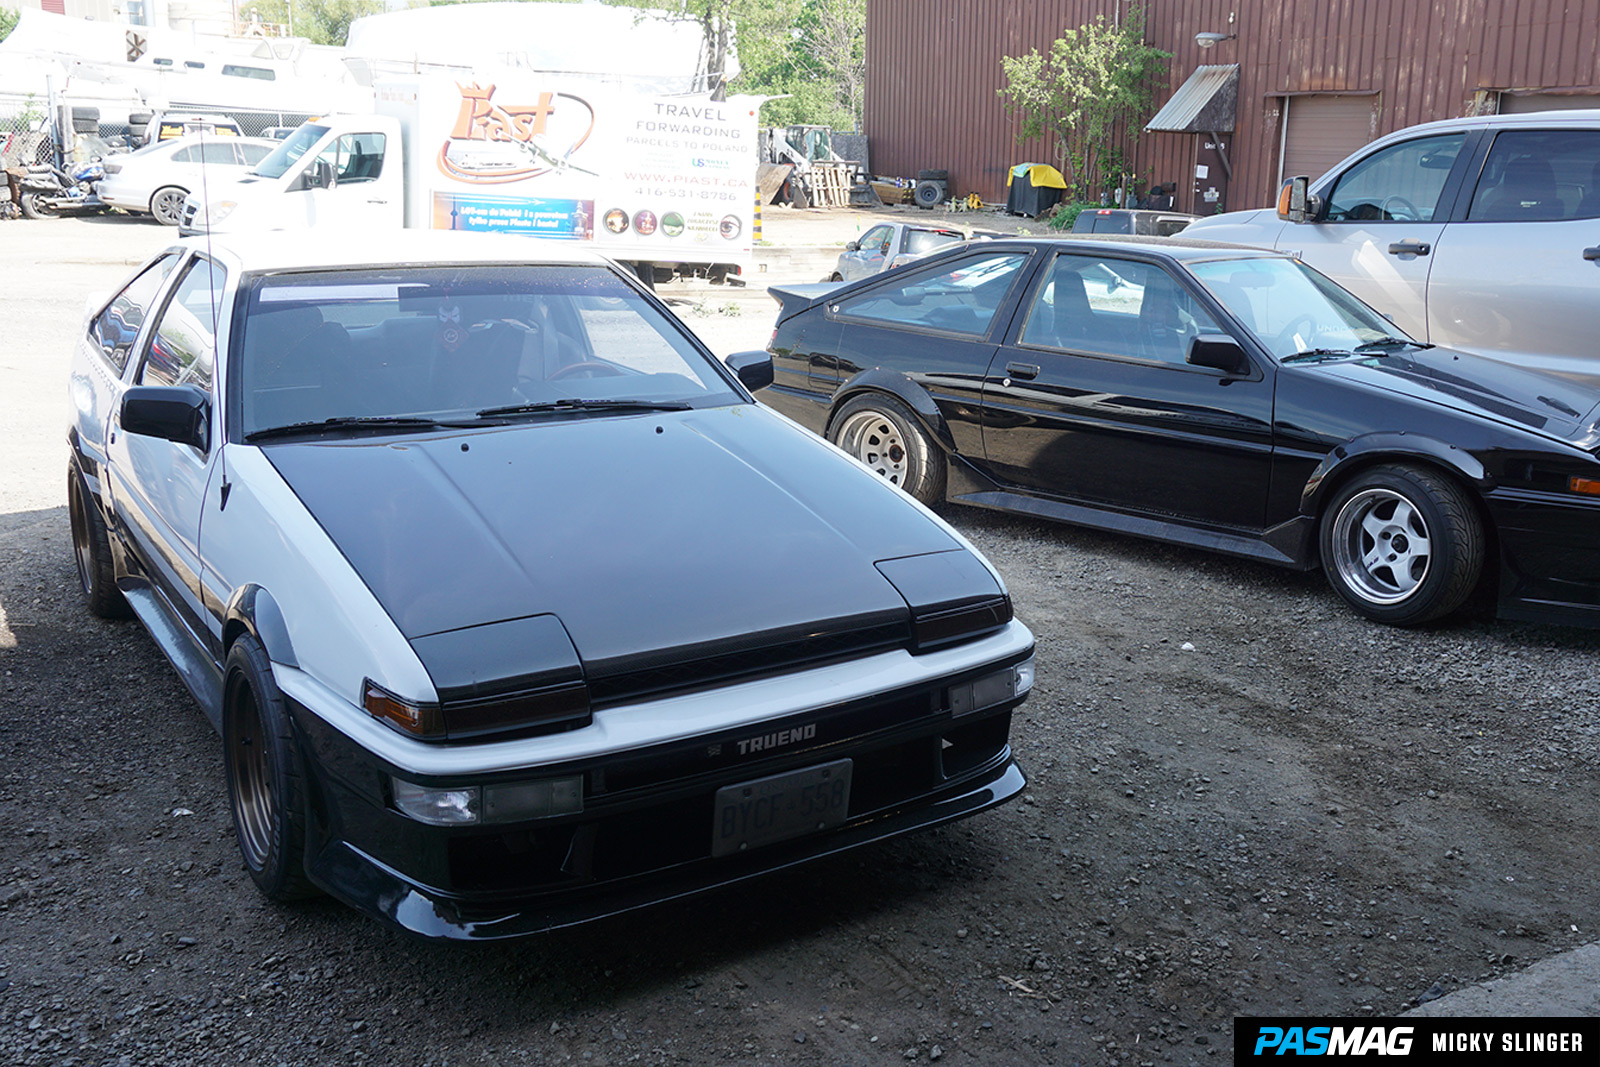
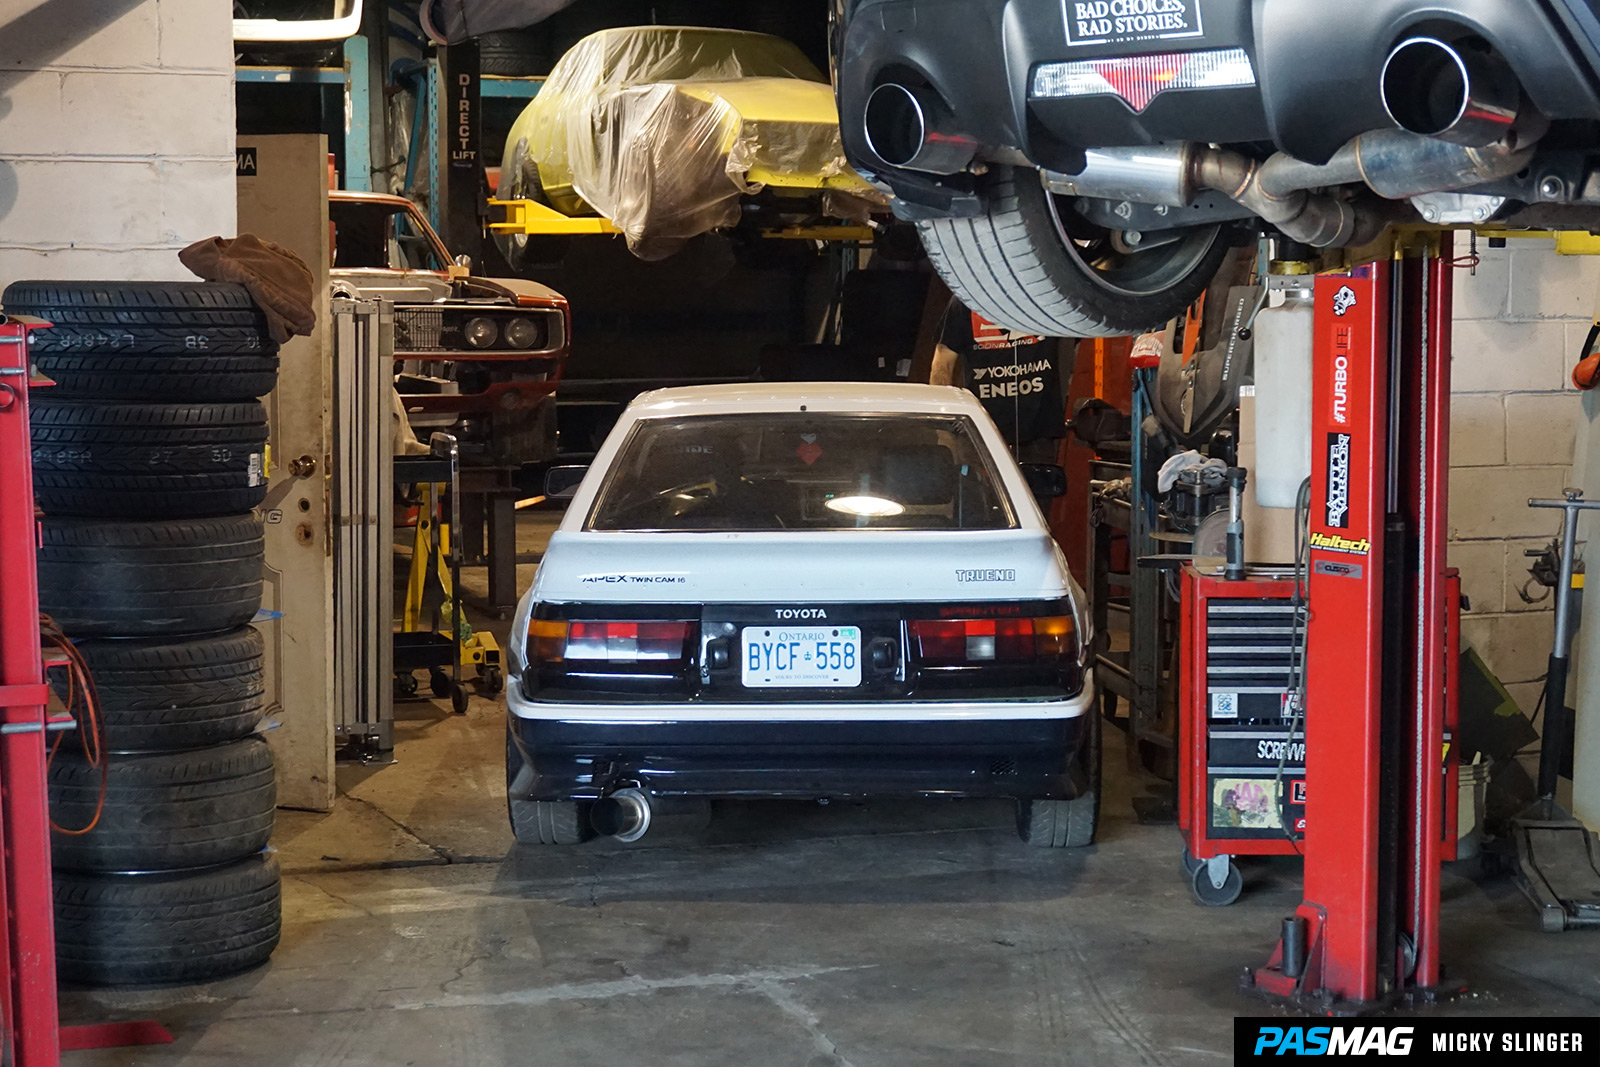
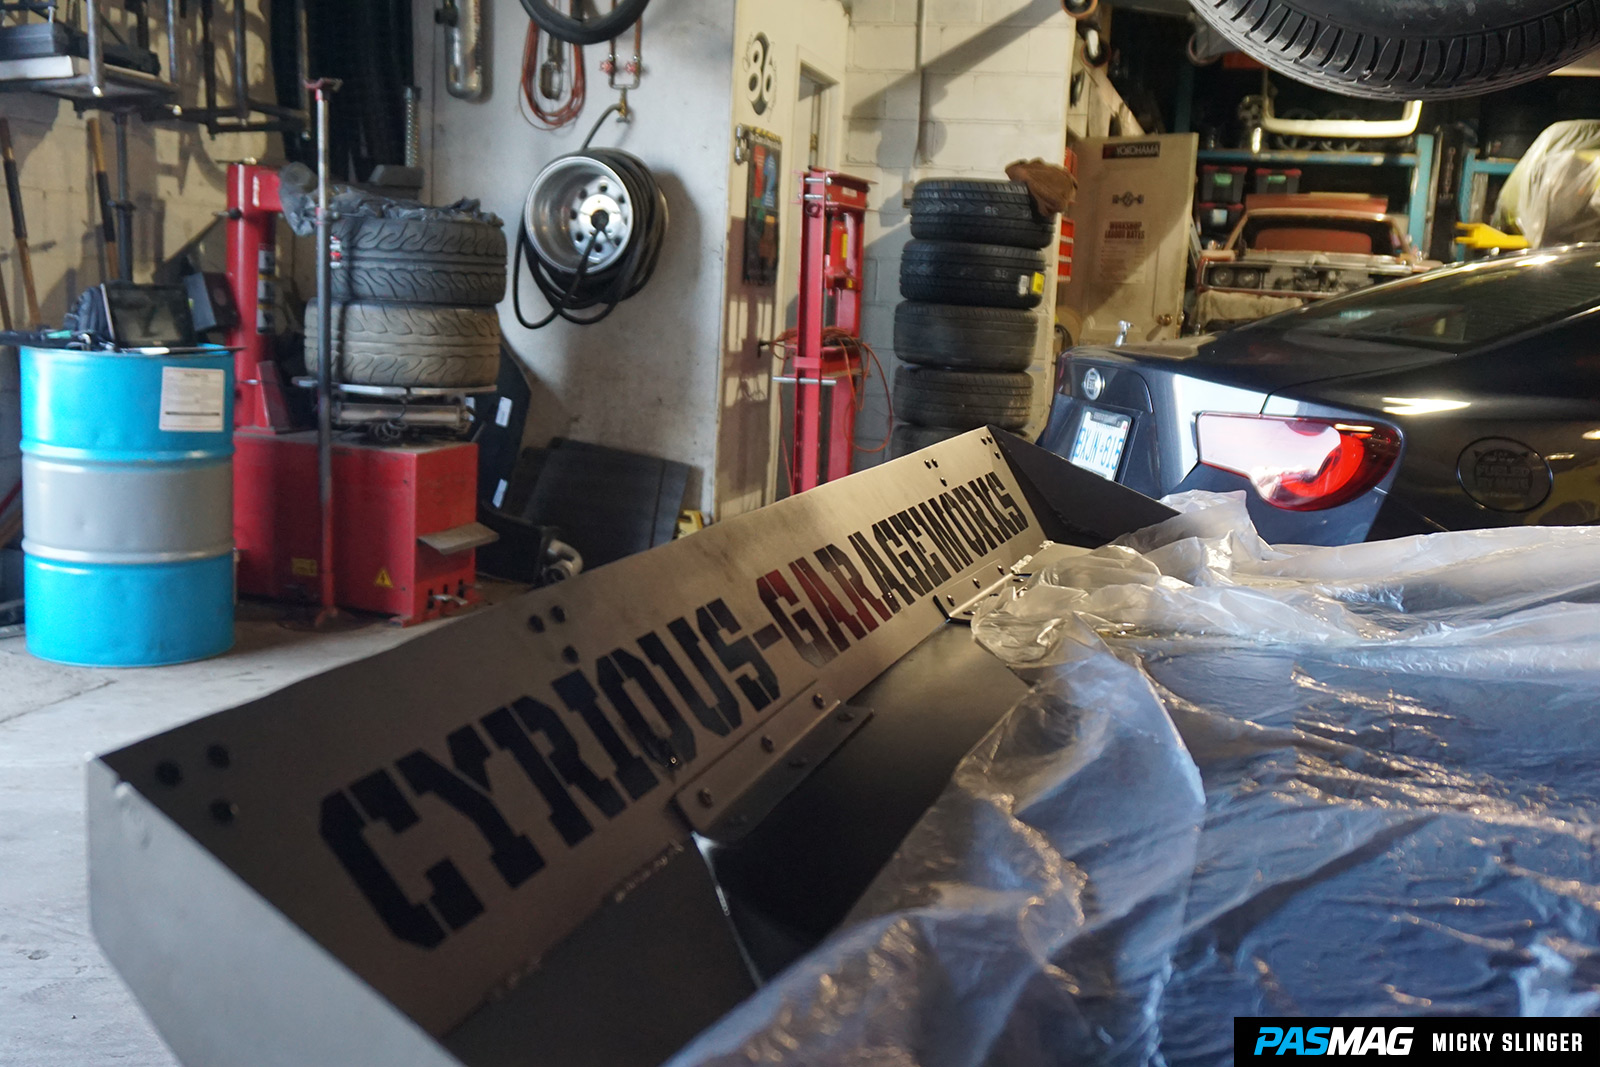
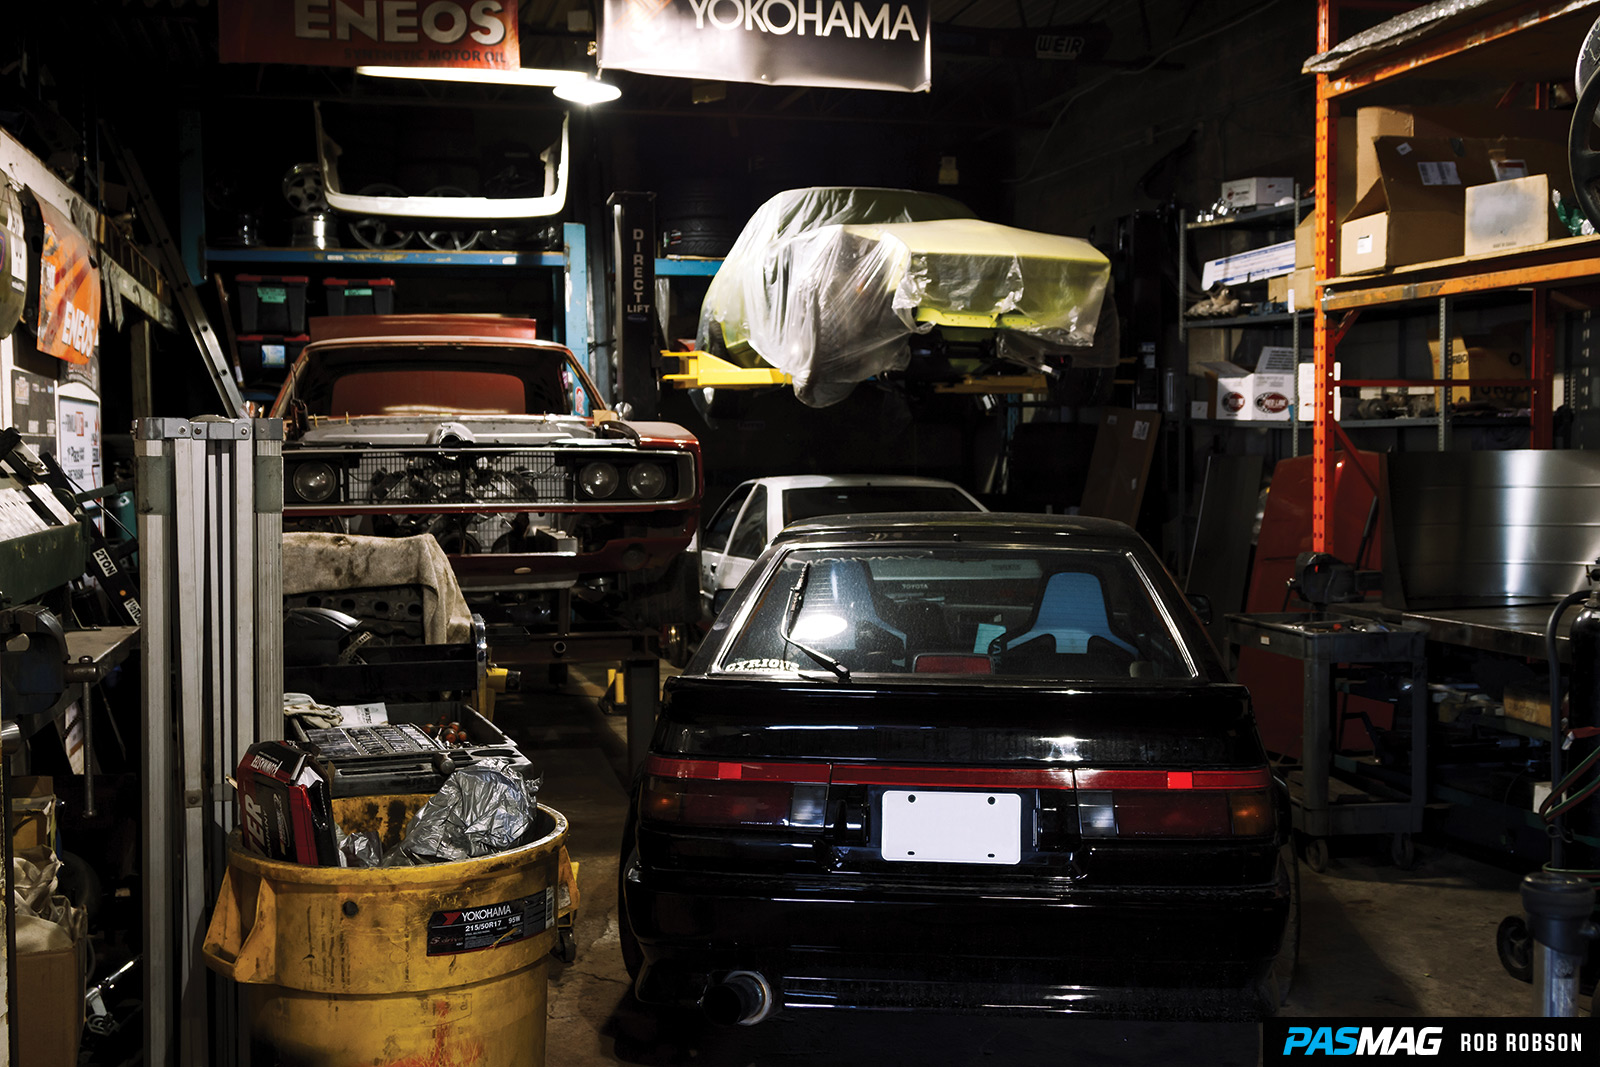
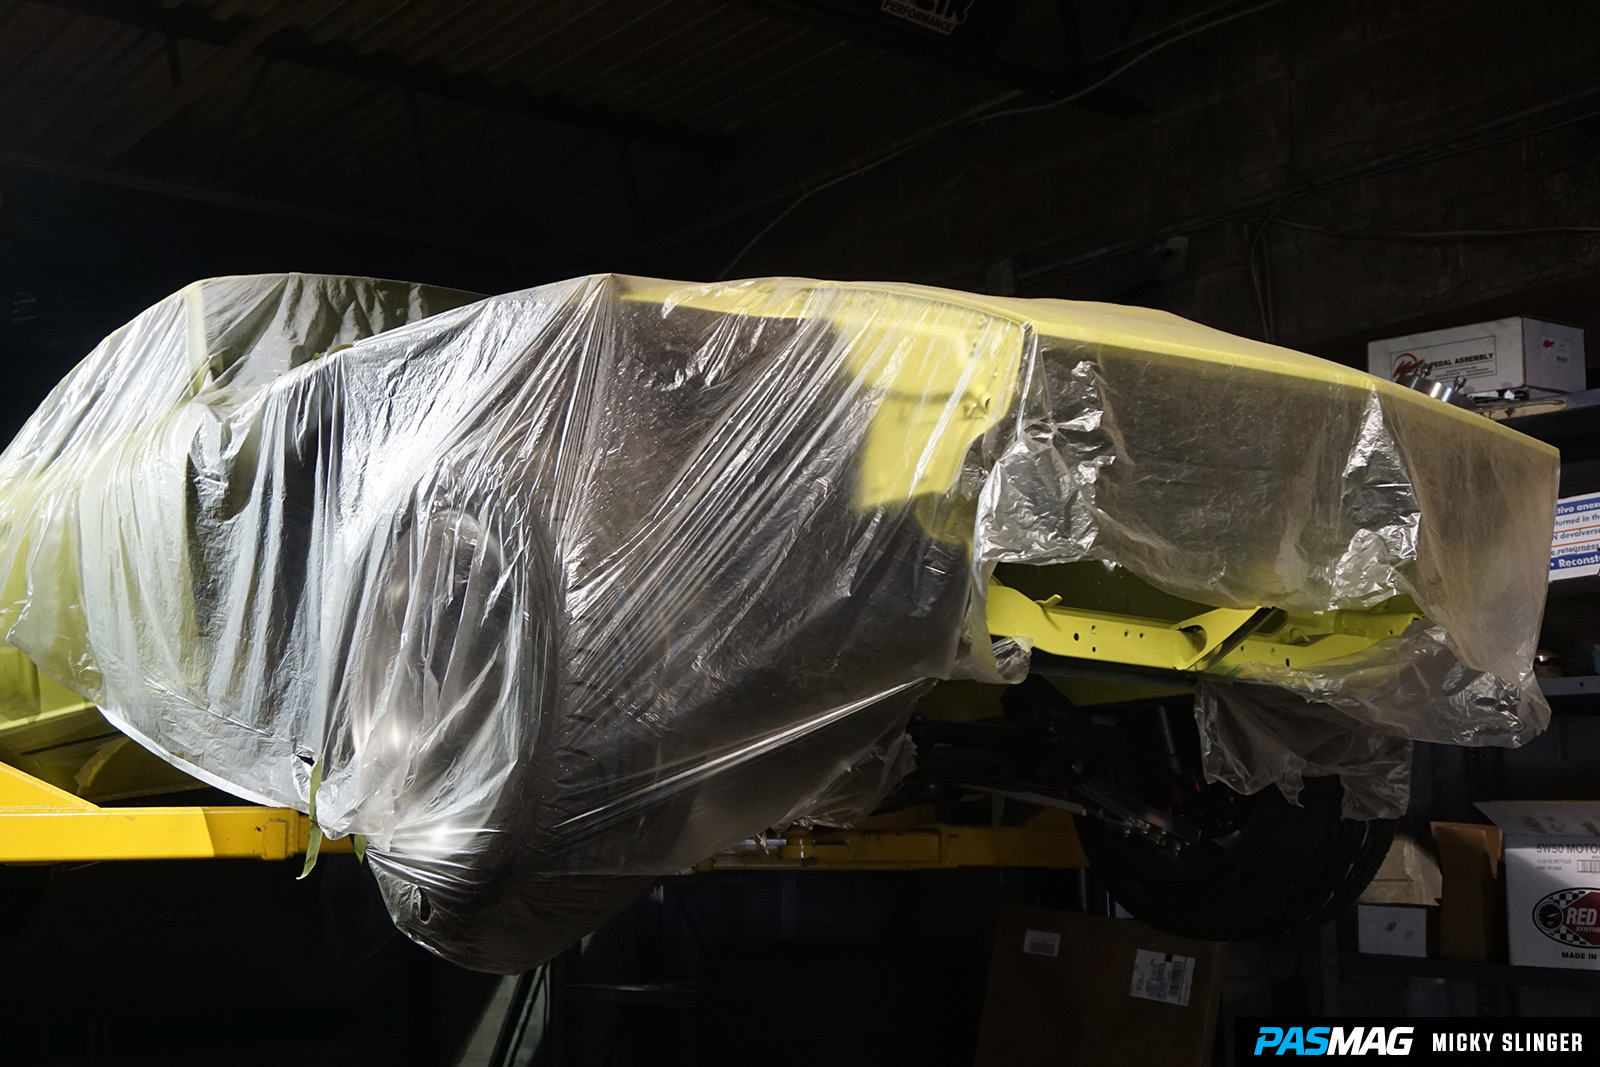
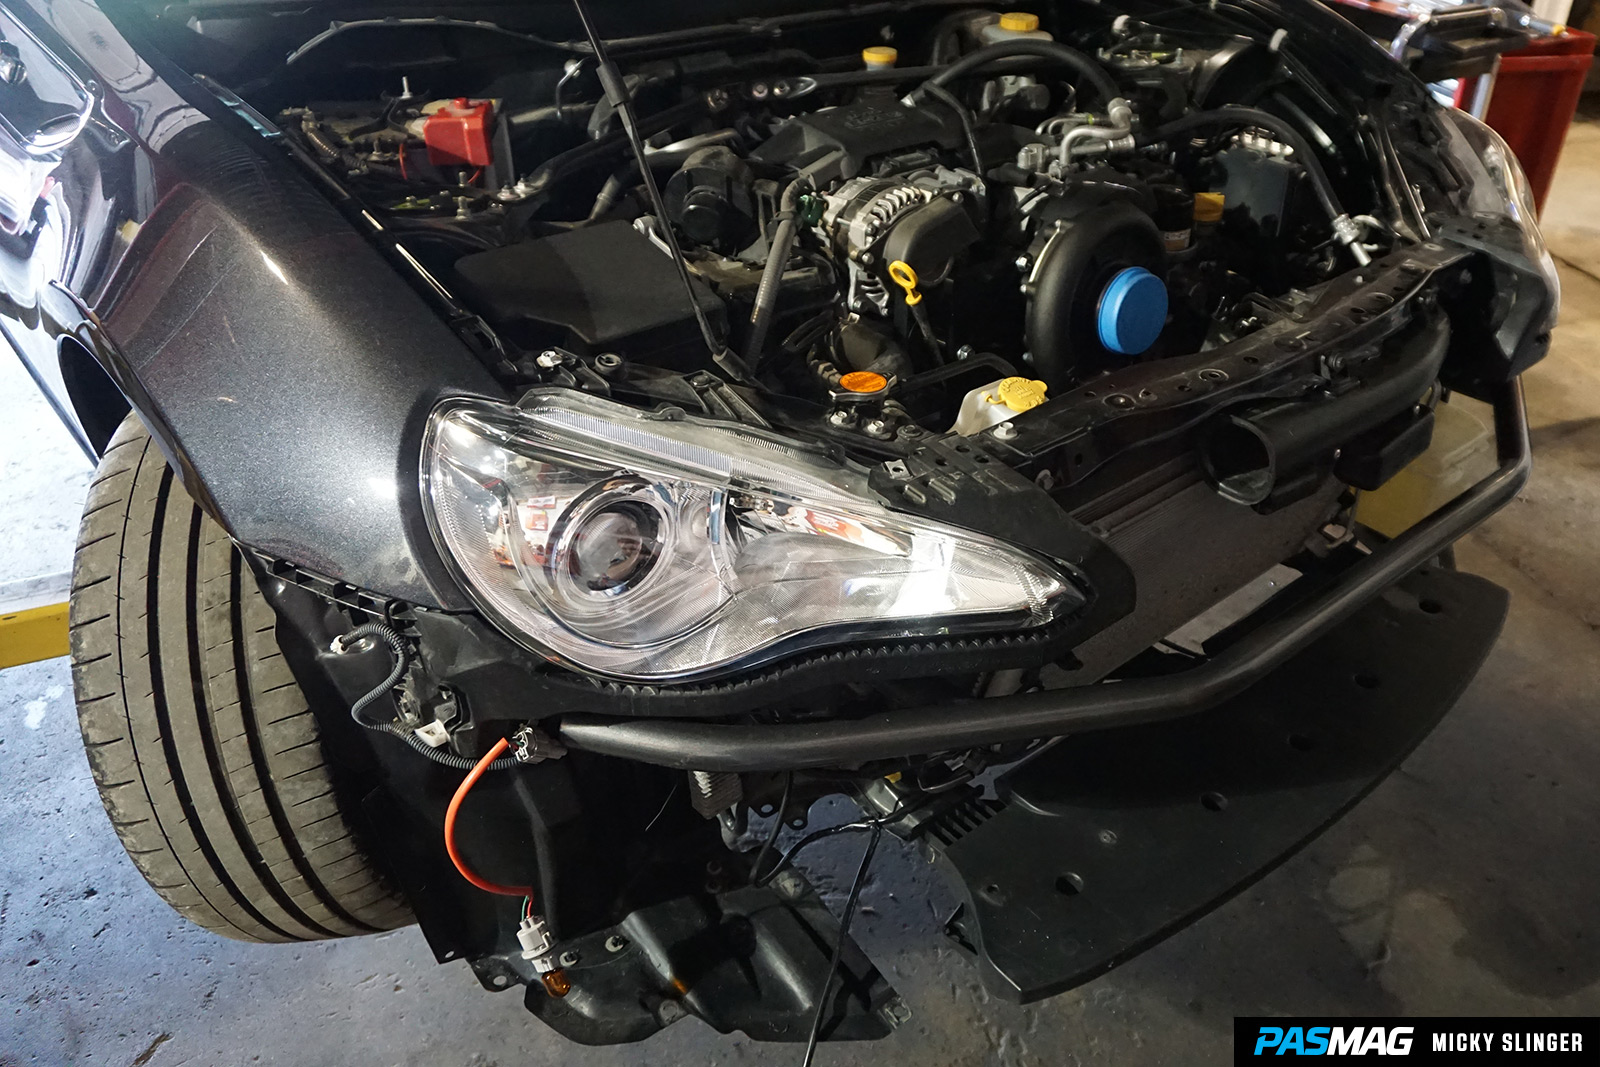
First things first, we got my FR-S up on a lift at Cyrious Garageworks HQ. We had to move a couple Levins out of the way in order to get my car in, and when we parked it, it was next to Cyr’s 2JZ drift car, so it just felt right, you know? We laid out all the components on the workbench, printed out the instructions, removed the front bumper (the bumper sag is real) and got down to business.

You’ll need to remove the OE air box or aftermarket intake. When you remove the OE air box, make sure you hang onto the rubber cushion mounts for a later step. If you have an aftermarket intake (like I did) and have totally lost your mounts (like I did), you’ll have to visit the classifieds section or call up the parts department for some new ones. Luckily, since a few FR-S intakes have come off in Cyr’s garage, he had some lying around and he was nice enough to donate them to the cause.
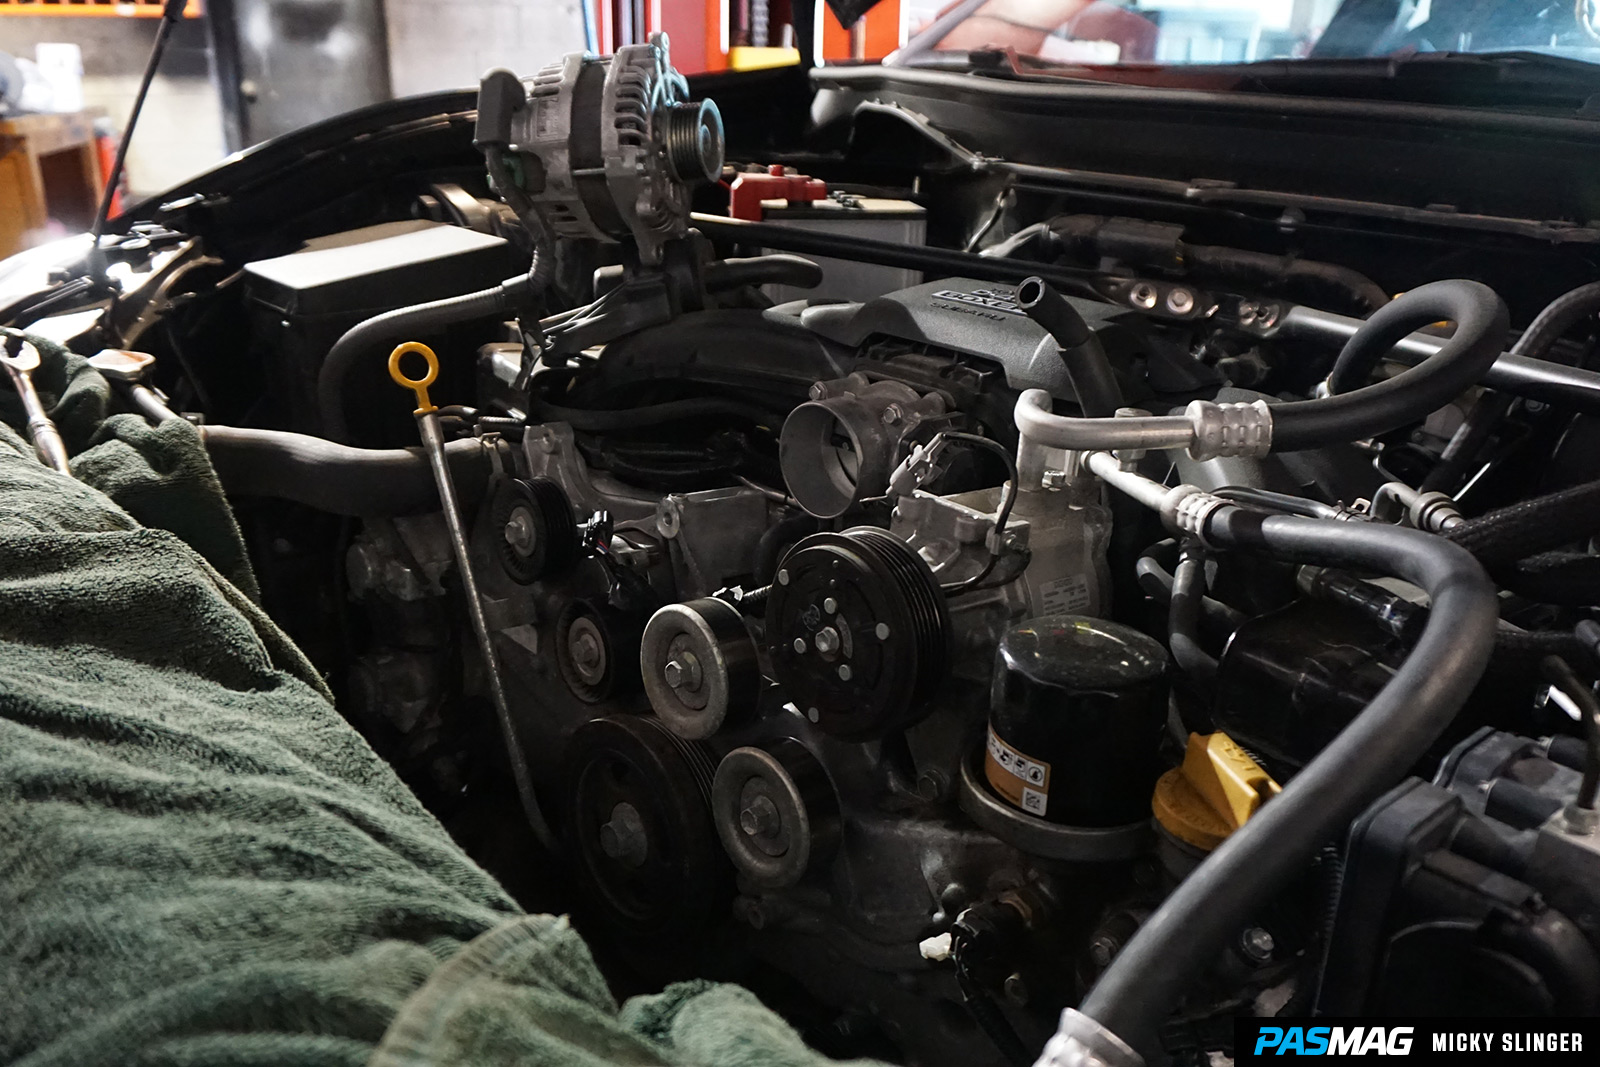
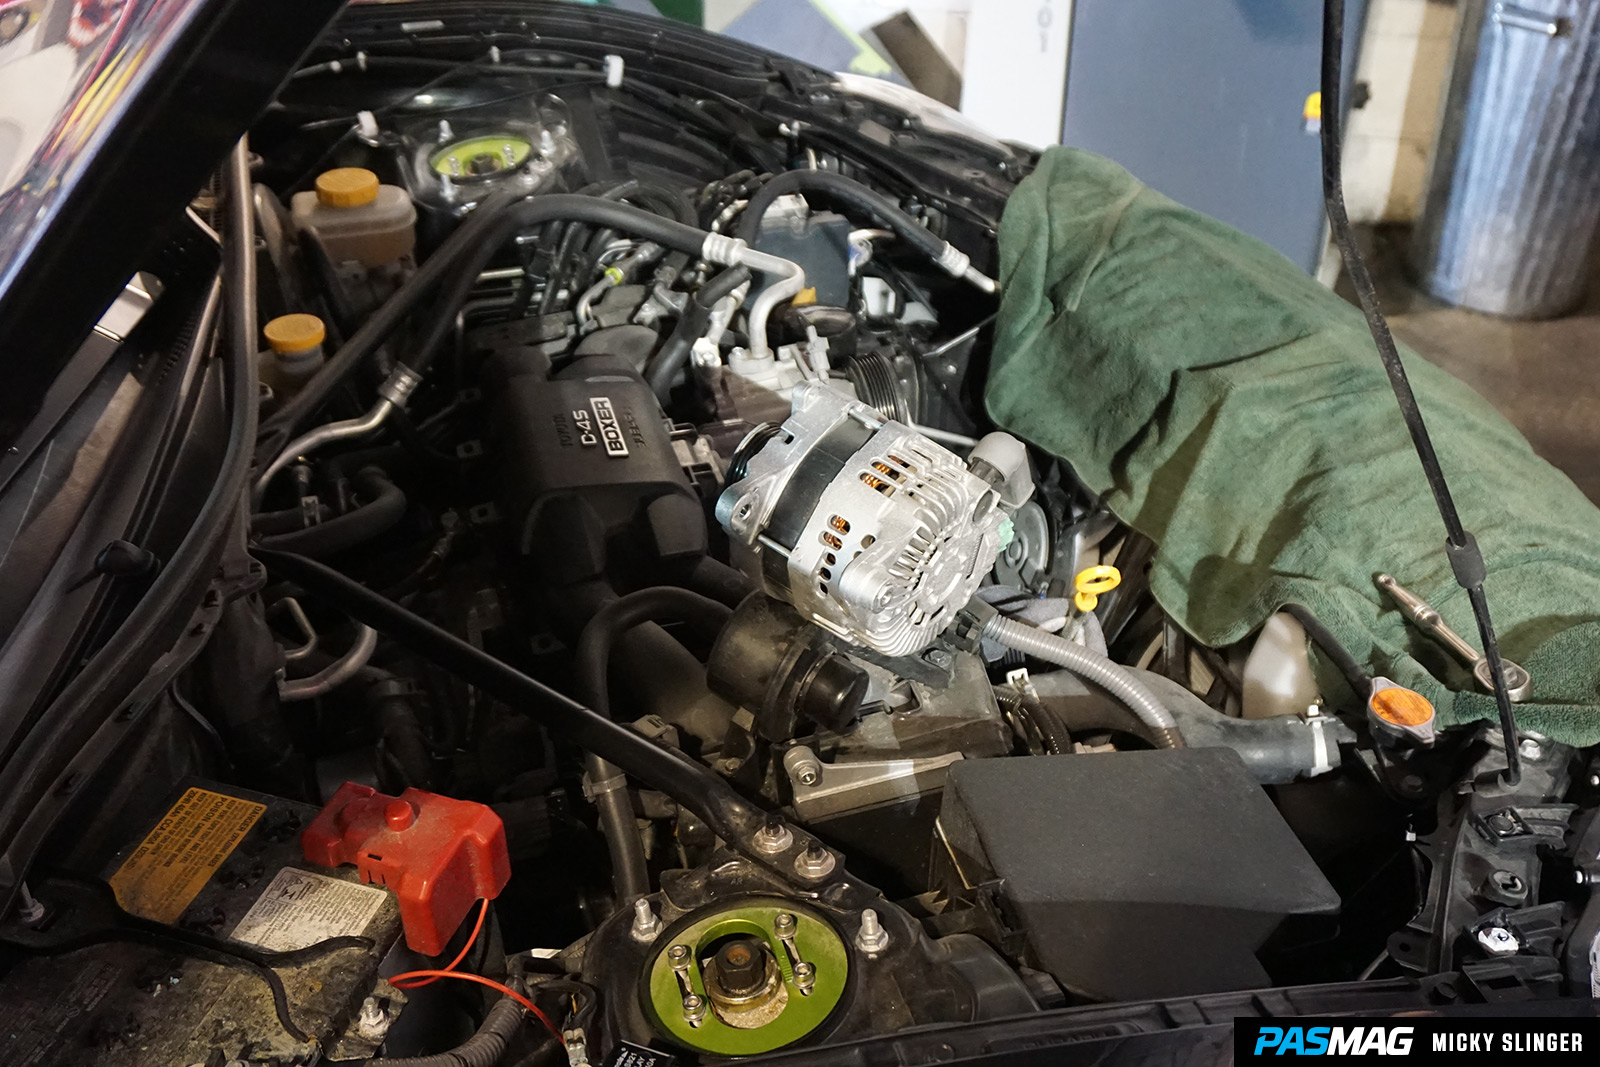
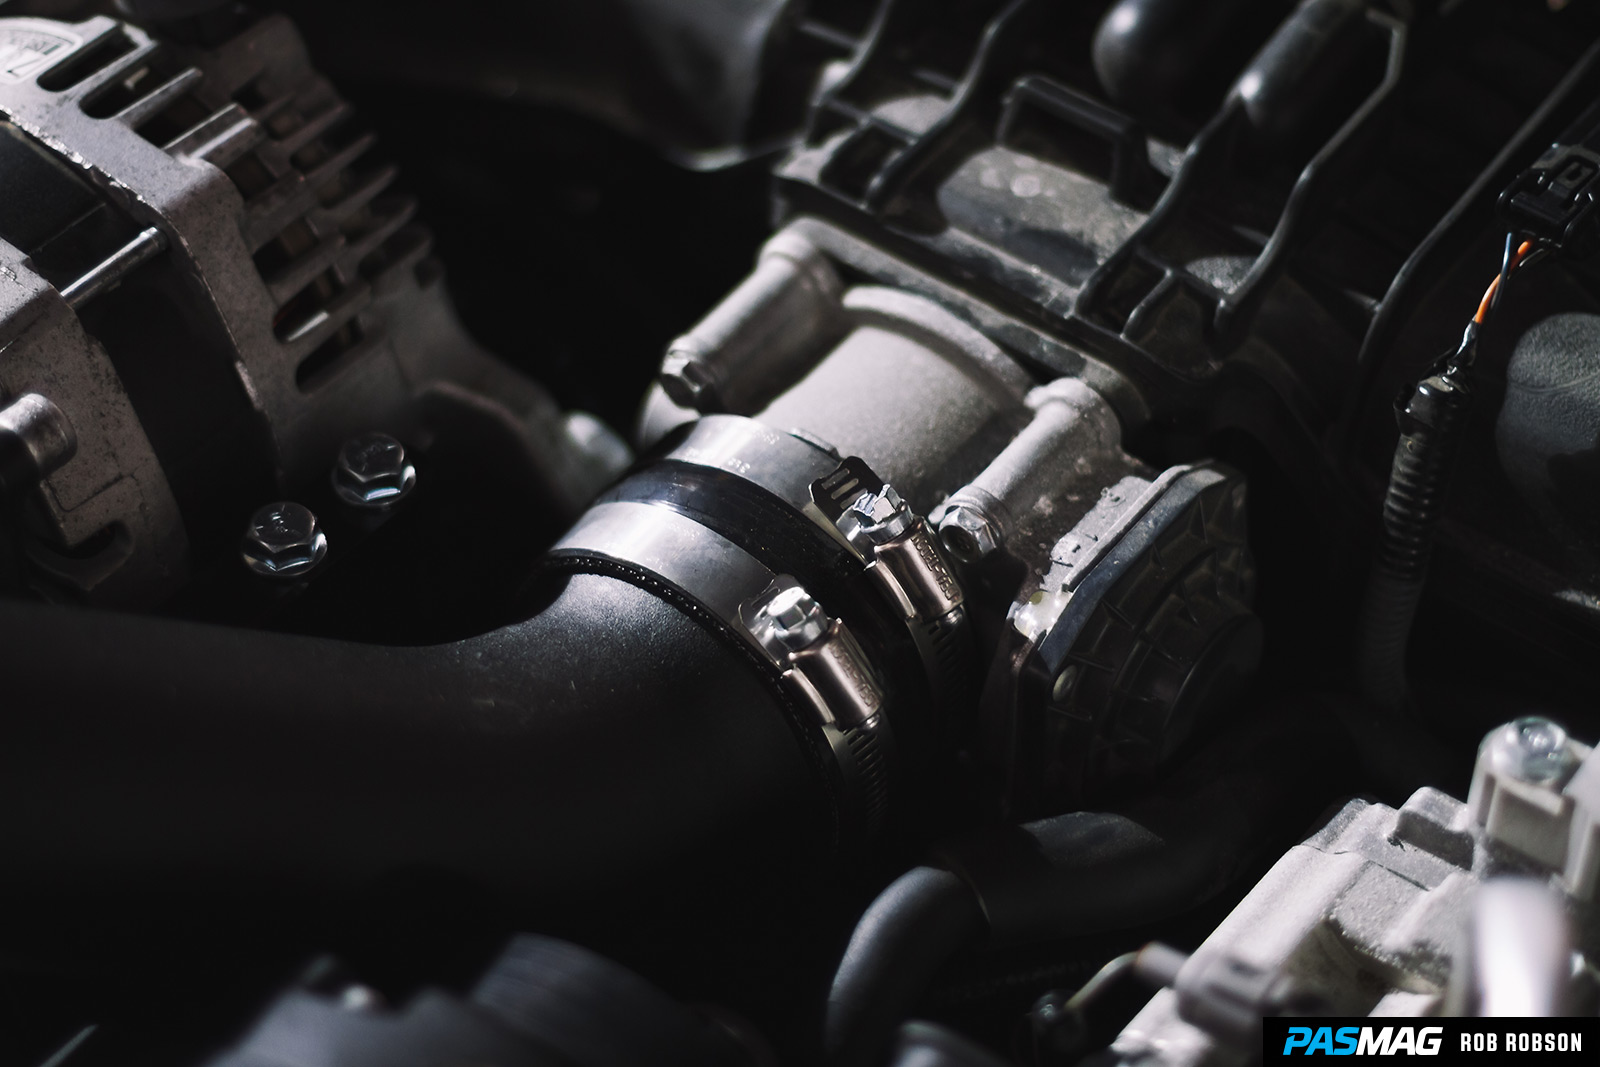
Next, remove the little plastic covers over the A/C and alternator wheels, then de-tension the drive belt with a long-handled, close-ended wrench and remove the belt. Remove the long and short bolt on the alternator to flip it up and allow the bracket boss to be ground down in order to install the alternator tilt bracket, then bolt it all back in. After this, you’ll want to remove a smooth idler pulley and a grooved idler pulley, as well as replace the smooth idler above the crank damper pulley with the supplied steel idler, using the supplied hardware to avoid clearance issues. Reinstall the idlers you previously removed with new hardware as well.
Gather all the bracing brackets and long, cylindrical spacers. You’ll need to install bracing on the A/C mount bolts and spacers on the denoted idler pulleys. Inspect the supercharger assembly plate and make sure you’ve got a supercharger on there (duh), an oil drain hose, a smooth idler wheel, and a loose, but captured, fastener. Using the guide, route the Vortech drive belt over and around all the wheel as shown, leaving enough slack for the wheels on the supercharger assembly.

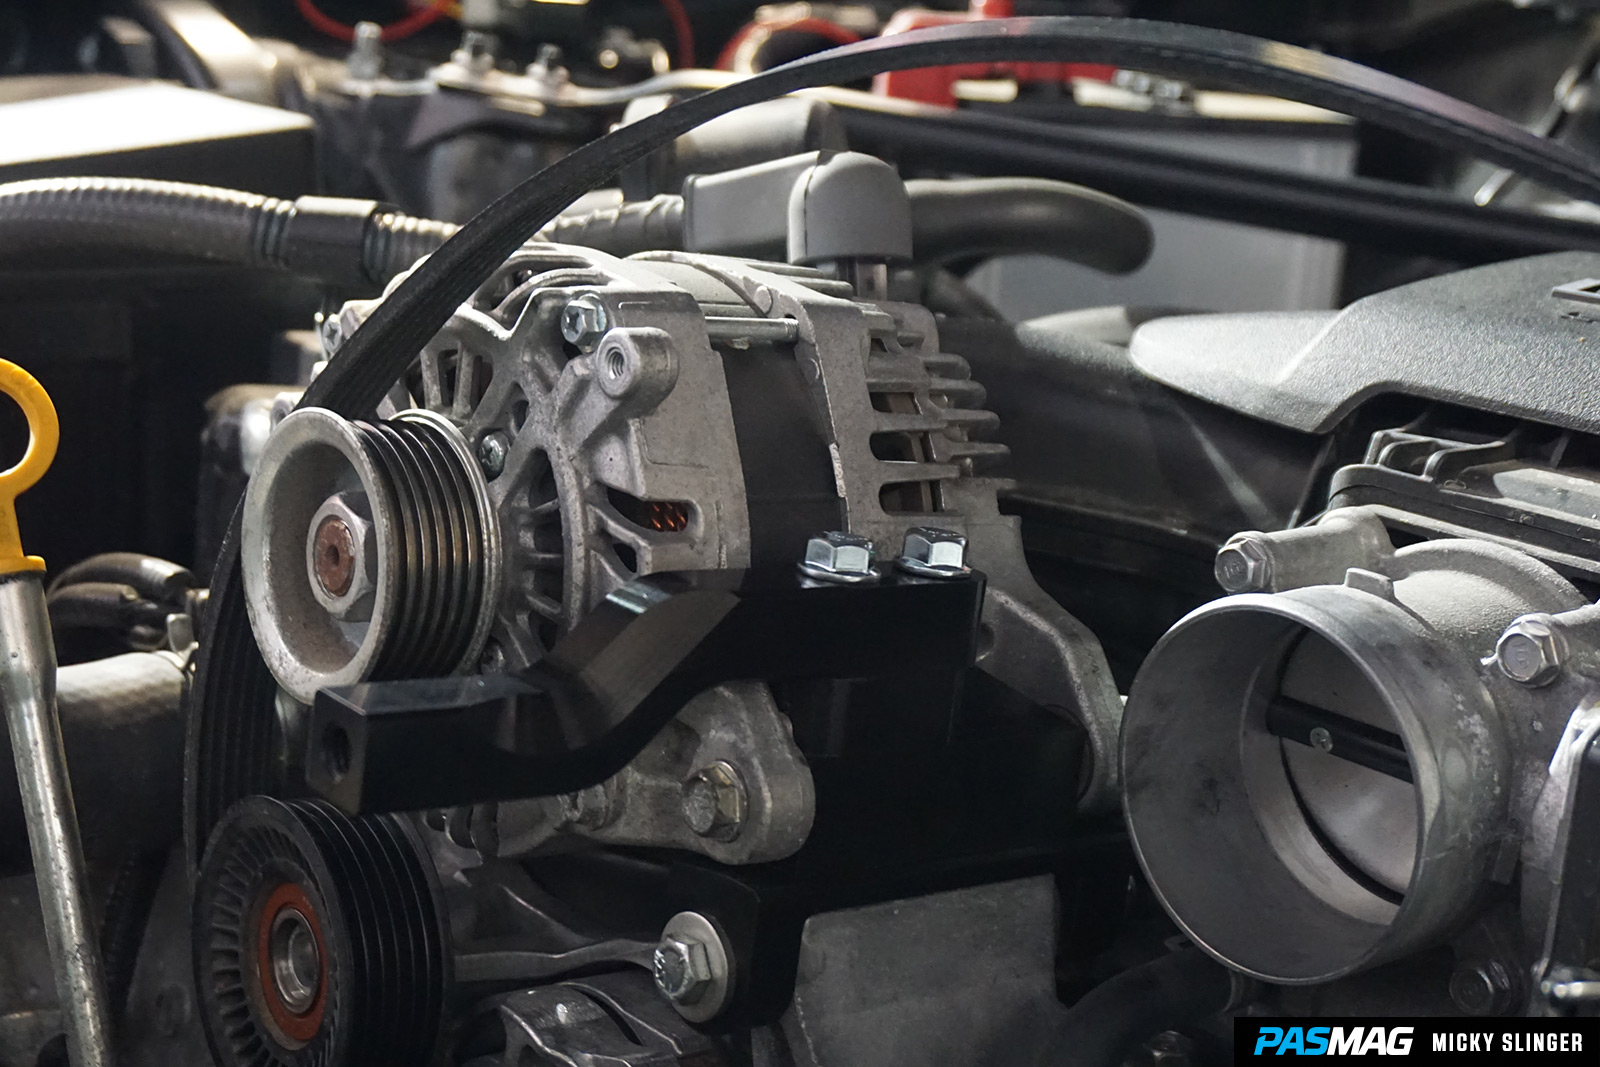
Install the mount bracket assembly and route the belt over the idler and compressor wheels, leaving the alternator wheel out. Now, does it seem next to impossible to get that belt over the alternator wheel? Good. That means you did it right. Using that trusty wrench from before, get someone (or two people) to hold the belt de-tensioned while you claw that belt over the alternator wheel. Godspeed and good luck.
To finish up, remove the two cam cover screws nearest to the mounting bracket and install the steel mounting plate stiffener. On the driver side of the bay, install the air box support bracket, and on the passenger side, relocate the hood prop. Modify the A/C wheel cover to fit with the newly mounted supercharger, the reinstall both the A/C and alternator covers.
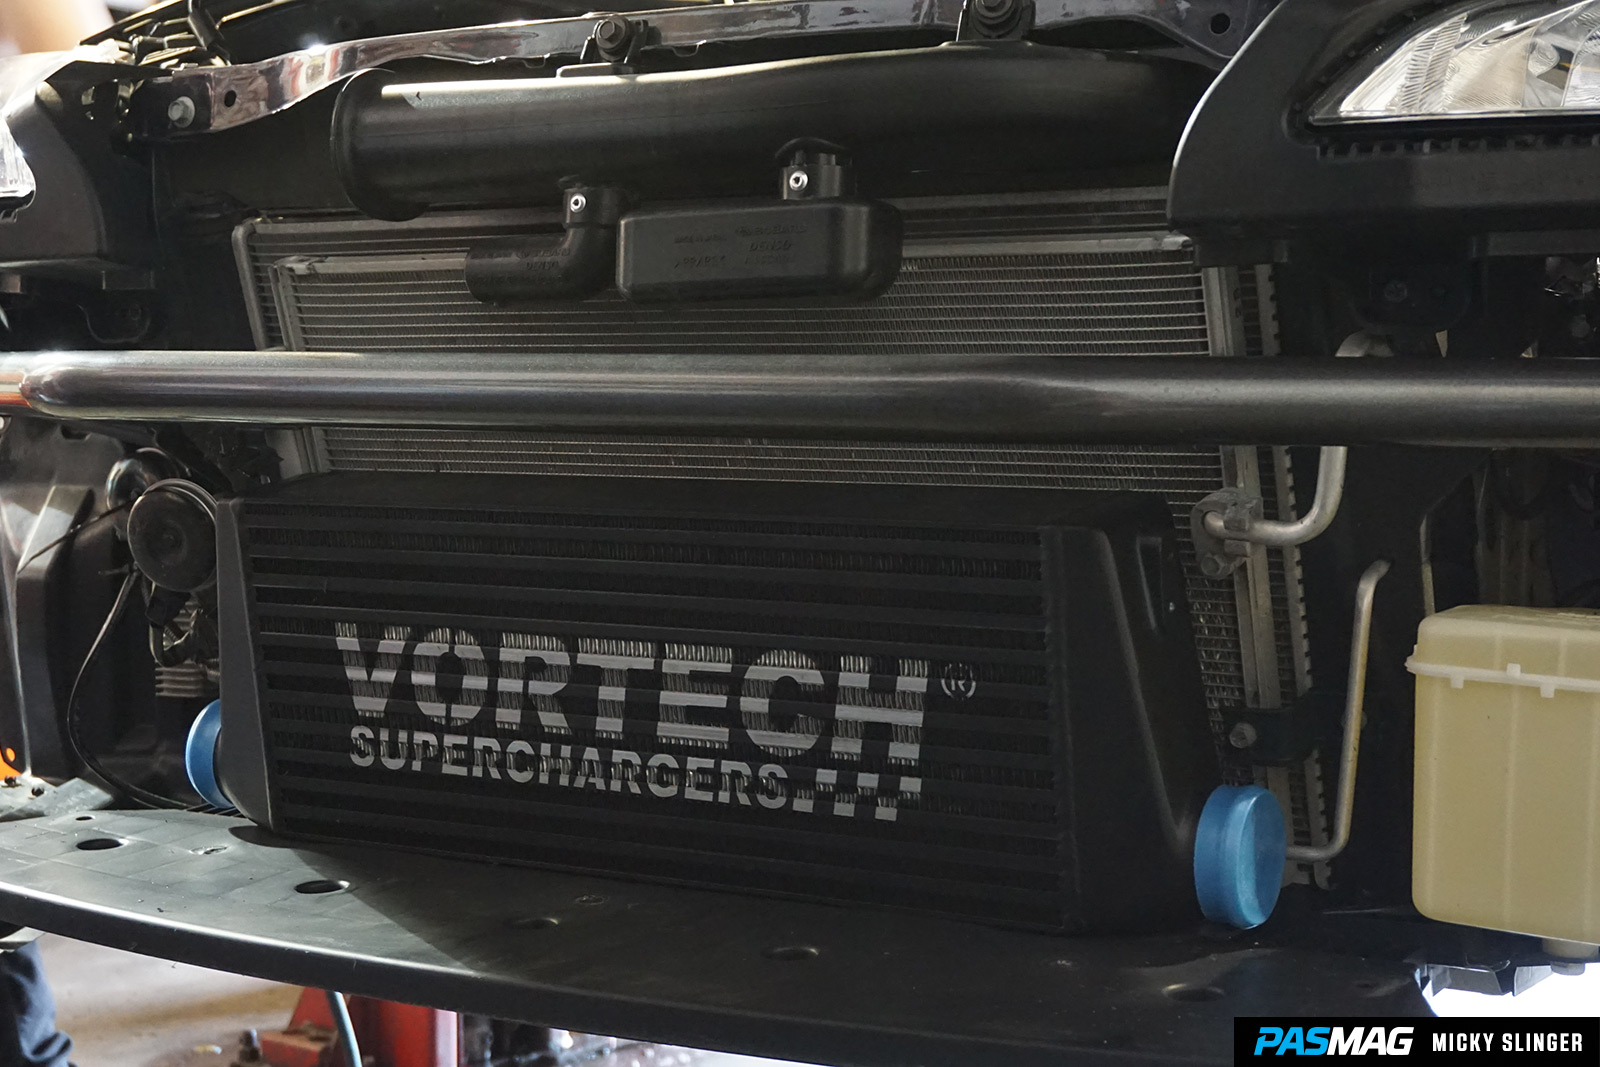

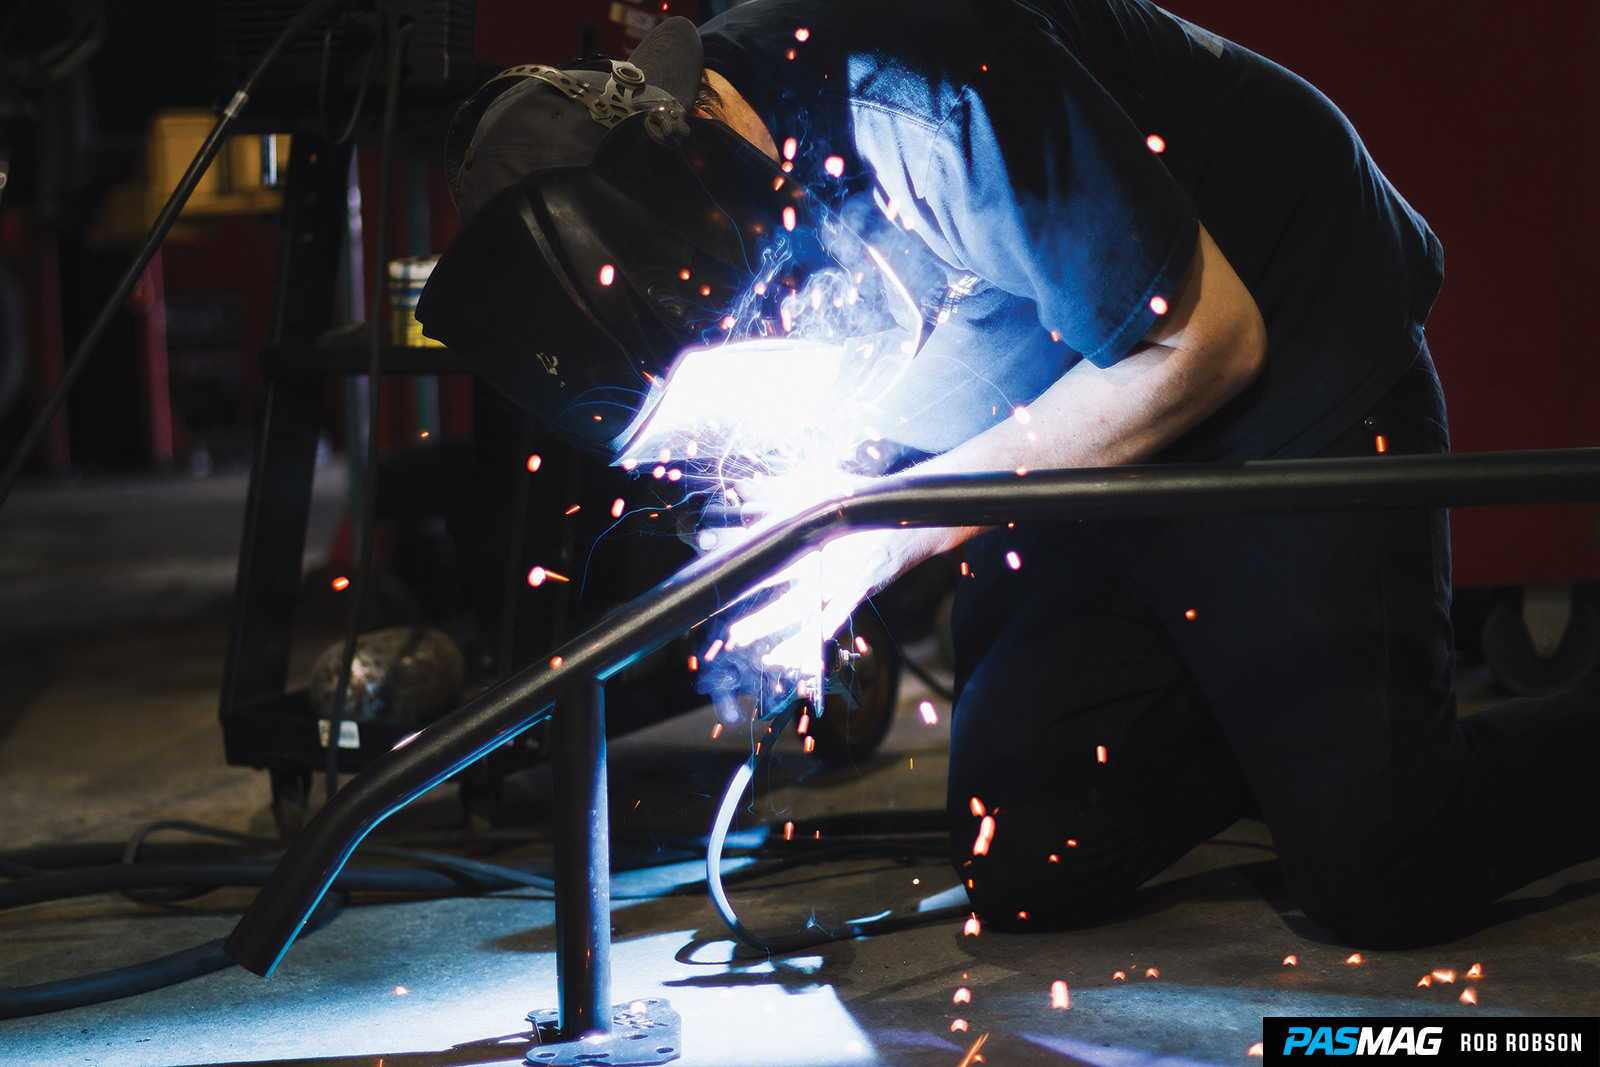
Next comes the intercooler. Normally, you’d remove and relocate a bunch of stuff up front, but I’d thought ahead and made the job easier (or so I thought) by installing a Street Faction bash bar. Turns out the factory front bar is used to mount the intercooler to through use of some brackets included in the kit. With those mounting locations gone, I was out of luck. Here is scenario number two where Mr. Cyr saved my ass. Using some drift magic and ingenuity, he fabricated some brackets to be welded to the bash bar and drilled into the intercooler. When it was all said and done, it looked amazing! I think this makes my kit just a little bit more legit, don’t you think?
You’ll then need to remove the windshield washer reservoir and yank the neck out. Chop the excess on the neck to just below the bulge that pops it into place in the original washer tank, and then attach the supplied hose on the end and pop it into the new, supplied washer tank after attaching all the needed brackets. Refill the tank and mount it up to its new home.
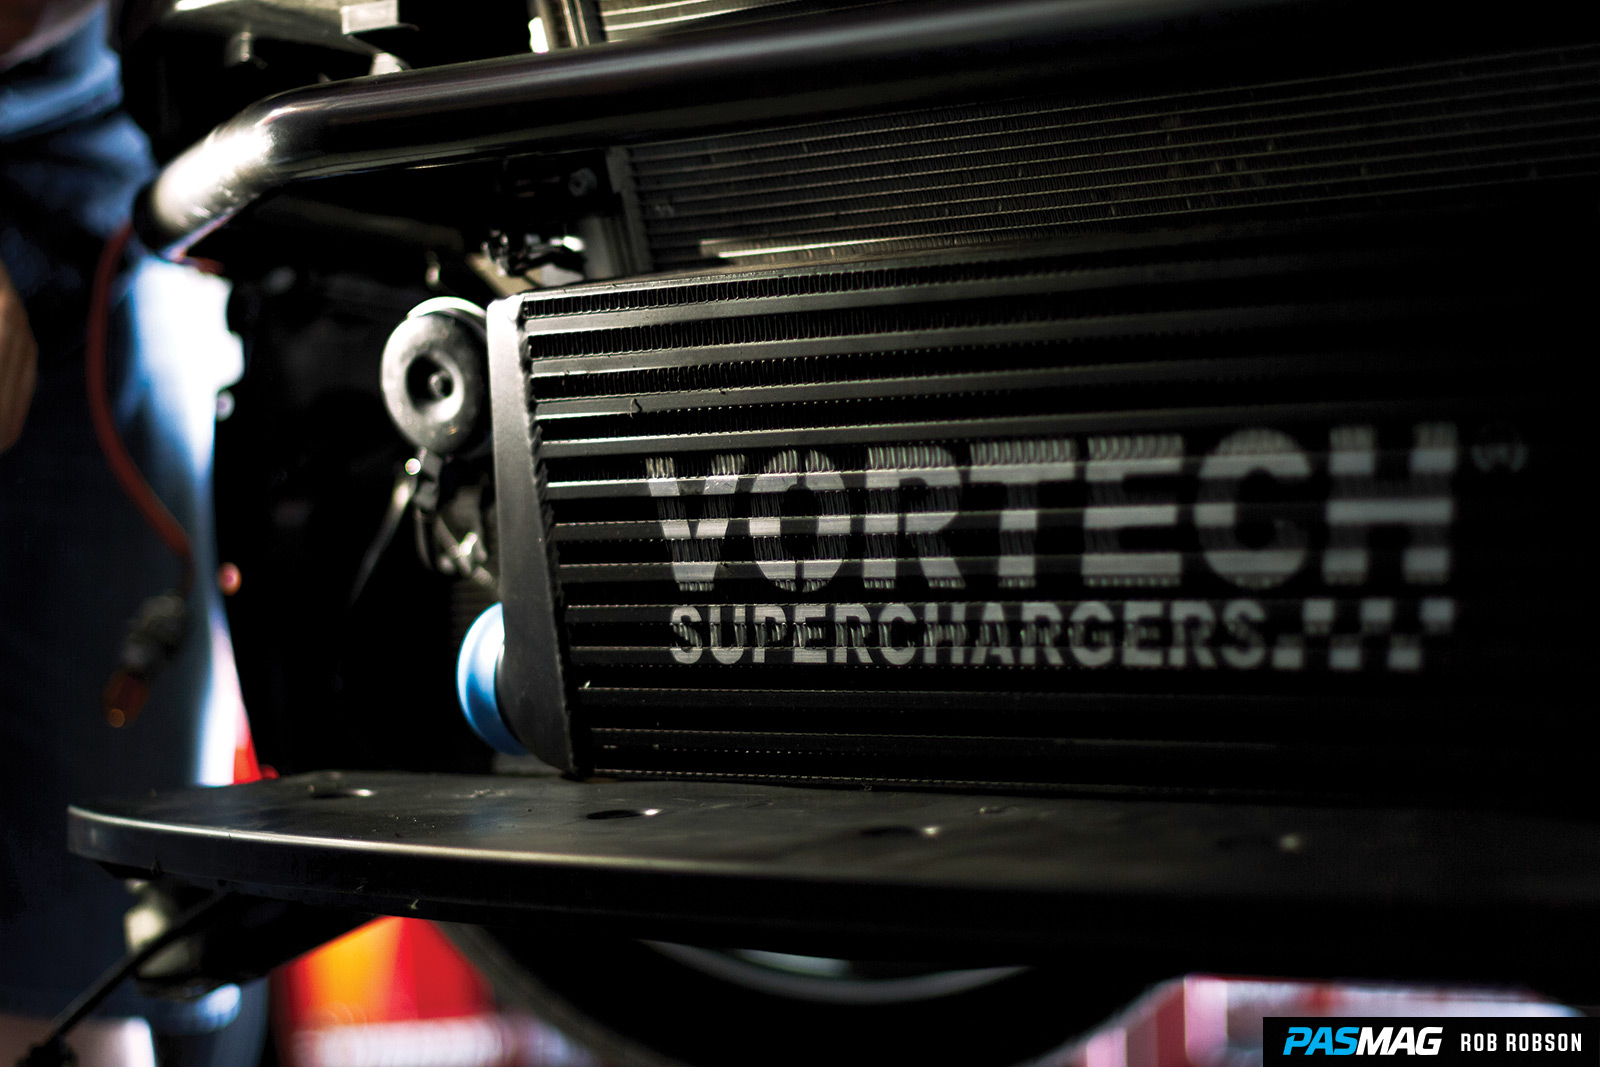
Placing the charge piping is easy enough and fairly self-explanatory. Just make sure to look for the pipes that have little flanges on them. Those guys need to be mounted up properly to their bracket supports to eliminate any play in the system when your car is hitting bumps and other fun stuff that causes movement. This system is very tight within the bay and your belt could rub on some pipes, causing it to wear out prematurely if you’re not careful about making sure everything is secure.
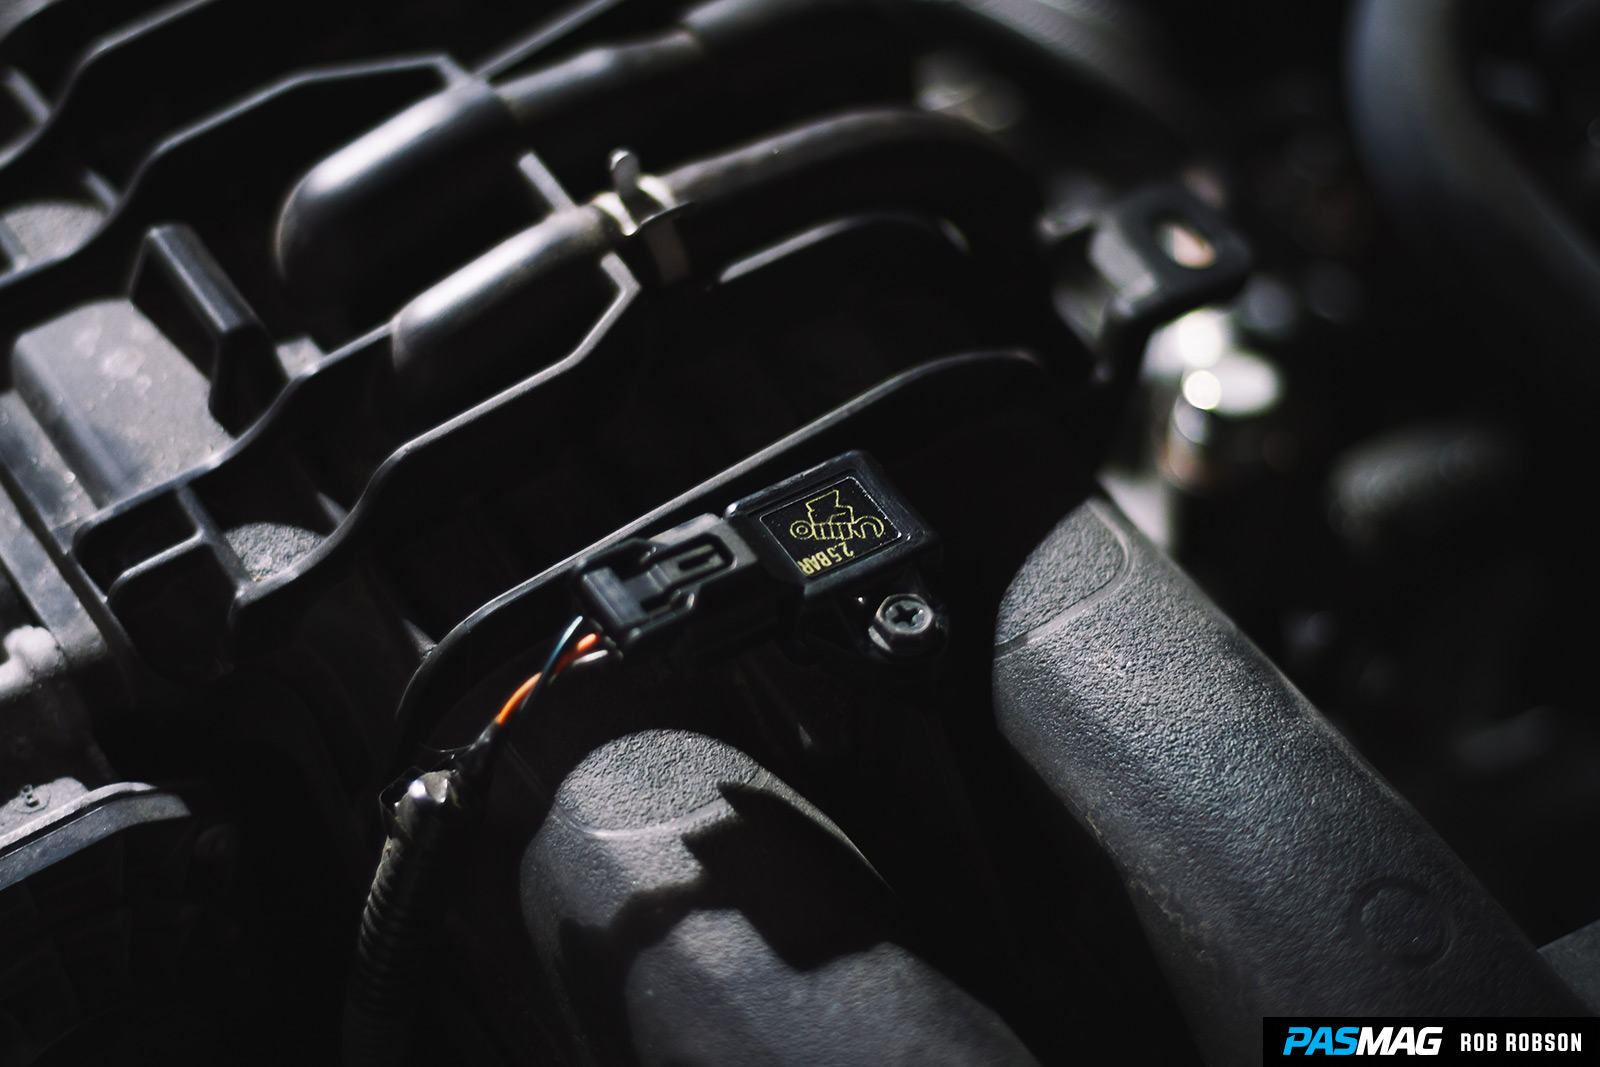
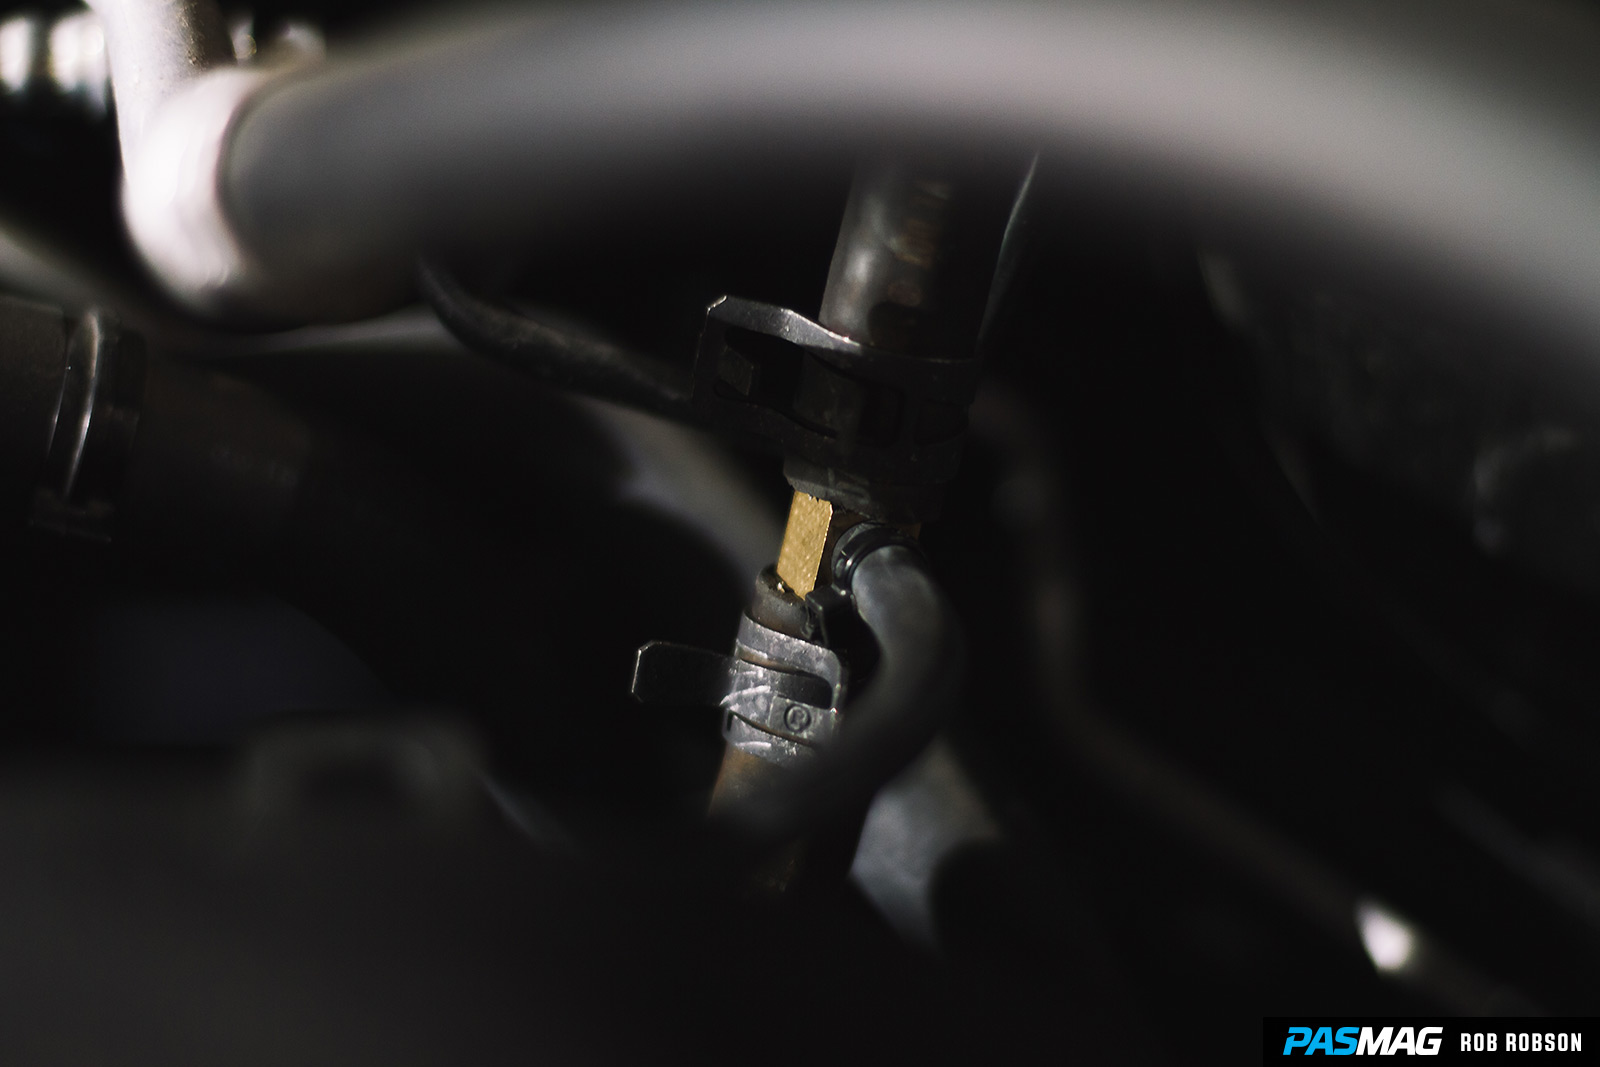
A few bits of splicing now. Your little Bosch diverter, which supplies all the “psssht” sounds, fits onto the one-inch nipple of “discharge pipe A.” Splice in the brass branch tee two inches from where the brake booster meets the manifold, then run a hose between the diverter and the branch tee. Splice number two is the breather hose check valve into the (you guessed it) breather hose located on the valve cover. While you’re there, swap out the OE MAP sensor for the Vortech offering.
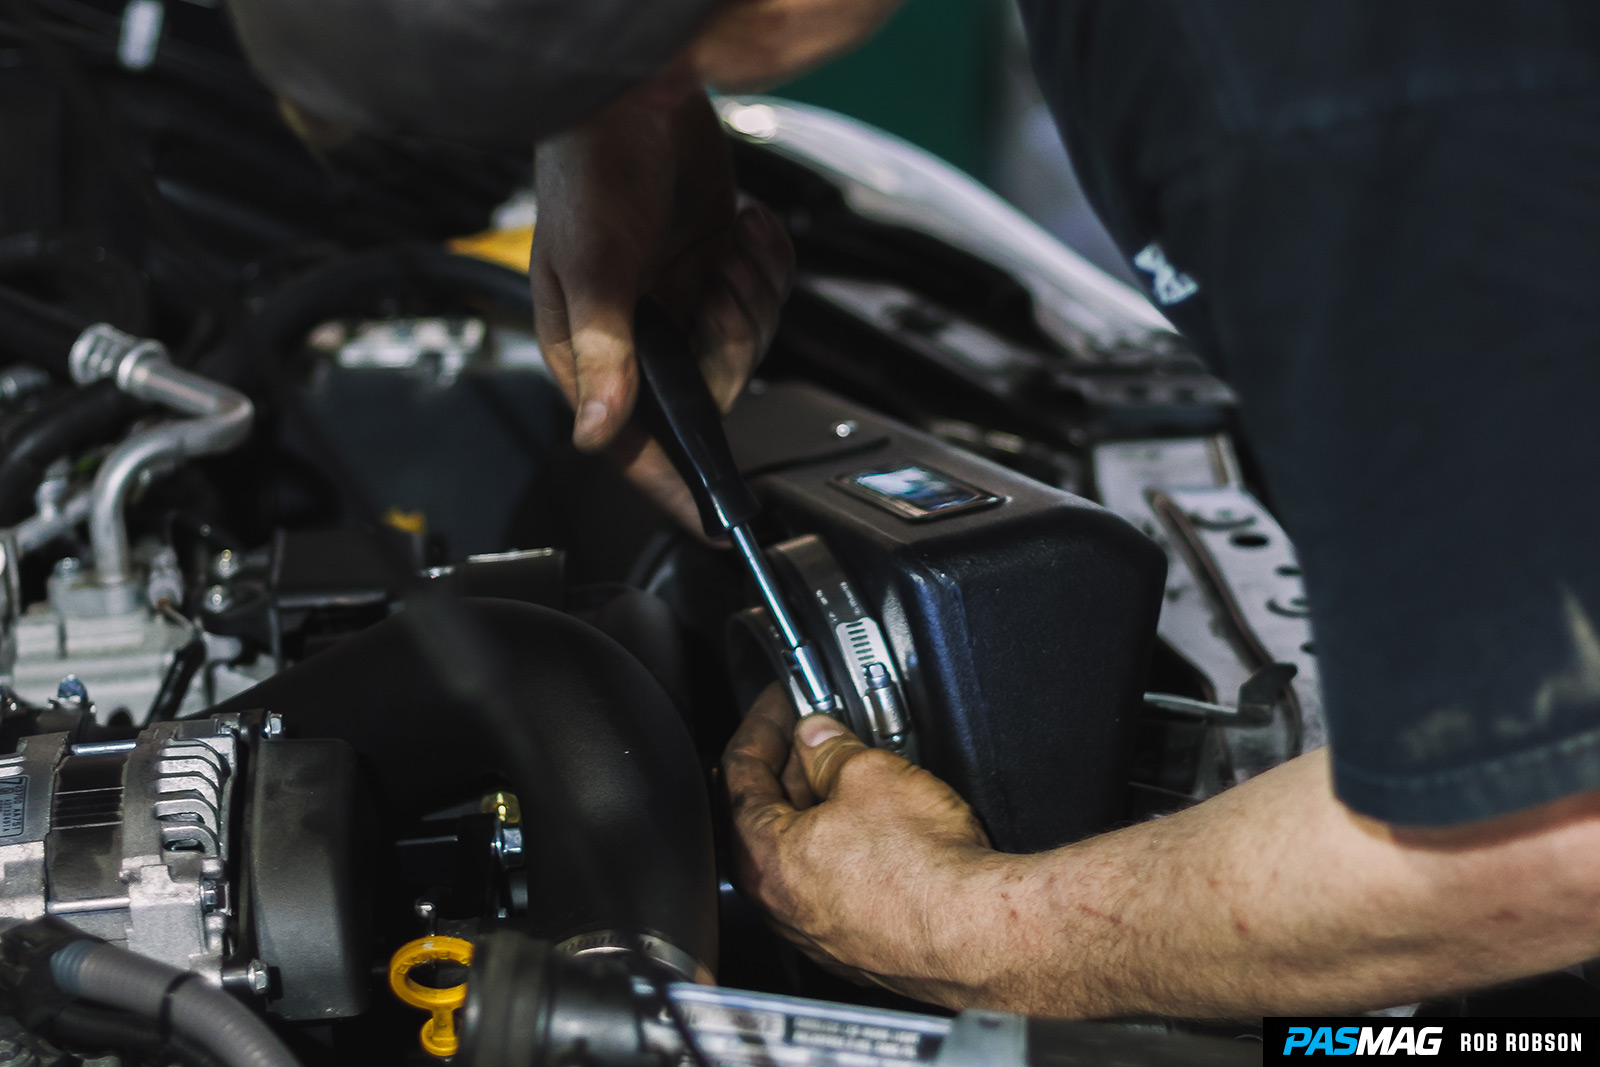
Here is where those valuable rubber cushion mounts come into play. Plug those bad boys into the new air box’s mounting tabs and position the rubber coupler and loosened clamp onto the supercharger inlet. Make some tricky maneuvers to install the rest of the air box, as it’s a tight fit, and line up the filter opening with the OE intake duct in the front bumper. Finally, run the supplied hose from the breather union to the 90-degree fitting on the air box. Make sure to avoid sharp edges. You don’t want to puncture anything before you even start!

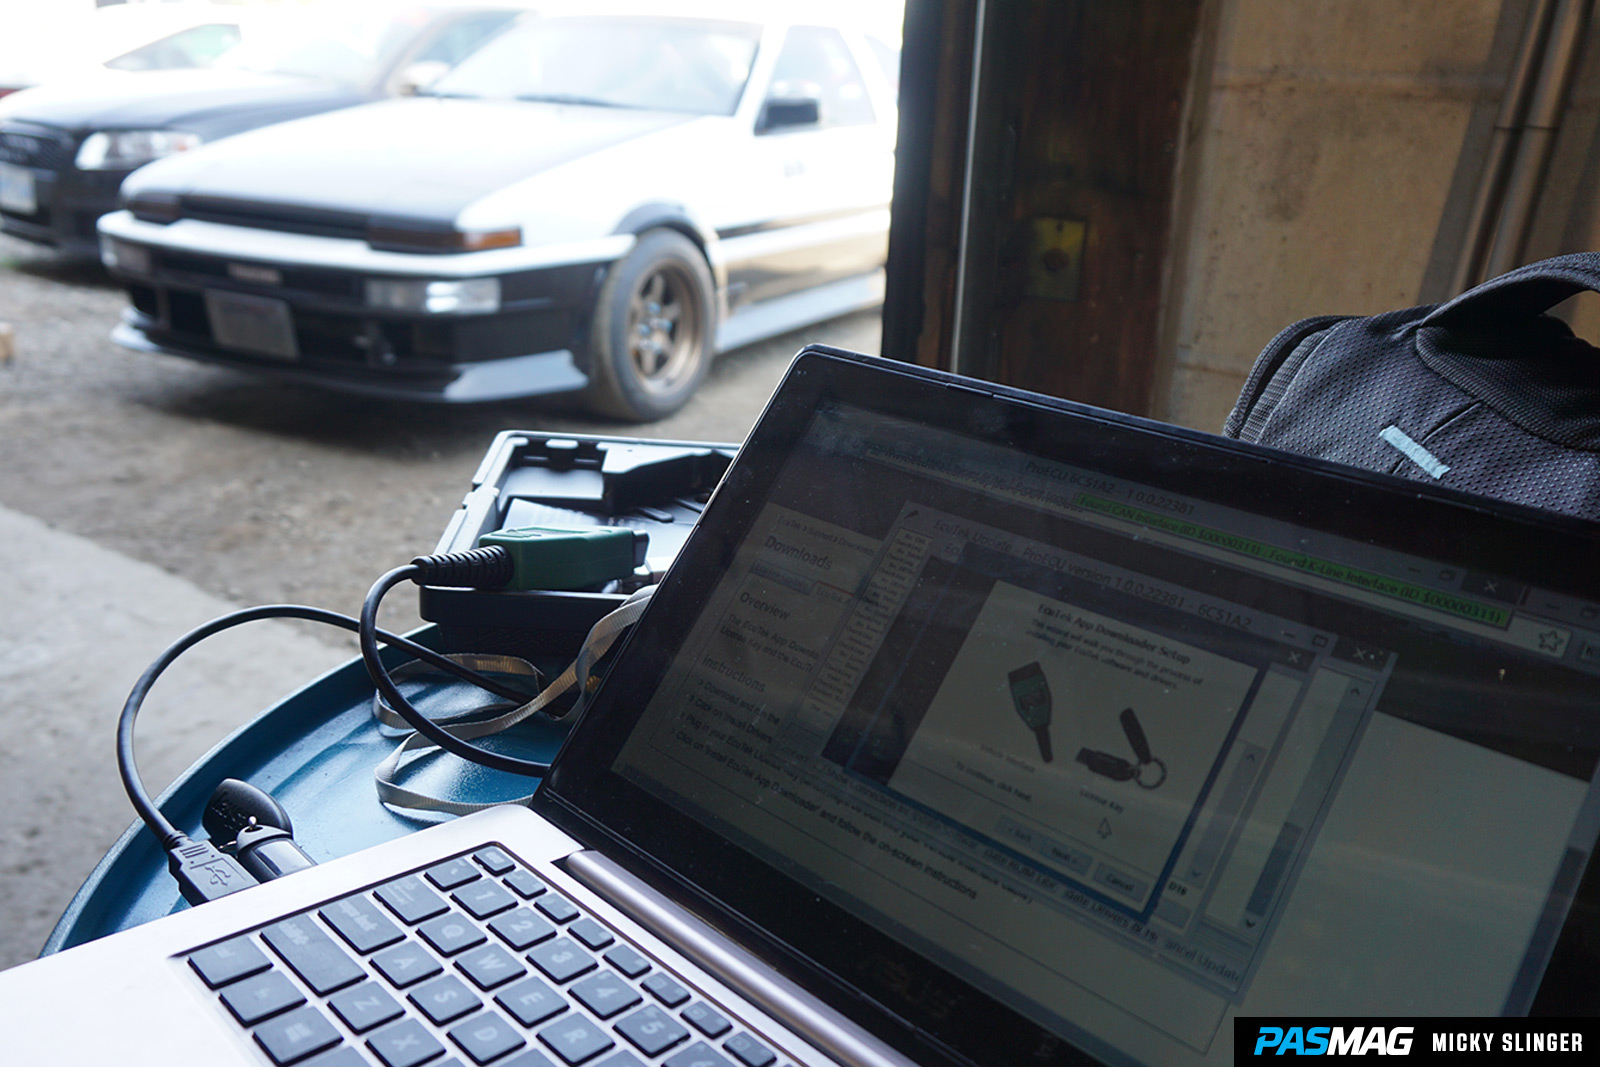
Make sure everything is nice and torqued, then bust out the laptop. The prospect of re-flashing your ECU with a tune can seem a little intimidating, but from personal experience I can tell you that EcuTek makes it almost too easy. Just plug in everything as you’re told to your laptop, then just hit that “Next” or “Accept” button like you’re installing software. You’ll be given prompts to shut off and restart your car, then you’ll get a notice on your screen that the tune has taken, and you’re done!
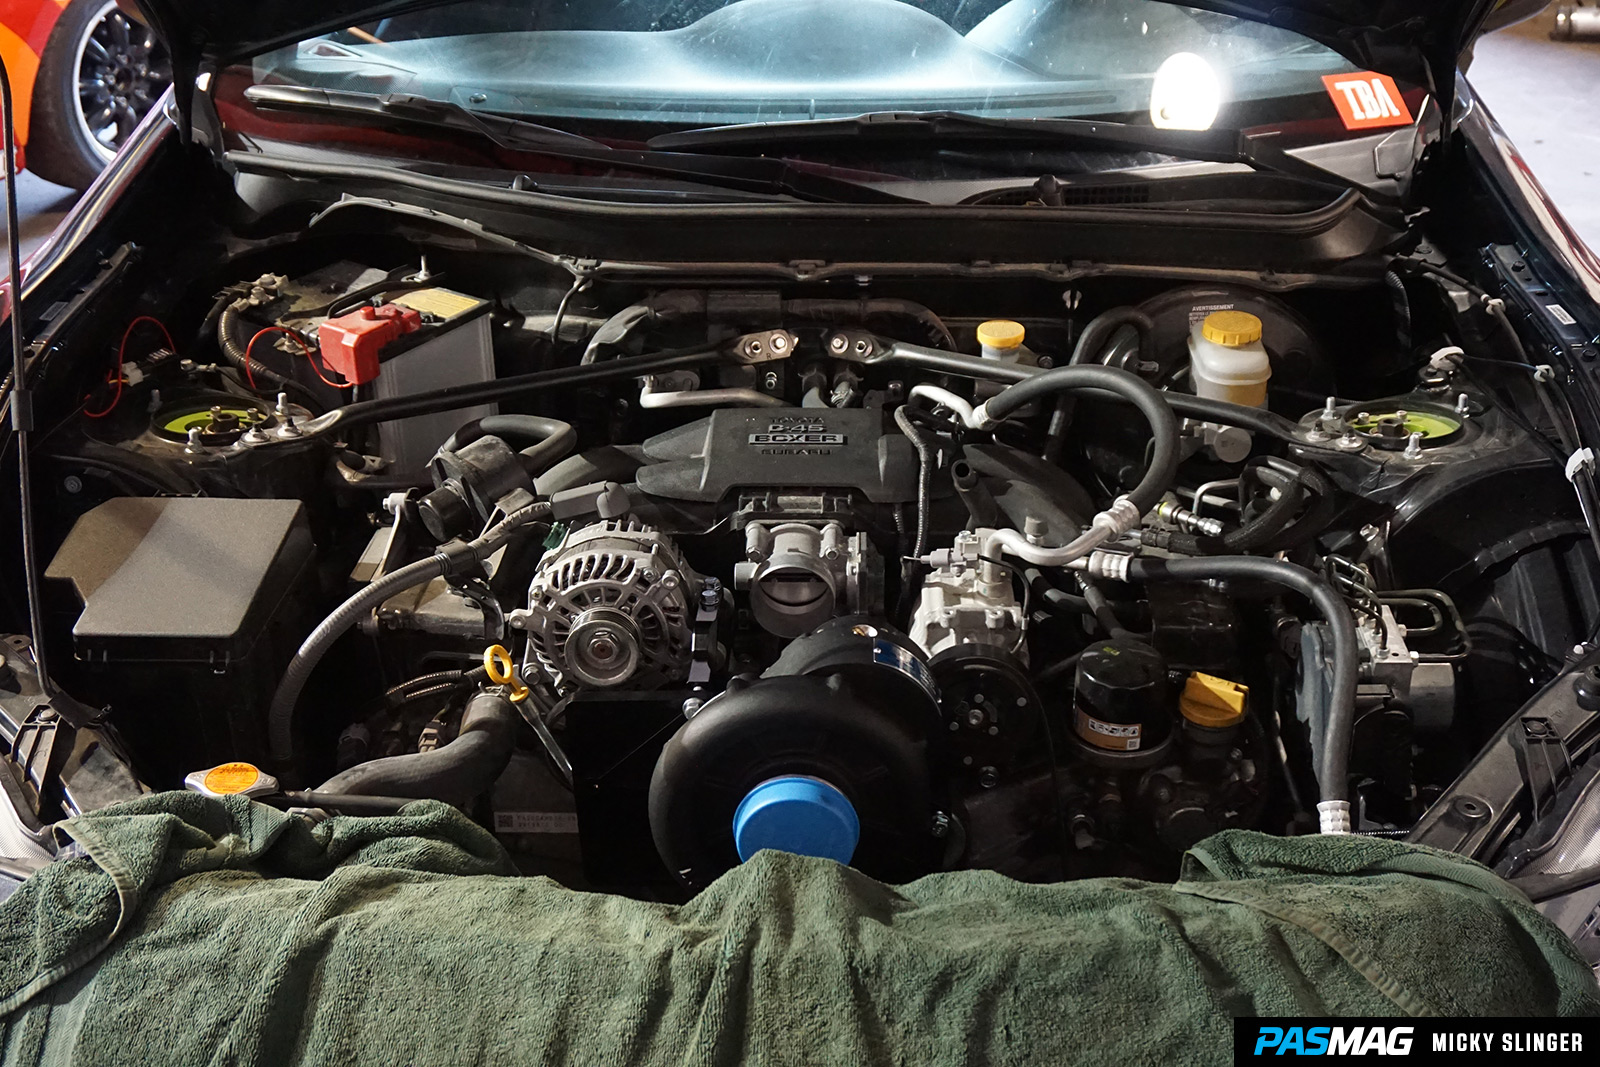
Your V3 supercharger unit will come pre-oiled, so you can start your car right up. Listen for irregular idle, or excessive noise from the supercharger. You should hear some turbine and belt noise, but nothing whirring or harsh.

With the Vortech kit on my FR-S, it feels like a completely different car, and I know it sounds a little cheesy, but I can’t imagine going back to naturally-aspirated now. The power delivery from the supercharger is nice and linear, almost to the point that it feels like we dropped a six-cylinder in there, and the noises that the kit makes are just addictive. This is a modification that I recommend anyone do (with the proper experience, tools, and driver mod of course) if you’re feeling like your car just isn’t delivering the same kick as it used to.
A huge thanks goes out to Vortech, Cyrious Garageworks, and EcuTek for all their help on this project. You guys have made me a boosted guy for life. #pasmag
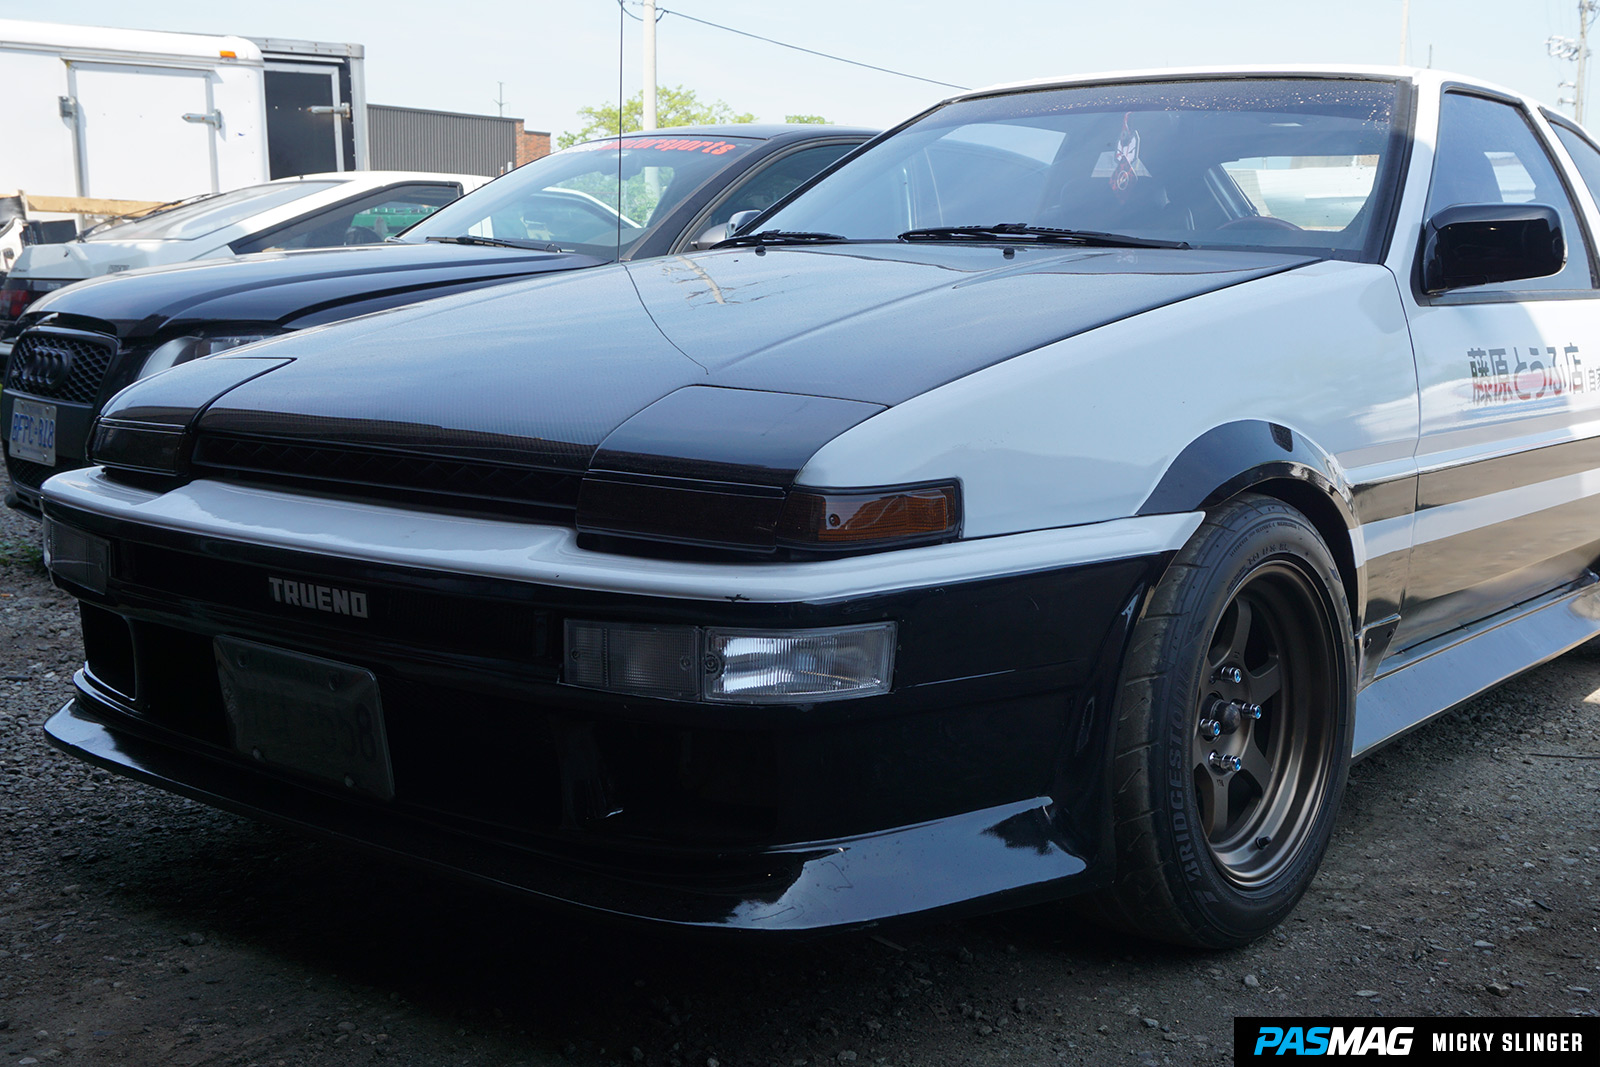
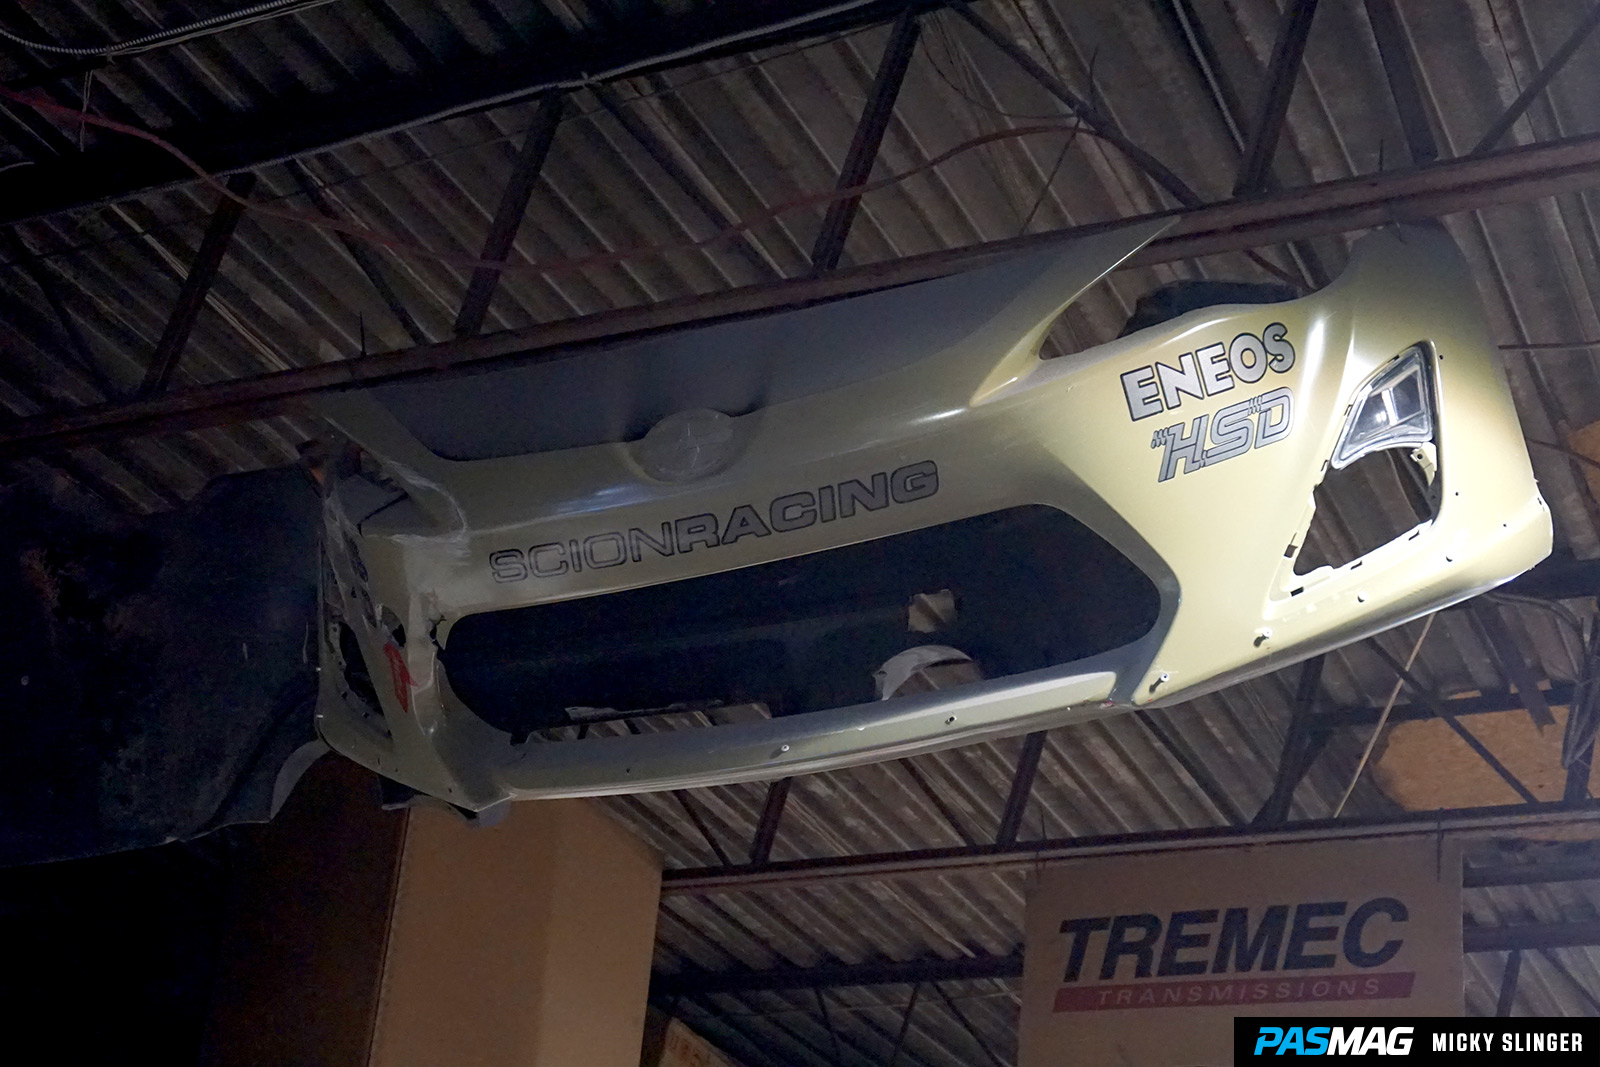
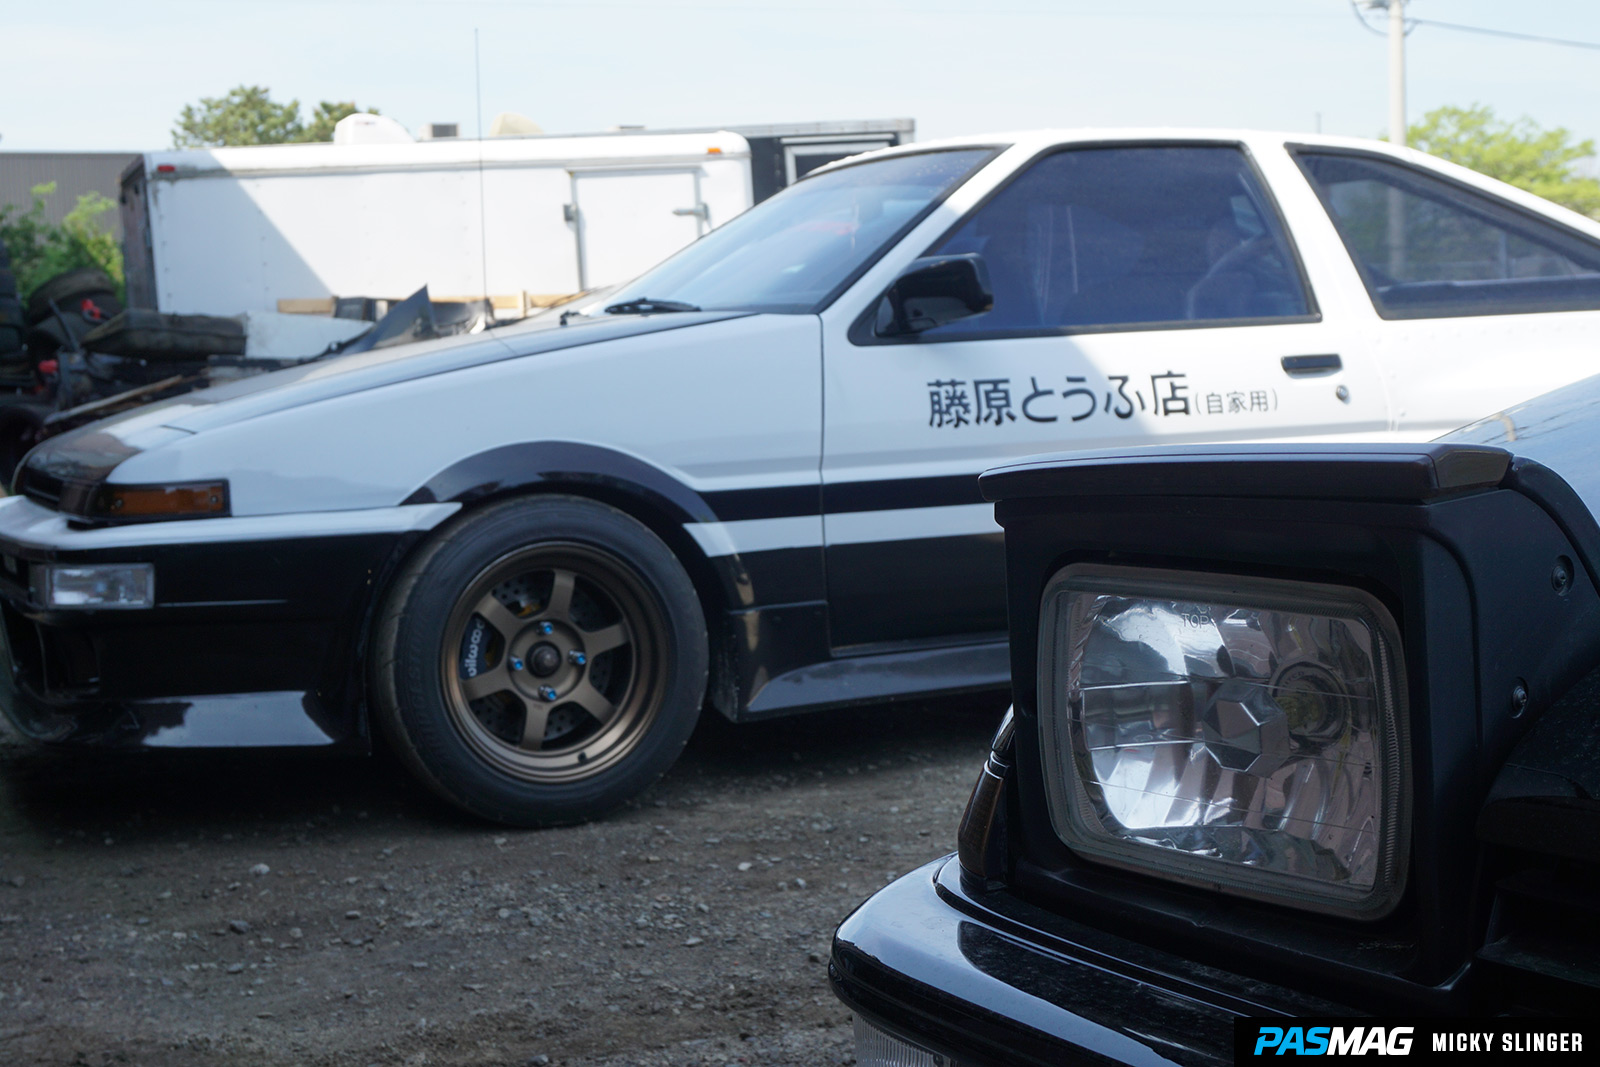
Stop and take a look at the goods at Cyrious Garageworks.