

All good things must come to an end, but in this case that’s only partially true. The only things coming to an end are the never-ending days, weeks and months of building to get Project Ground Pounder up and running.
It’s a bittersweet moment. Sweet in the sense that I’m finally able to enjoy the end results. Bitter because I always looked forward to working on another aspect of the build, even if it was a source of great anxiety.
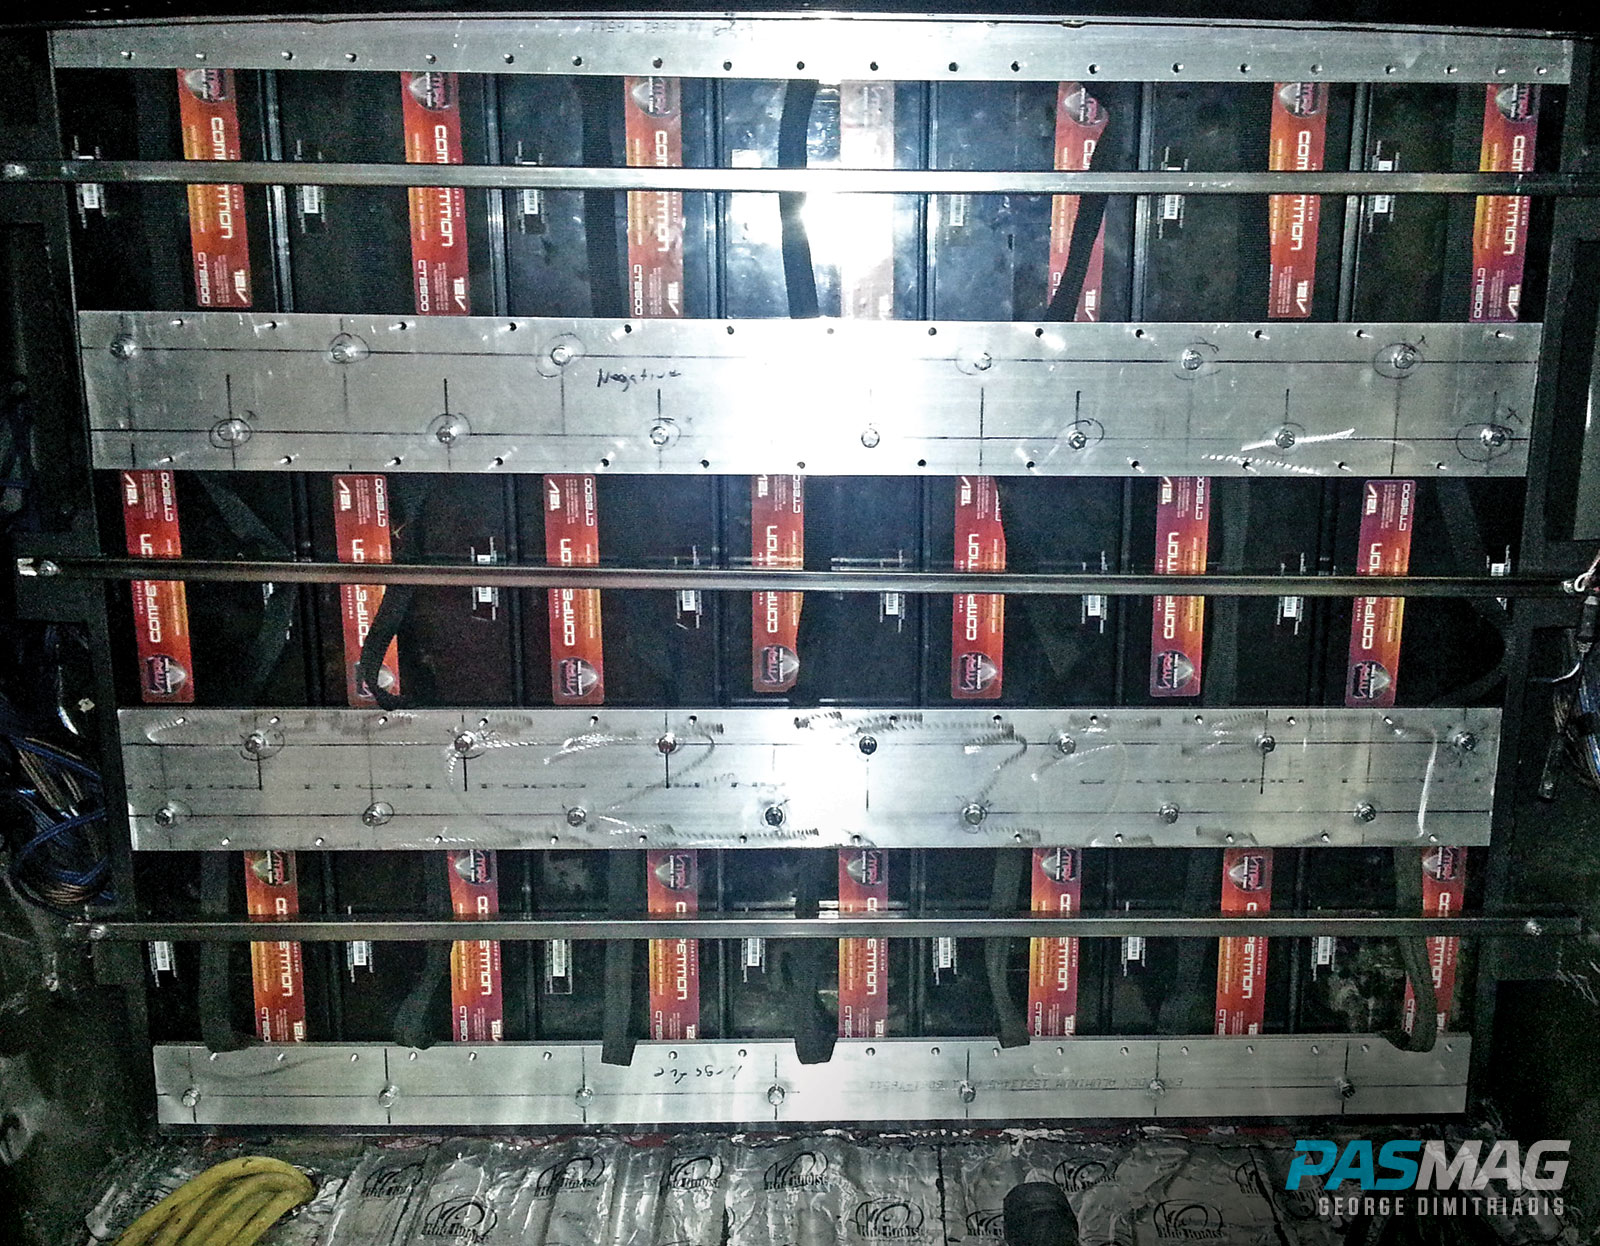
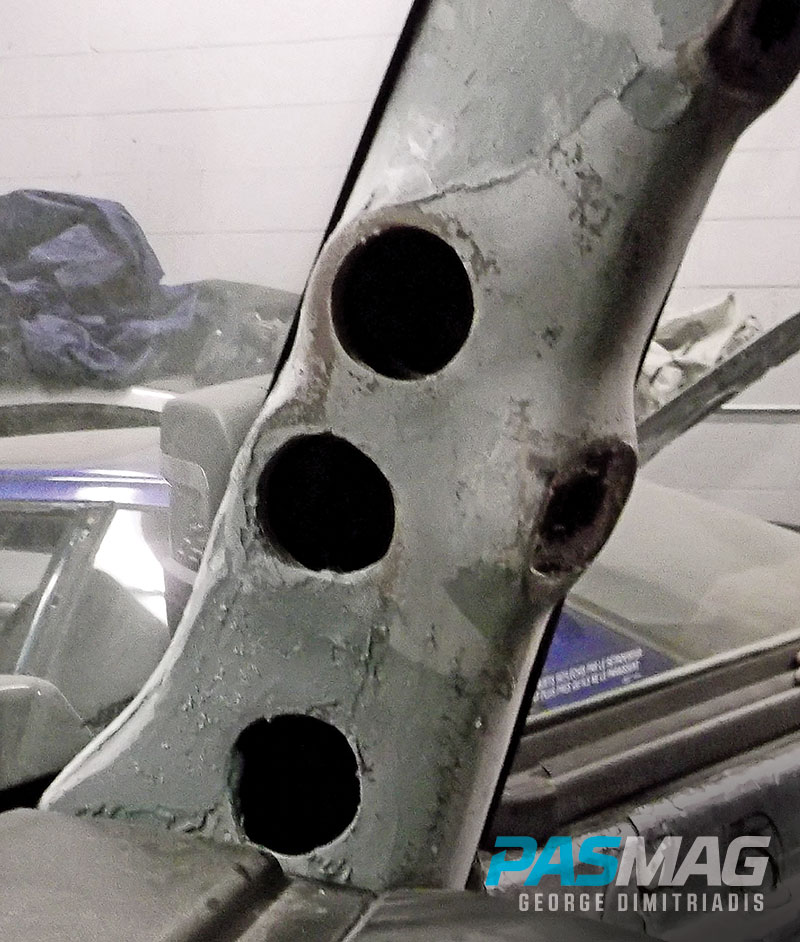
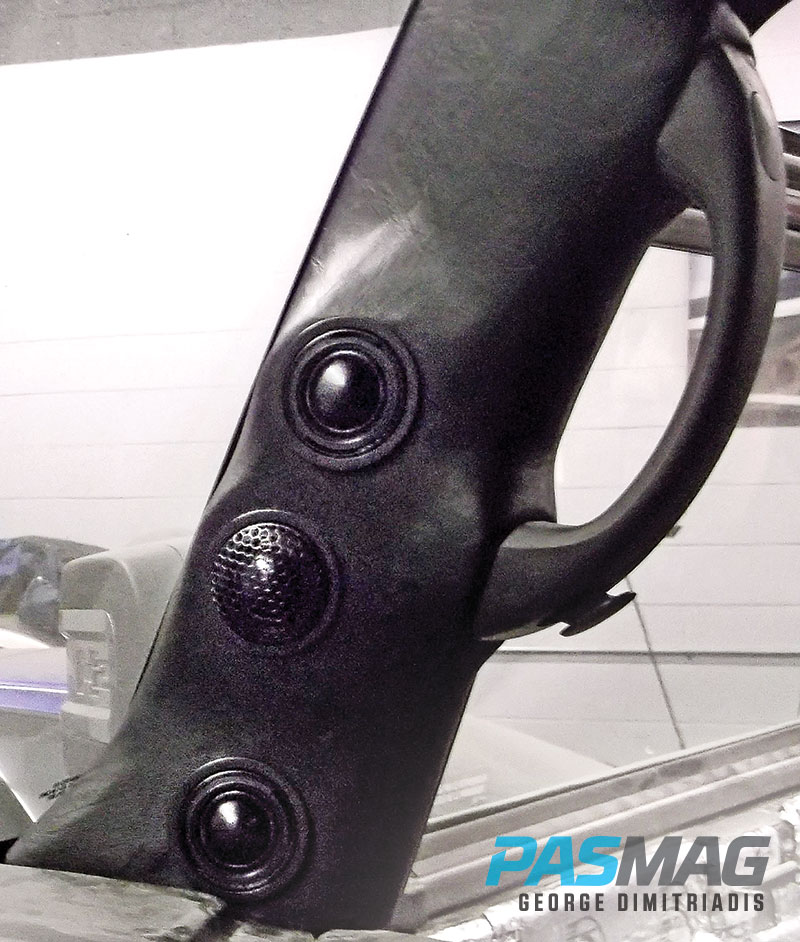
The last phase of construction saw the completion of the custom headliner, trim panels, rear window speaker pods, enclosure painting and battery rack to house a total of 21 VMAX CT2500 batteries.
Fabricating a rack that could support everything was a huge accomplishment in itself. Then there are the custom bus bars that needed to be made from scratch, while at the same time wiring everything together correctly. The fifth and final phase of the build looks at this process along with many other final details and adjustments down the home stretch.
 |
 |
With the rack complete and topped up with batteries, we made another visit to the steel mill to order some aluminum bar stock; specifically, two pieces measuring 48-inches by three-inches by one-half-inch, and another two pieces measuring 48-by five-inches by one-half-inch.
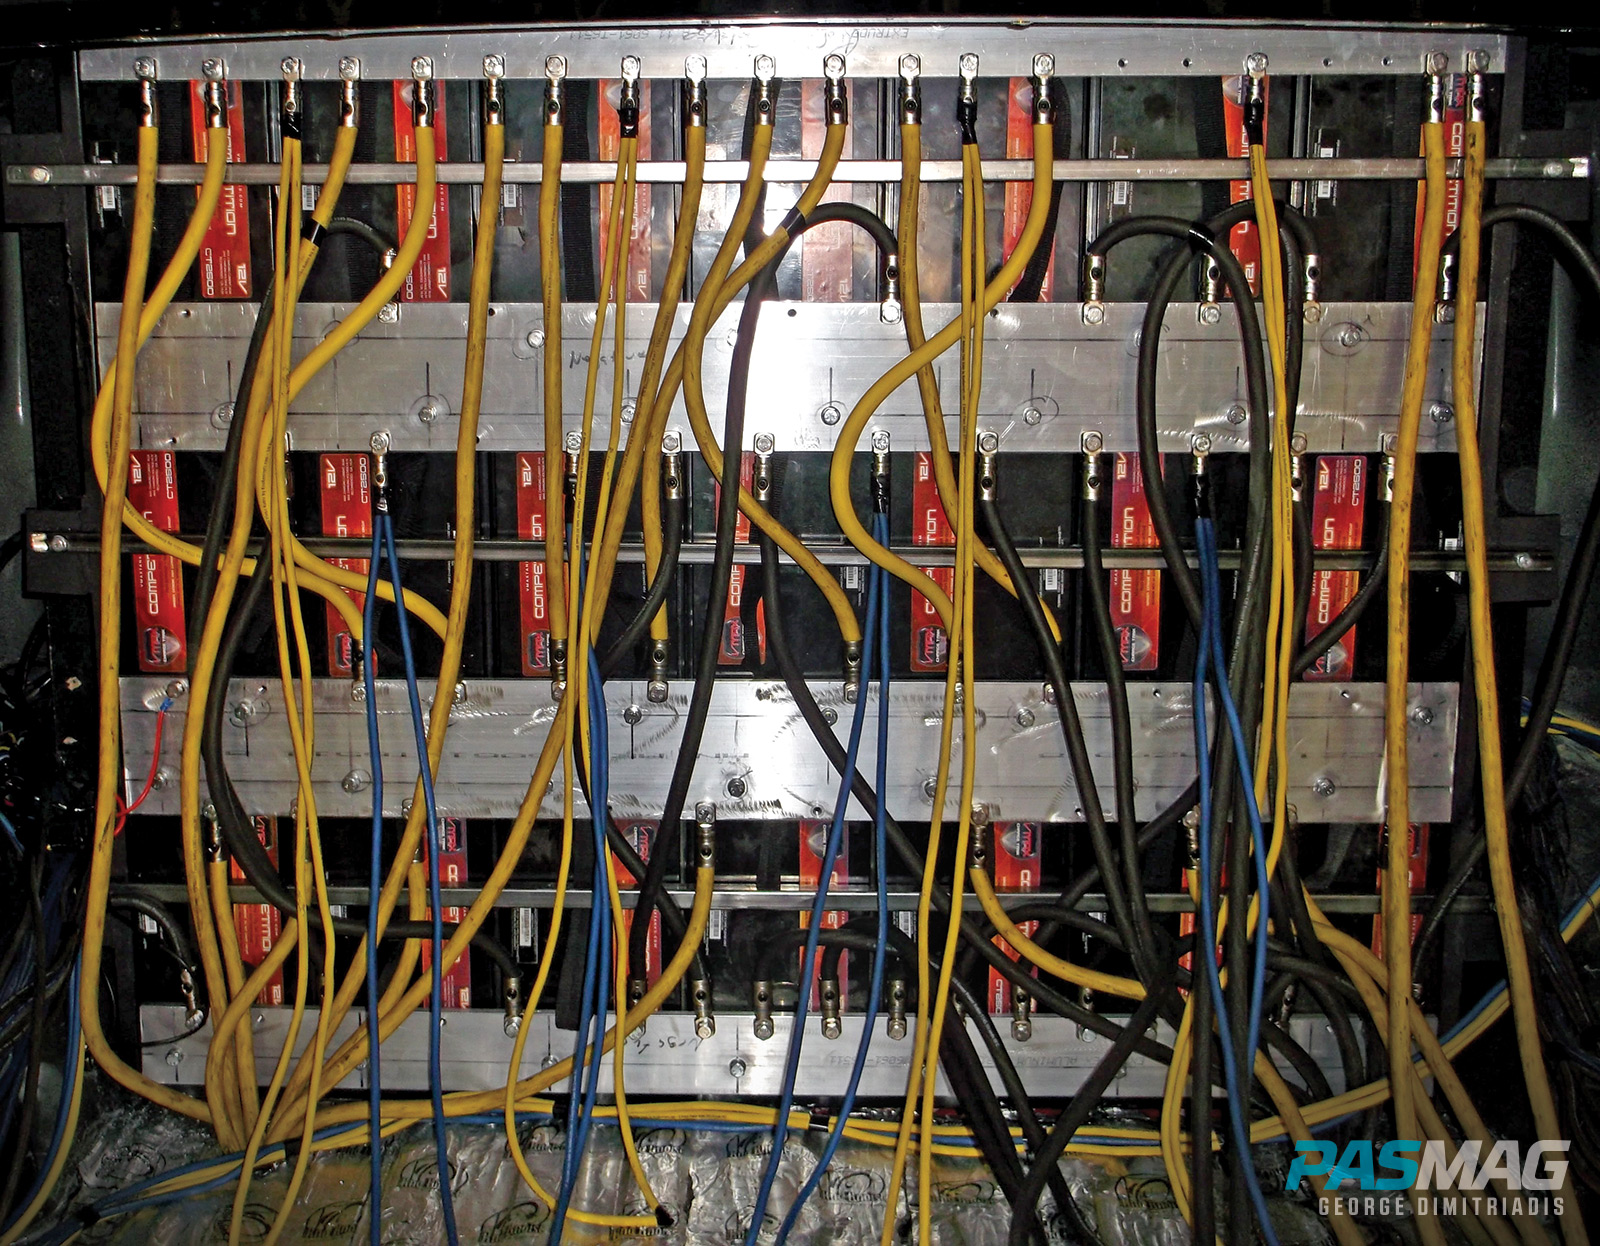
Phase five begins with drilling and tapping seven holes on each of the small pieces and 14 holes on each of the larger pieces, where the batteries will be bolted. From there, an additional 90 holes are tapped and dyed between all four pieces for the hundreds of feet of KNU Konceptz OFC one-gauge alternator charging wires, amplifier power cables, ground wires and battery jumper cables. The whole process takes the better part of a day, having gone through multiple drill bits and taps.
The next step is to connect the wire to the busbars. For this, we utilize the incredible installation accessories from KNU. We use a total of 90 one-gauge set screw terminals on the various runs of wire. Using the set screw terminal makes it easy, clean and provides a fantastic finish. Hats off to KNU Konceptz for providing unsurpassed products once again.
 |
 |
With voltage taken care of on both the charging front and the battery bank, it is time to enlist the help of CTEK's battery chargers. CTEK is at the forefront of battery charging units, so when I approached them about the build and explained my particular challenges, they knew exactly what to offer: the MULTI US 25000. This unit has a charging capacity of 25 amps - more than sufficient for maintenance and charging when the vehicle is in storage or off the road. I install the charger in a dedicated compartment in the rear and wire it directly to the batteries with a quick-connect plug in the back. The CTEK unit surpasses all expectations thus far, showing why it’s the premier choice for smart chargers.
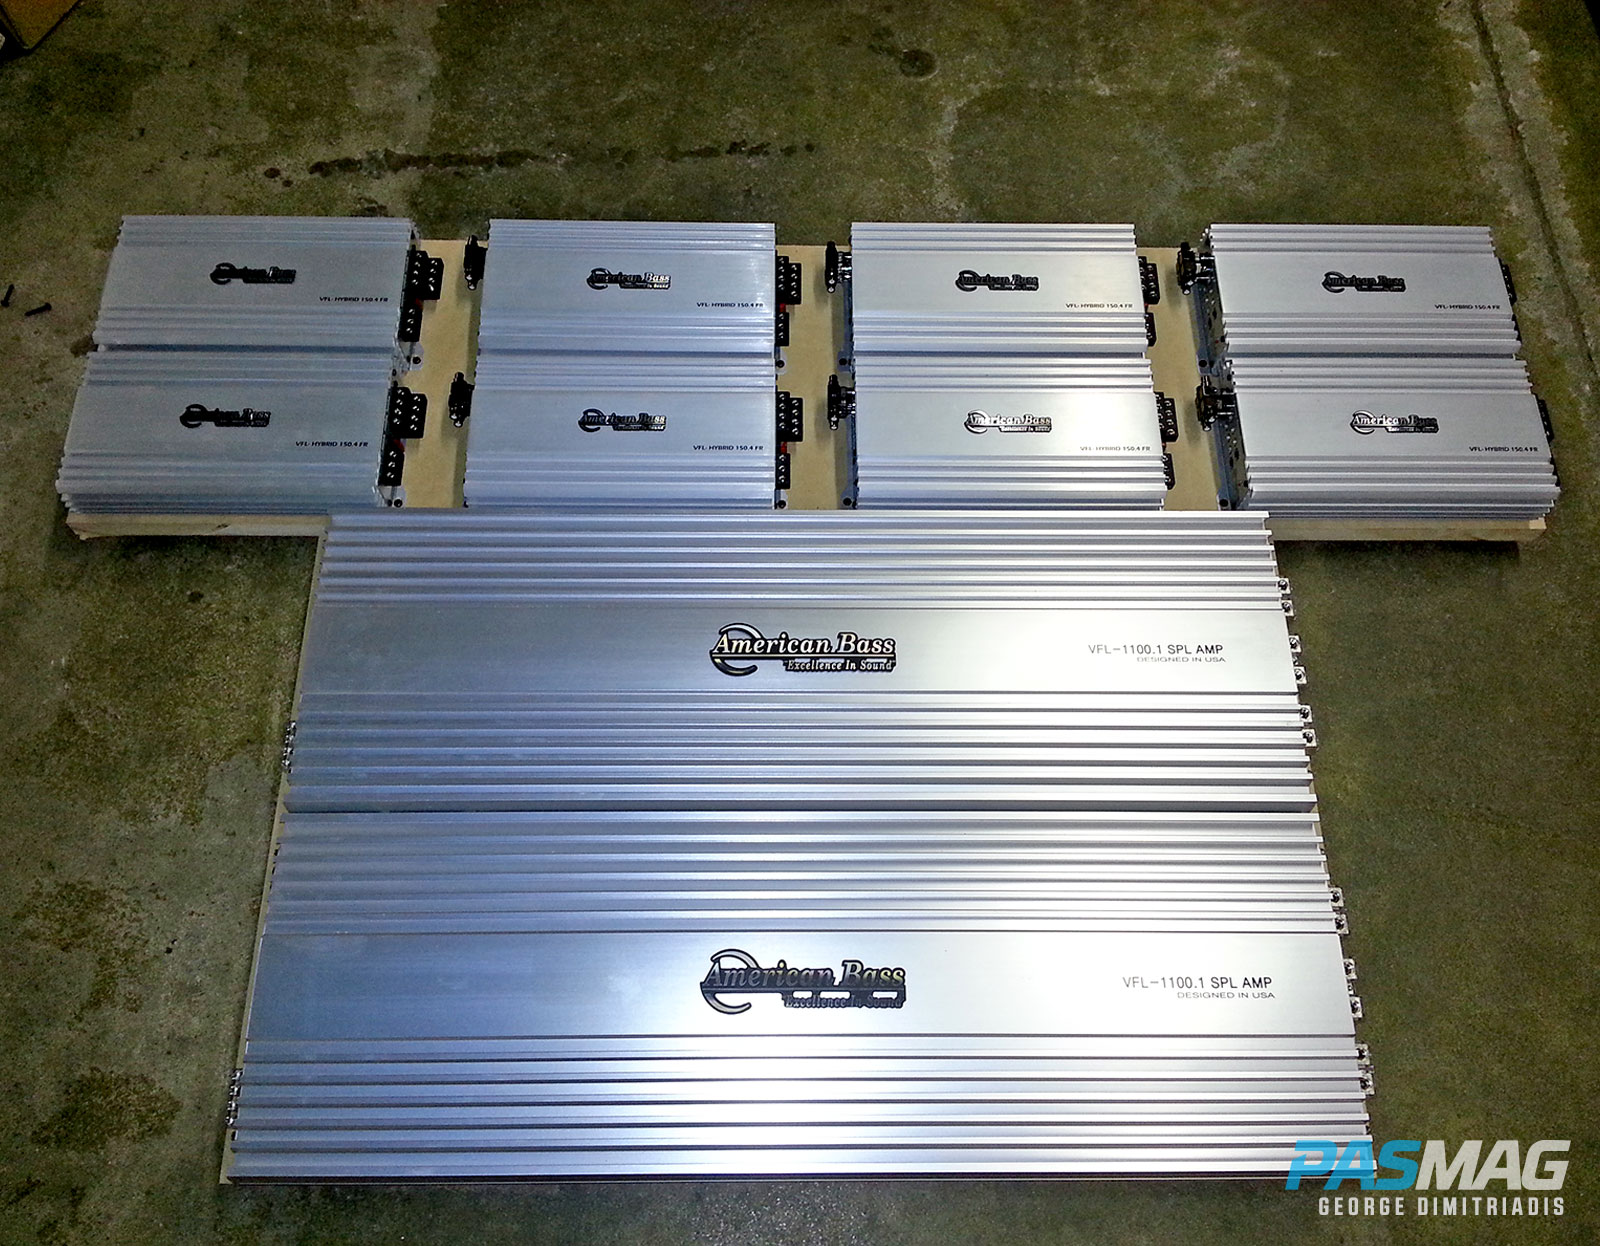
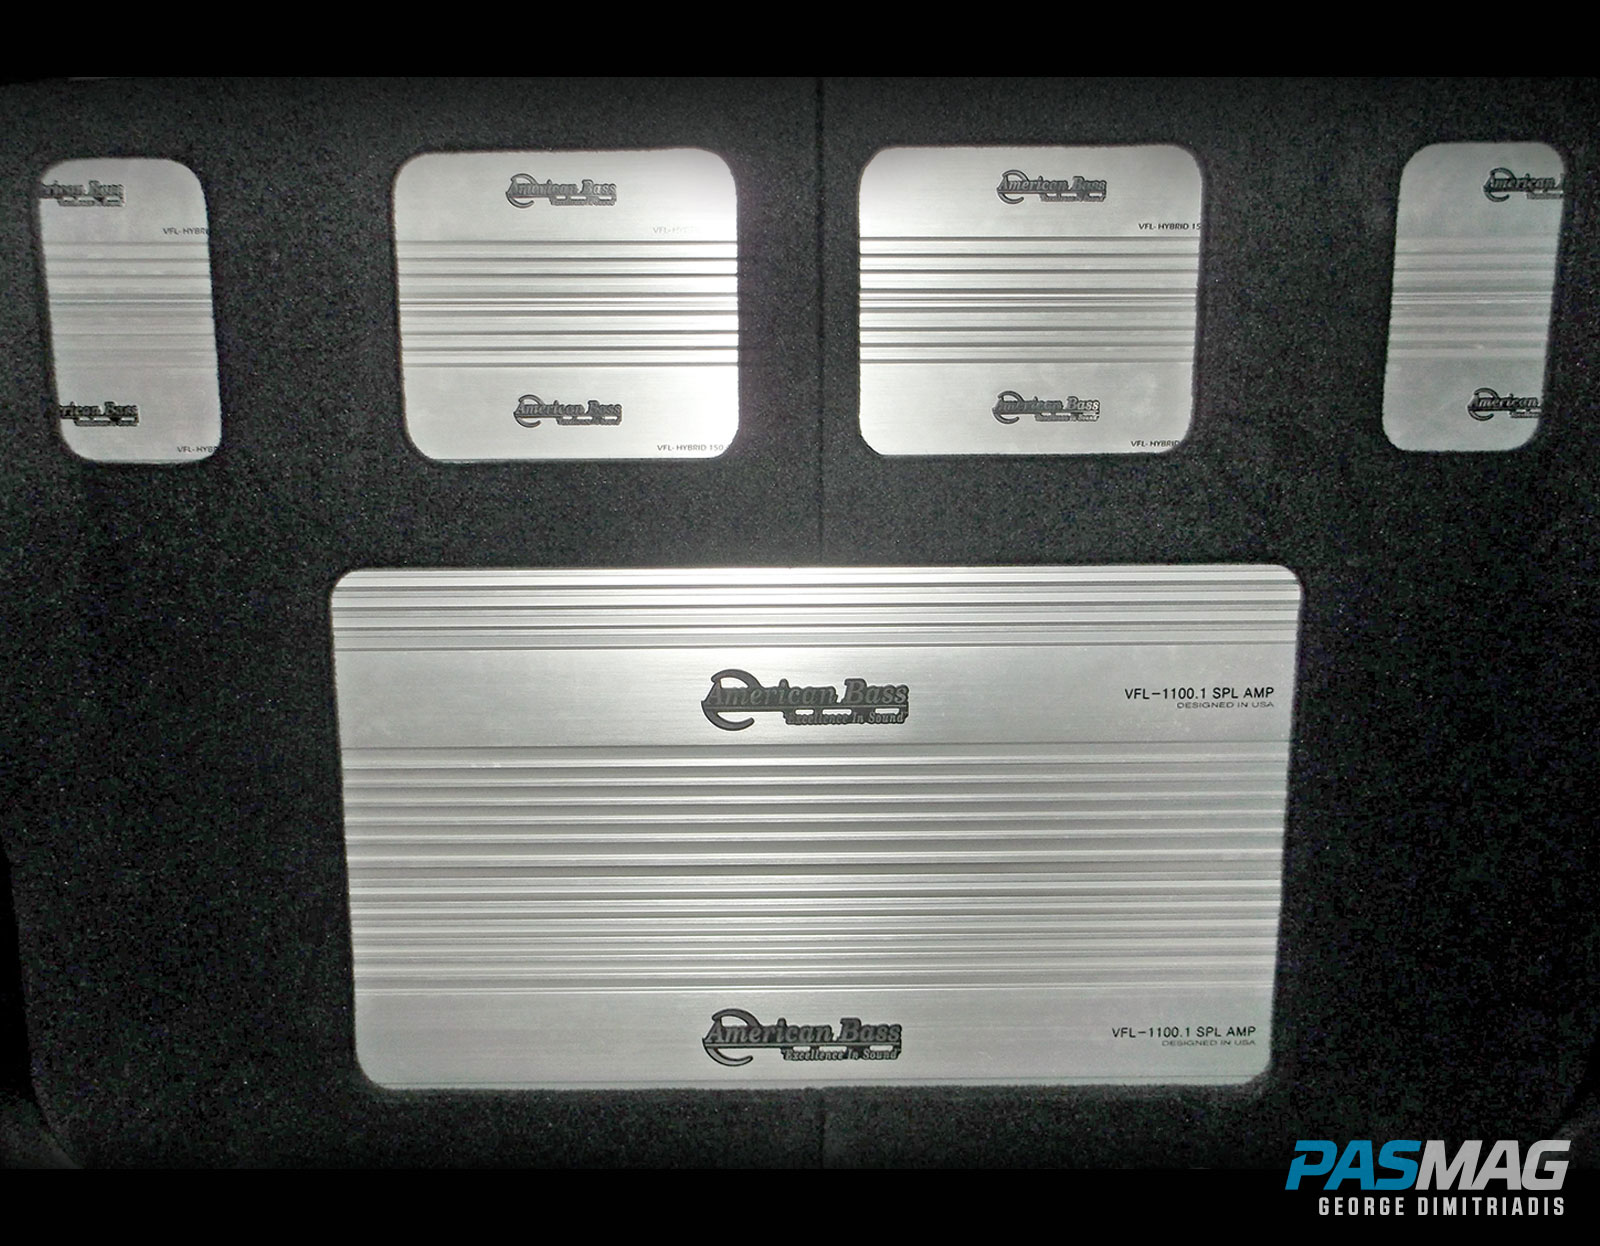
The next step is to start working on the amplifier rack. Fitting no less than a dozen amplifiers is another monumental task, but it was decided many months before the build that American Bass would be the amplifier of choice. Bob provides customer service that is second to none, which, with top notch gear, makes them an easy choice.
 Of the 12 amplifiers mentioned above, four are for bass reproduction and the other eight are for the mids and highs. Having a sufficient amount of wattage available is important to me, so I selected the biggest amplifier they have available: the American Bass 1100.1 monoblock amplifier. It’s conservatively rated between 9,000 to 11,000 watts, which of course, is dependent on the amount of voltage you give it. So I believe a battery bank with 21 batteries will do just fine over the long haul. Four 1100.1s supply power to the 10 RE Audio XX15s. Each amplifier is wired at 0.8-ohms and each pair is strapped at 1.6-ohms for every five subwoofers. The remaining eight amplifiers are four-channel AB 150.4 amplifiers, conservatively rated at 75 watts times four. That’s more than enough for the 16 RE Audio component sets.
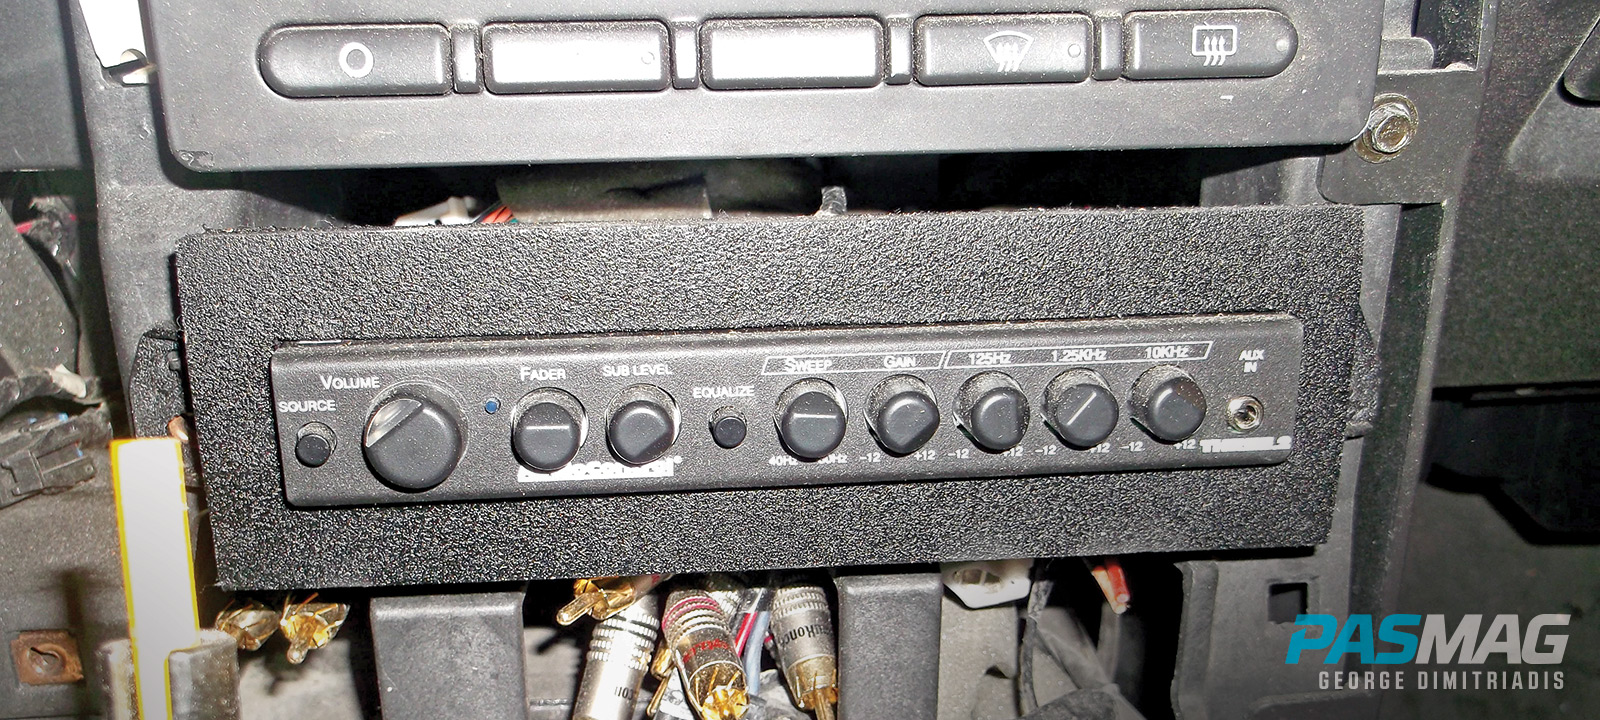
I decided to go fully active for sound processing, and the obvious choice to address my digital processing needs is AudioControl. After reaching out to Sean Reid and explaining what we want to achieve with this build, he happily walked me through the various options available. We decided that pairing AudioControl’s THREE.2 in-dash EQ alongside the 6XS electronic crossover will yield the best results. The ability to tweak on the fly thanks to the half-DIN EQ and the high-level outputs of the crossover are just a few things that make this pair an unbeatable addition to the build.
With the amplifiers all wired up, a trio of switches are incorporated to give me the ability to control and separate the system into three separate parts. The first switch turns on the amplifiers, which power the speakers in the front portion of the vehicle (front door and A-pillars). The second switch turns on the amplifiers, which powers the rear speakers (rear door and rear window pods). The third switch turns on the amplifiers which power the 10 15-inch subs.
 |
 |
I wanted this configuration so I could turn off all the mid/highs (if needed) while competing in SPL competitions, where the goal is to attain the loudest SPL measurement in a single burp frequency. I also want to be able to turn off the rear speakers for daily usage because the rear doors are closed while driving. Being able to control the system this way is a huge advantage and comfort.
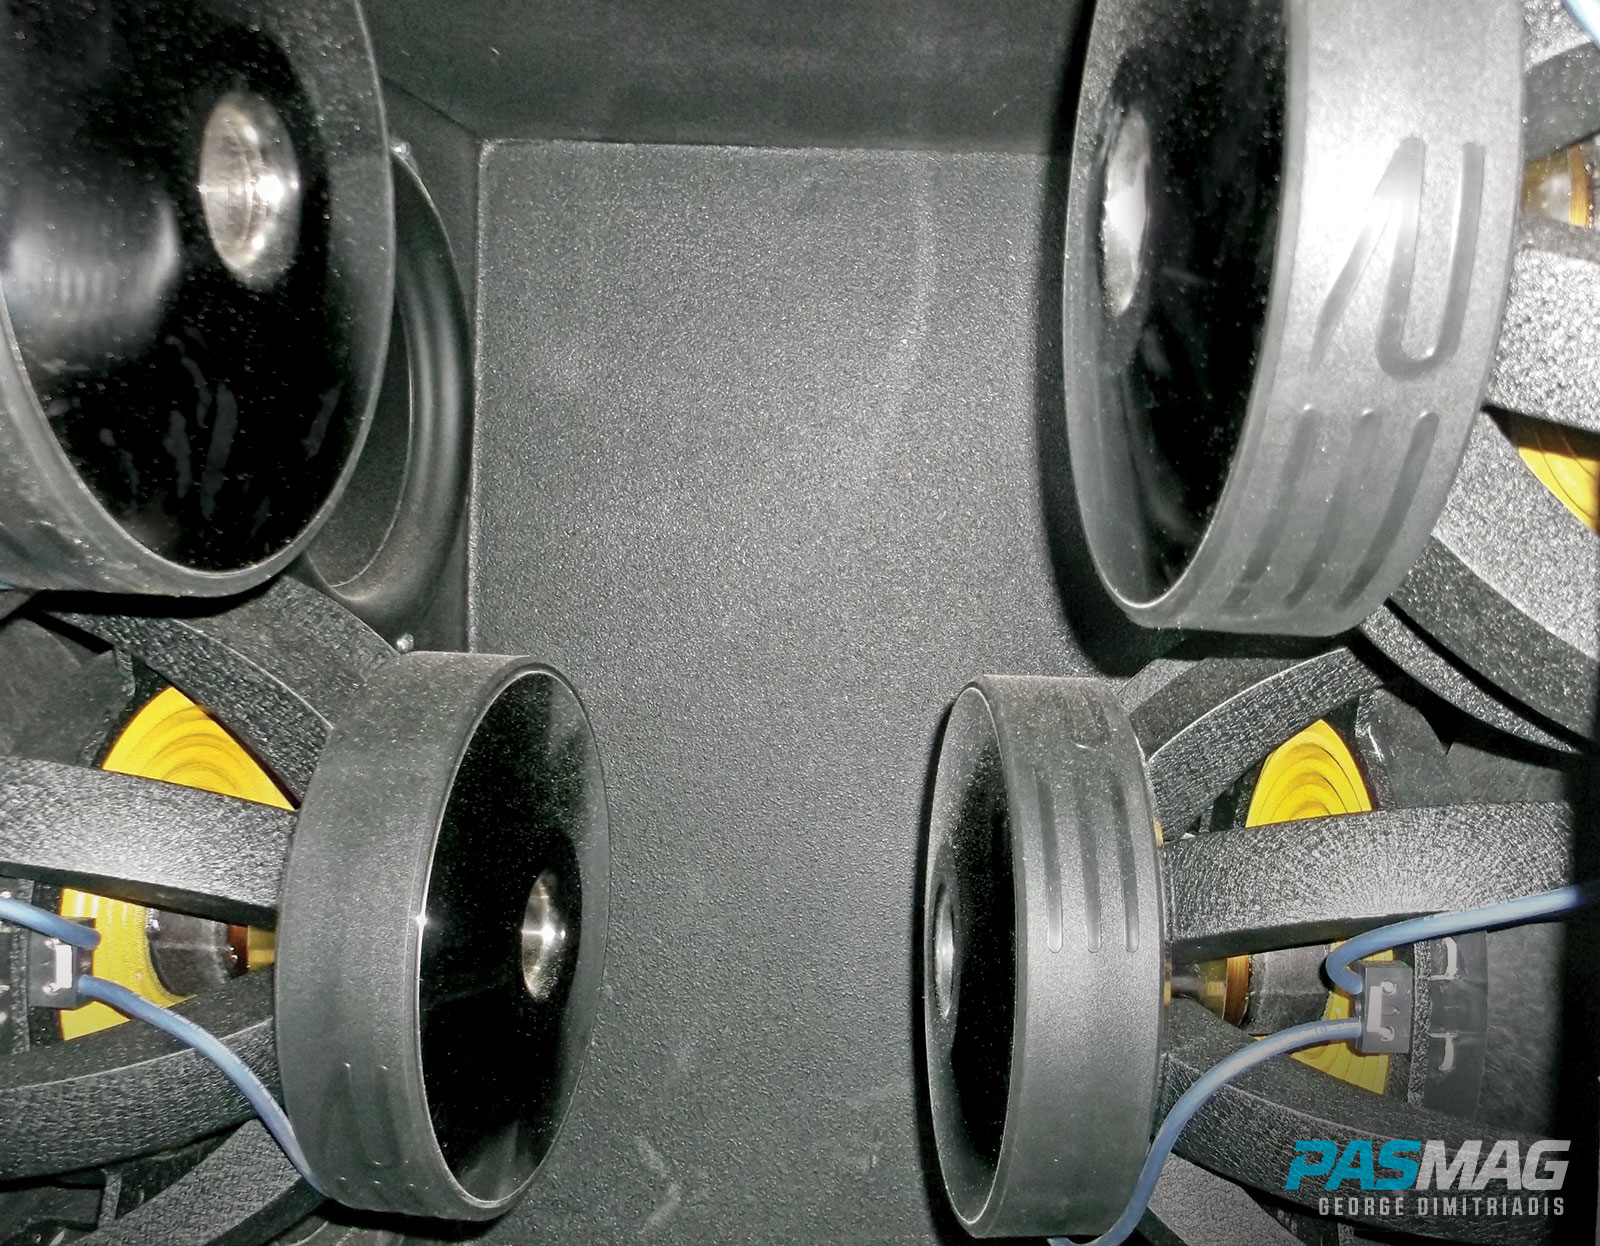
The final piece of the puzzle is loading up the enclosure with the 10 RE Audio XX15s – no easy task for many reasons: namely their immense weight, size and the already minimal space to work with for mounting. This is where Mike Martel from Ultimate Autosports comes into play. His ability to fit in small and confined places is just what the doctor ordered, and we slide Mike into the enclosure, handing him one woofer after another, all while assisting him with mounting and screwing each into place.
Each side has a total of five woofers mounted, with the back two oriented normally, and the front three inverted to accommodate the size and mounting depth required by the sealed chamber.
 With everything said and done, it is finally time to fire up the Big Brute! Everyone is boiling with anticipation and, to be honest, I am quite anxious myself. All I can say is this project has surpassed any and all of my wildest dreams. The reactions from everyone who have seen the vehicle, myself included, have been everything from disbelief, amazement and sheer shock.
Project Ground Pounder has come to a close, and there are many people to thank. Special thanks to PASMAG for providing a platform to share this journey. Next, big thank-yous go to the team at Ultimate Autosports (where Brute lived for almost five months); Jimmy, Mike and the rest of the team. Nick Cimino and John Wolak, who have been staunch supporters of this build even when my resolve was wearing thin, Core Industries for the invaluable support and fantastic products, RE Audio, American Bass, VMAX Batteries and Ohio Generator. Many thanks go out to Bill and Dan at KNU Konceptz for providing unparalleled support and, in my opinion, the best products on the market, AudioControl for providing the perfect solution for our processing needs, and CTEK, for stepping on board with the most sought-after smart chargers in the world.
I look forward to getting out to as many events as possible and showcasing what we have been able to create. If you happen to see (or hear) the truck at an event, stop by and say hi!
Even though the audio part of the build is complete, there are still a few things to address. You will be able to see these and much more in upcoming issues of PASMAG.
Also see:
Project Ground Pounder: Phase 1
Project Ground Pounder: Phase 2
Project Ground Pounder: Phase 3
Project Ground Pounder: Phase 4