

Hello again and thanks for tuning in for Phase 3 of Project Ground Pounder, aka BIG BRUTE. Let's get down to the nitty gritty, shall we?
This phase is going to cover some important ground, namely the enclosure and all that goes in to making it.
 First we measure out the area for the enclosure and calculate the total air space available. With the build being a B-pillar setup, we have quite a bit of room to work with as opposed to a C-pillar, which limits space. After the enclosure is built we still need enough room to fit more than a dozen amplifiers and 21 batteries. Yes, I said 21. Why? BECAUSE MORE!
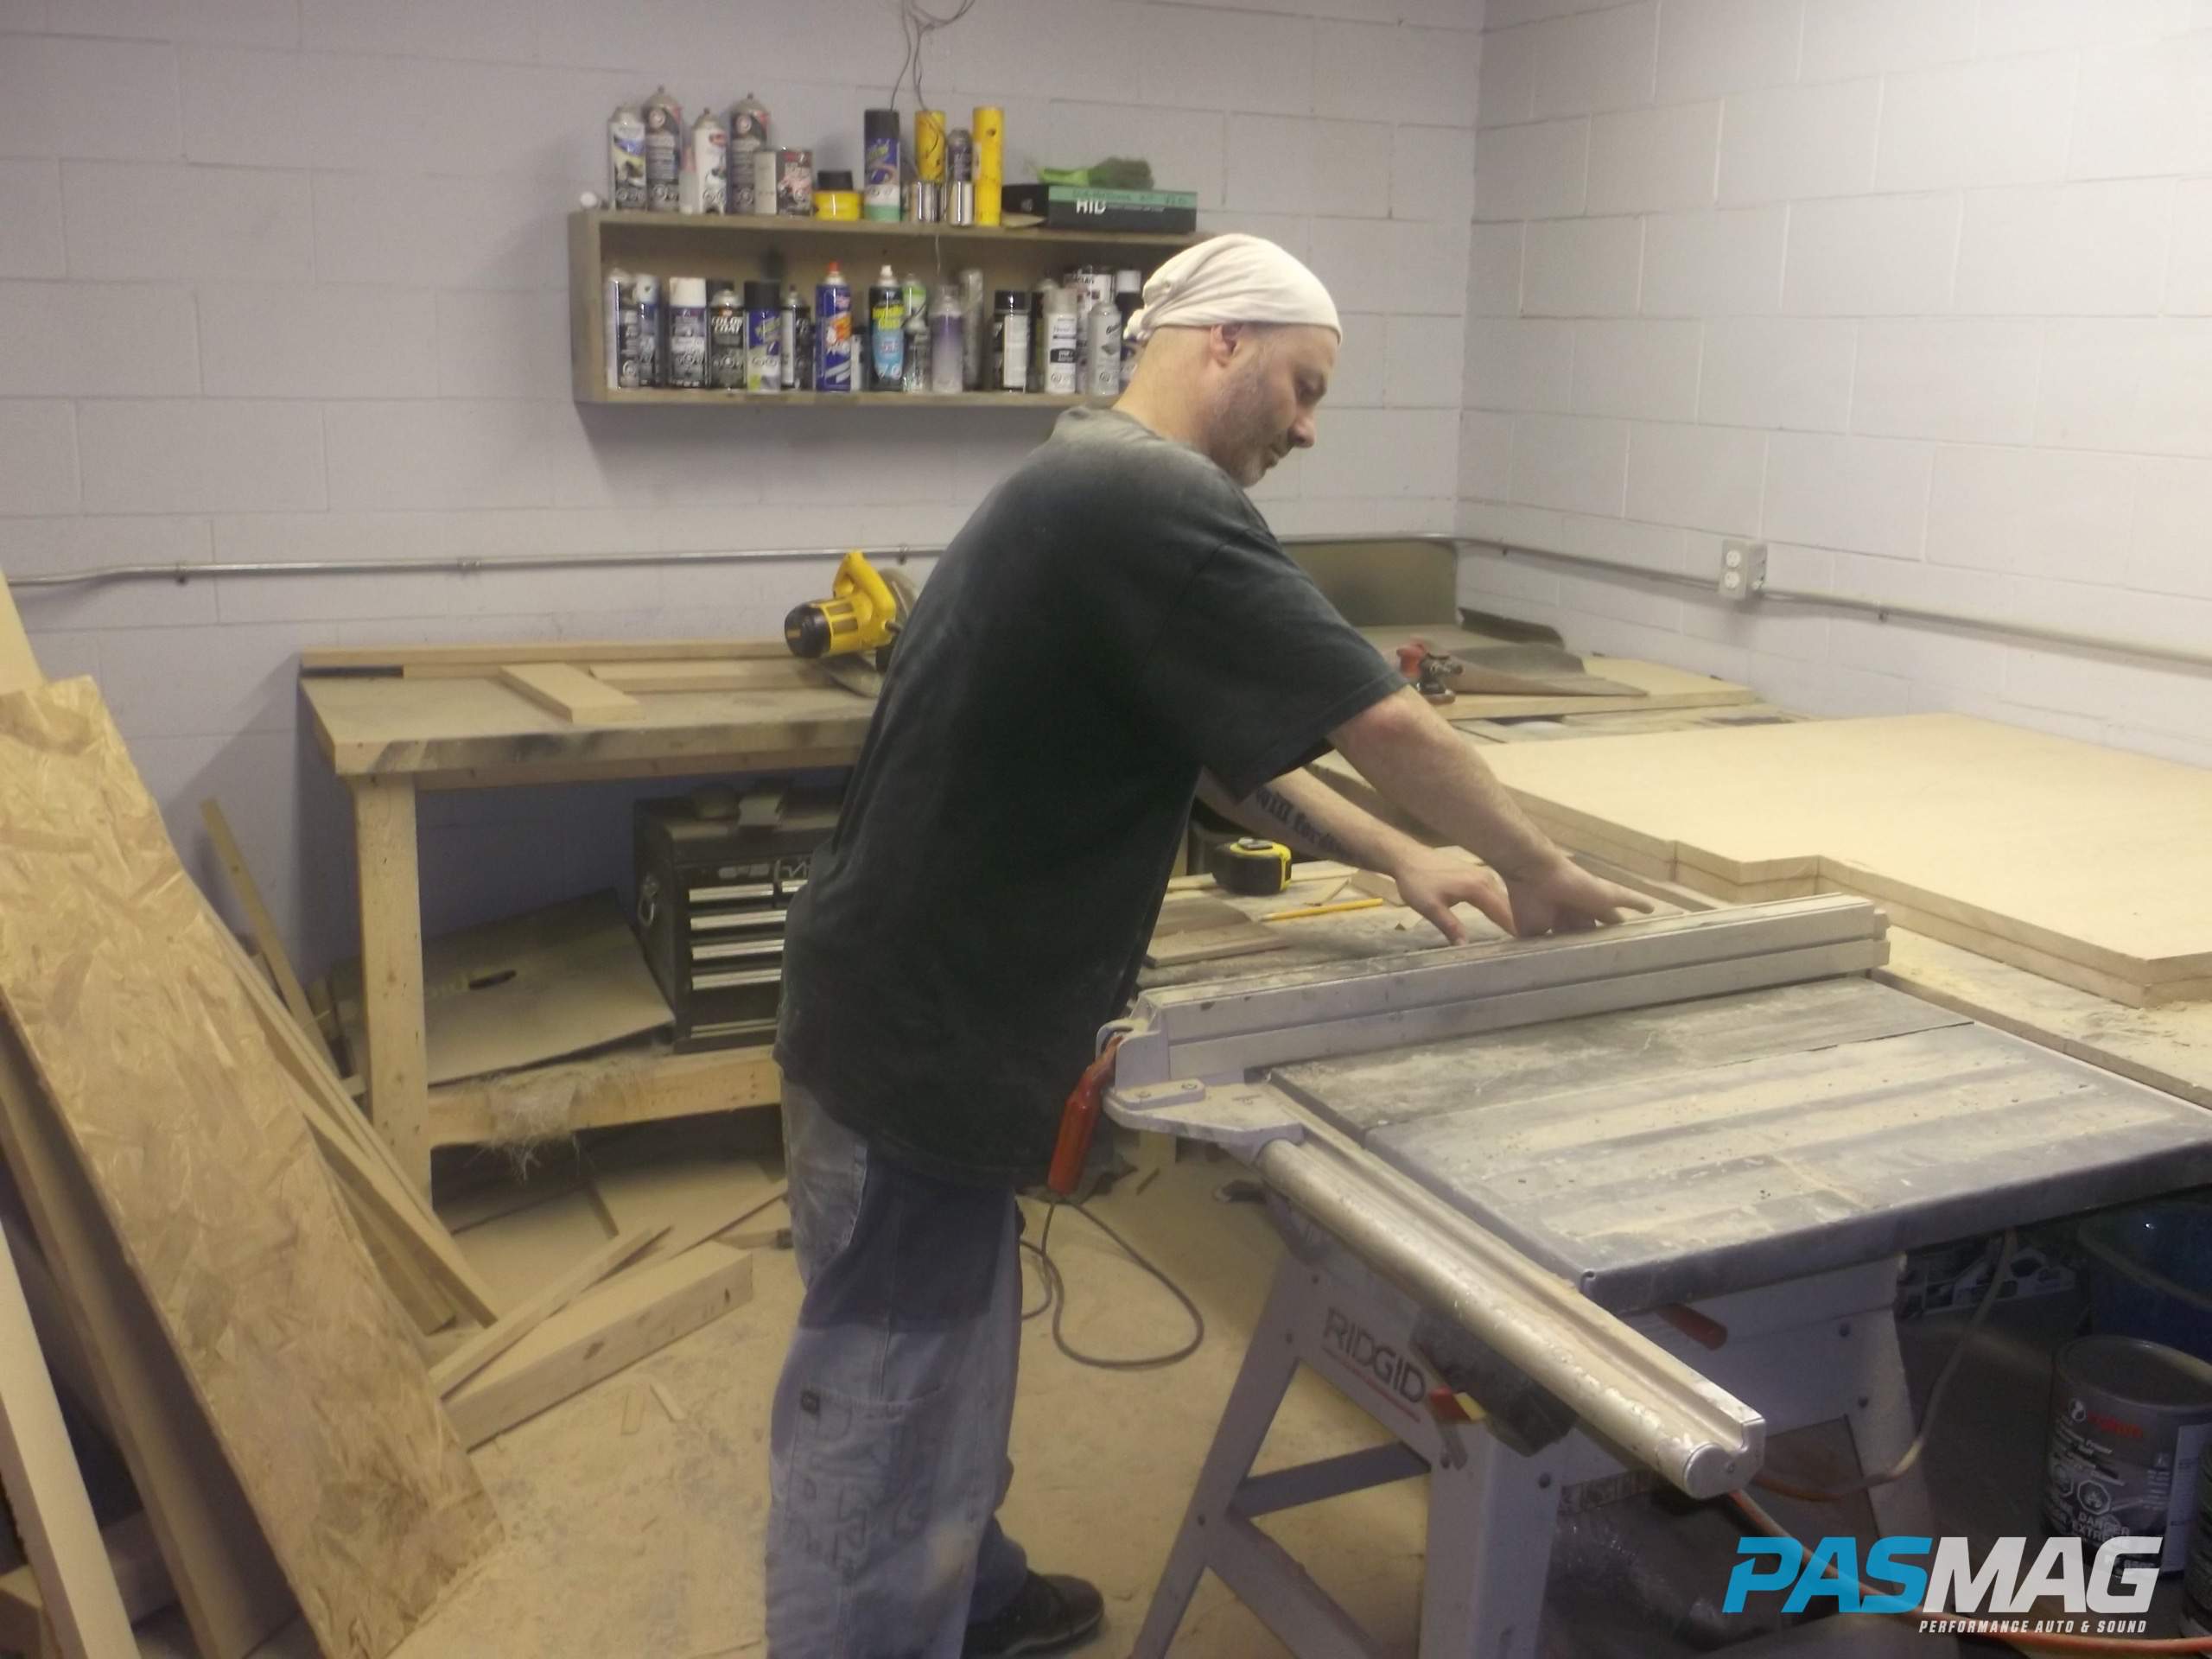
To that end, a total of 13 sheets of one-inch MDF and six sheets of three-quarter-inch MDF are delivered.
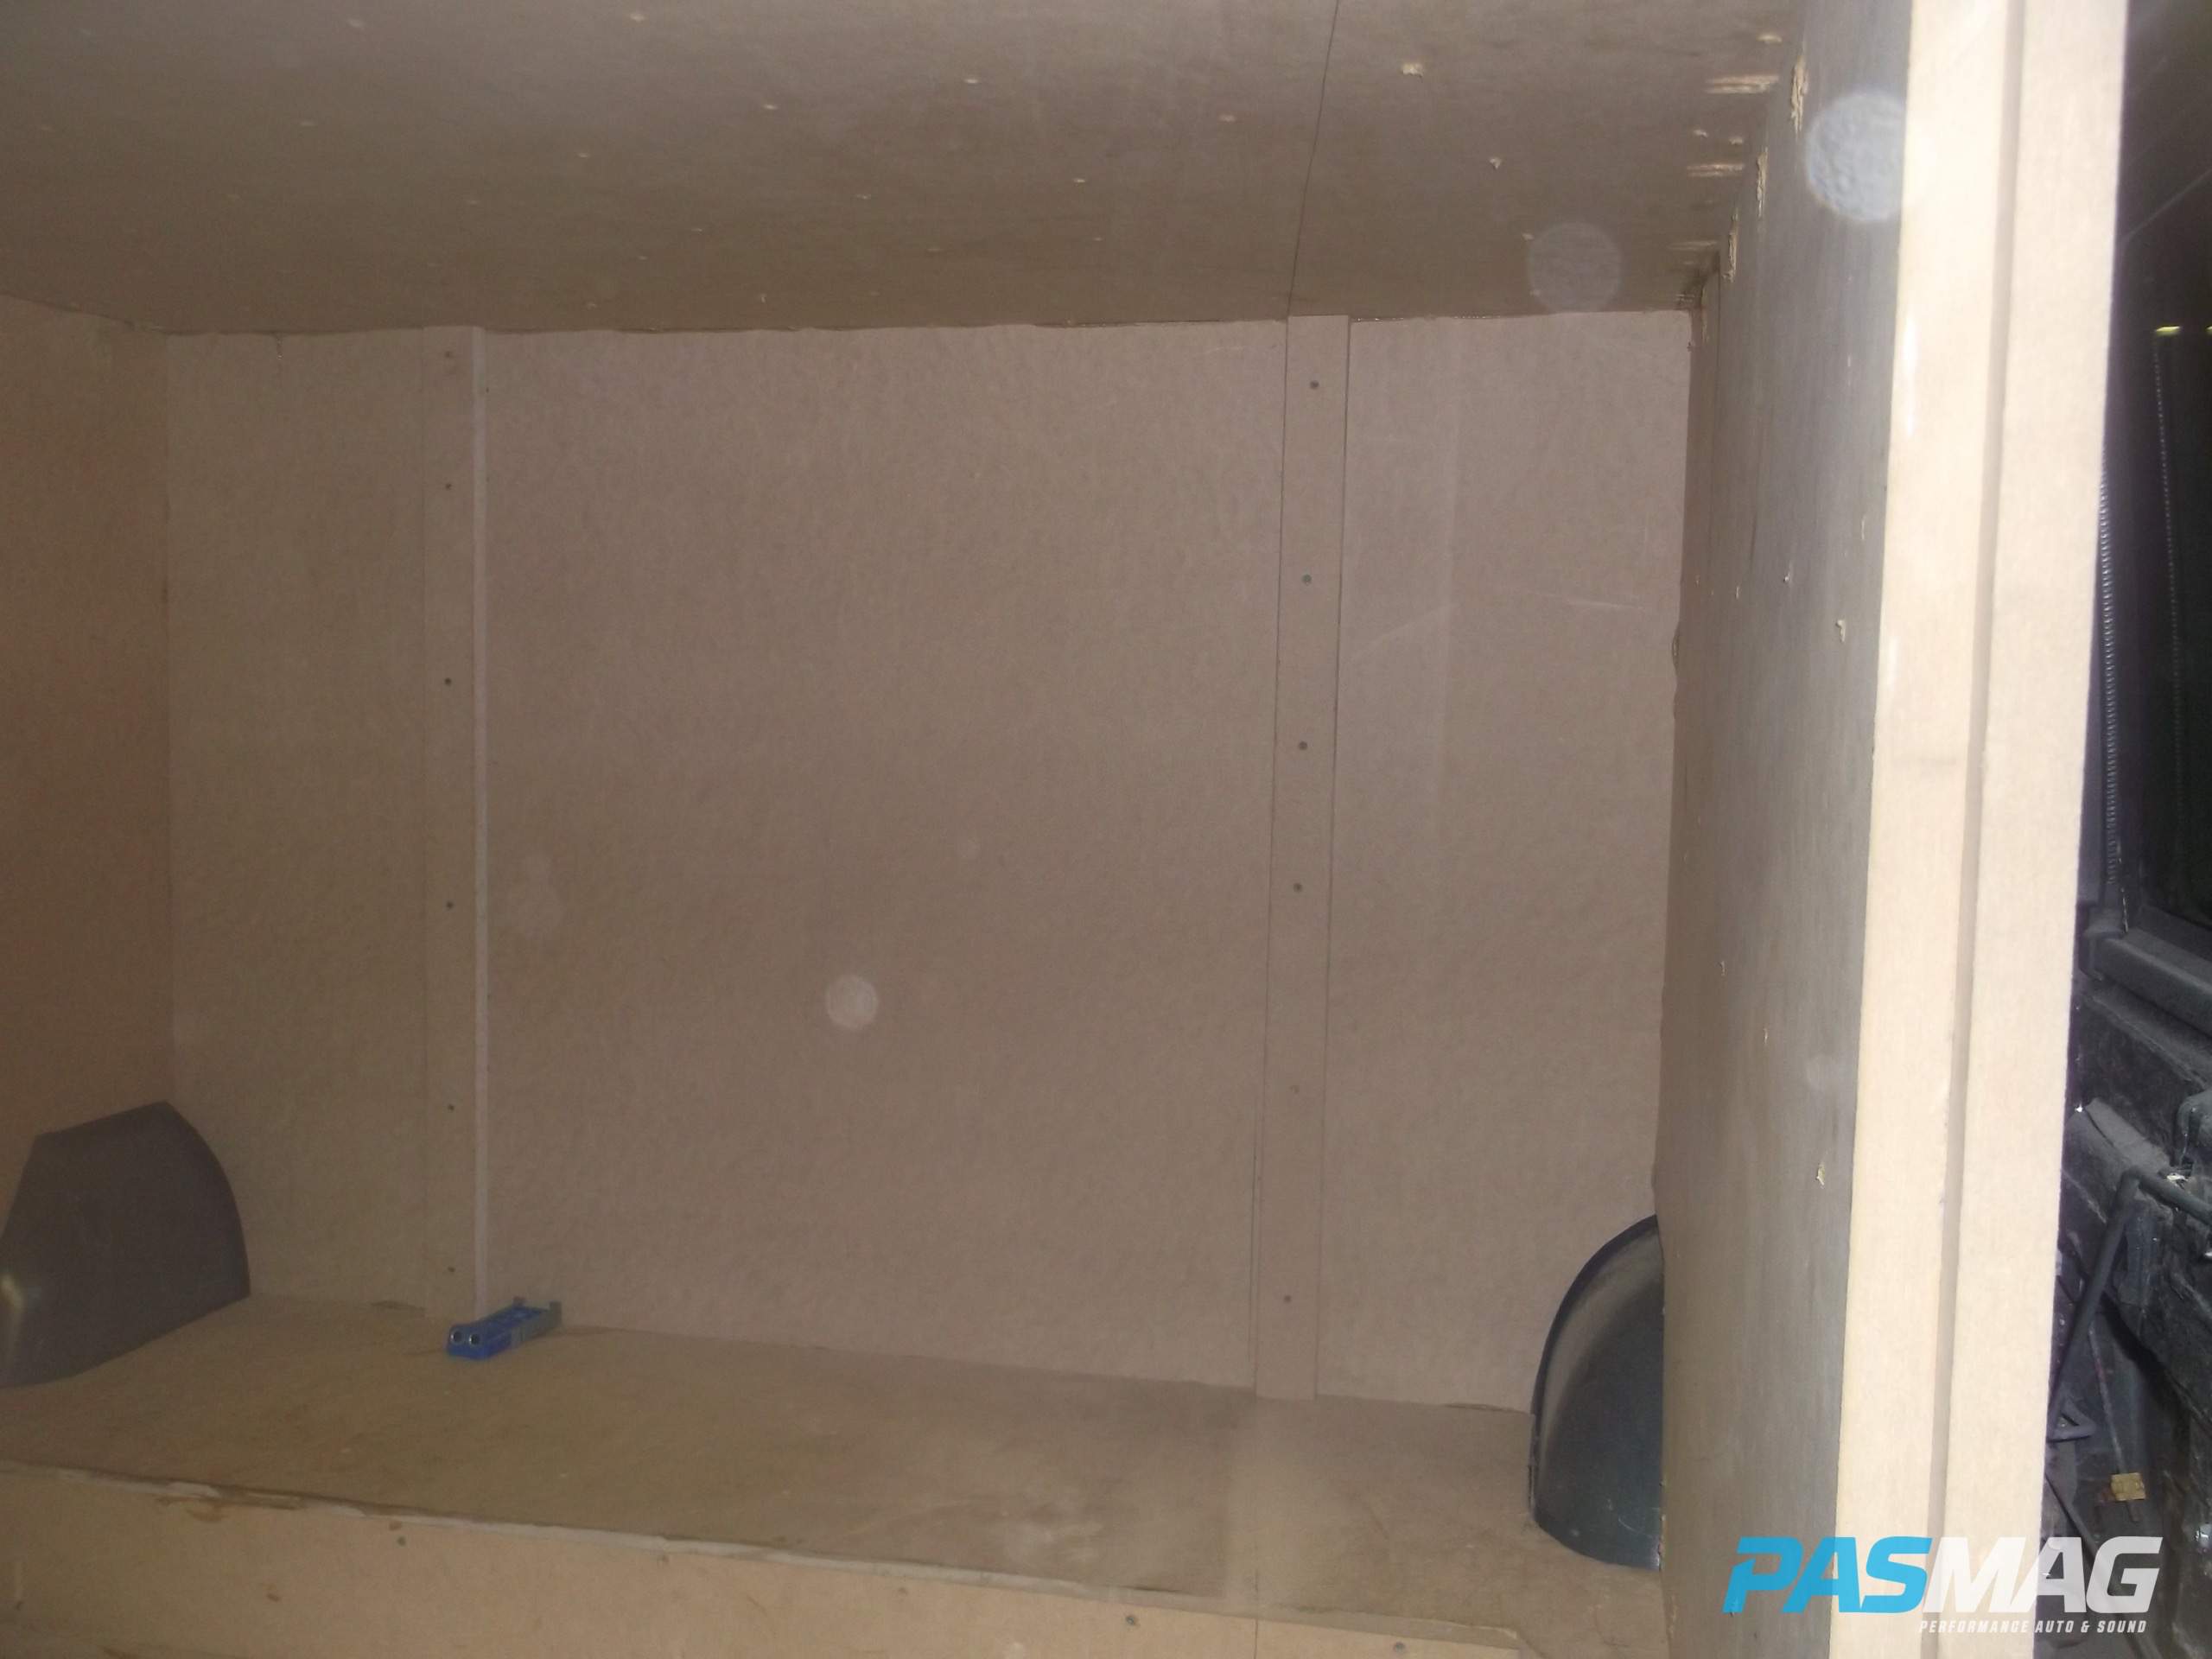
With all that wood we're off to the races. We start with the floor, which is a total of 2.75-inches thick (two layers of one-inch and one layer of three-quarter-inch). The floor of the enclosure is affixed to the floor of the truck with the help of PL Premium and the stock rear seat bolts. The sides of the shell are made of two sheets of one-inch MDF while the rear wall and roof are three sheets each. Thanks in part to a few bottles of wood glue, a few cases of PL Premium, 1,500 screws and a Kreg Jig pocket hole tool, the shell is constructed.
 |
 |
Special thanks go out to Daryl McCoy who stepped up during a time of need and provided invaluable help. McCoy also happens to be a competitor with a very impressive vehicle of his own, which will more than likely compete against the Big Brute. I'm very fortunate to call him a friend, so thanks again BIG D.
With the shell complete, I sit down with John Wolak from Ultimate Autosports and Nick Cimino from Core Industries to figure out the design. The initial plan was to run a dozen RE AUDIO XX 15-inch woofers, but fate stepped in and gave us an open-handed wake-up call as we soon realized there wasn't enough real estate to do so. Once the stinging subsided and final measurements from the completed shell were done, it was determined that a two-to-one ratio, fourth-order bandpass with 10 15-inch subs would work best, given the amount of space we had for the desired output.
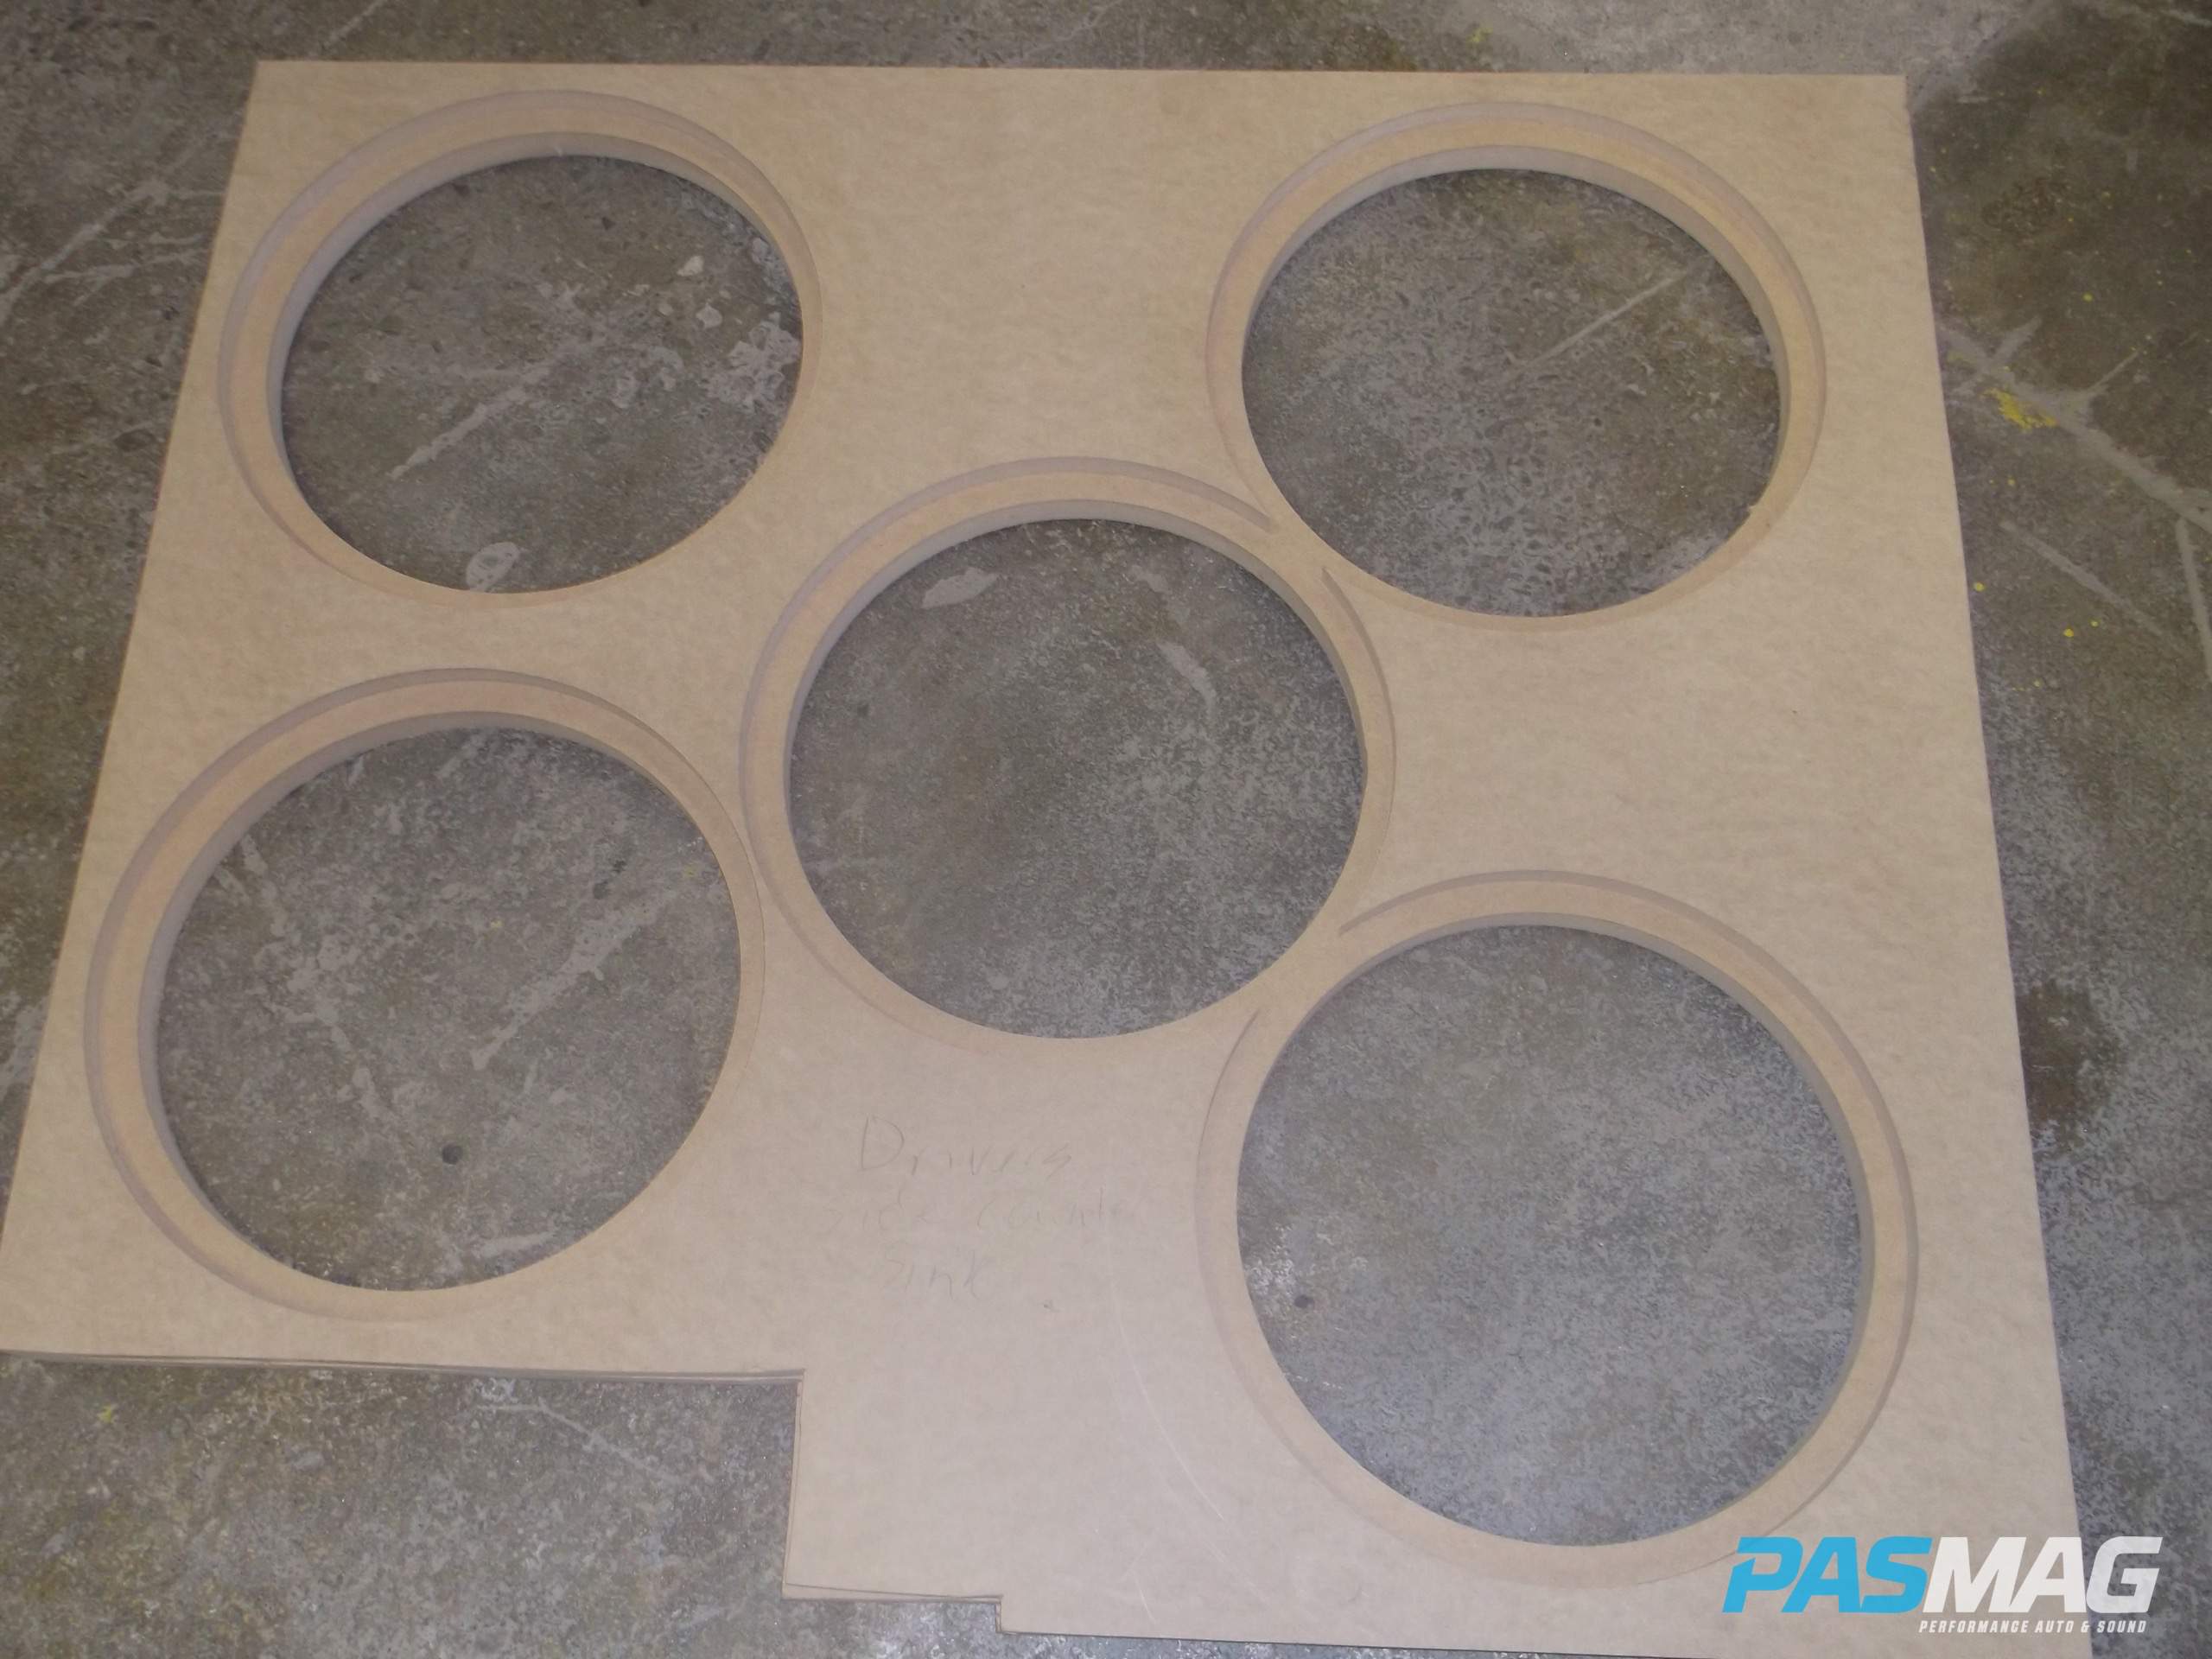
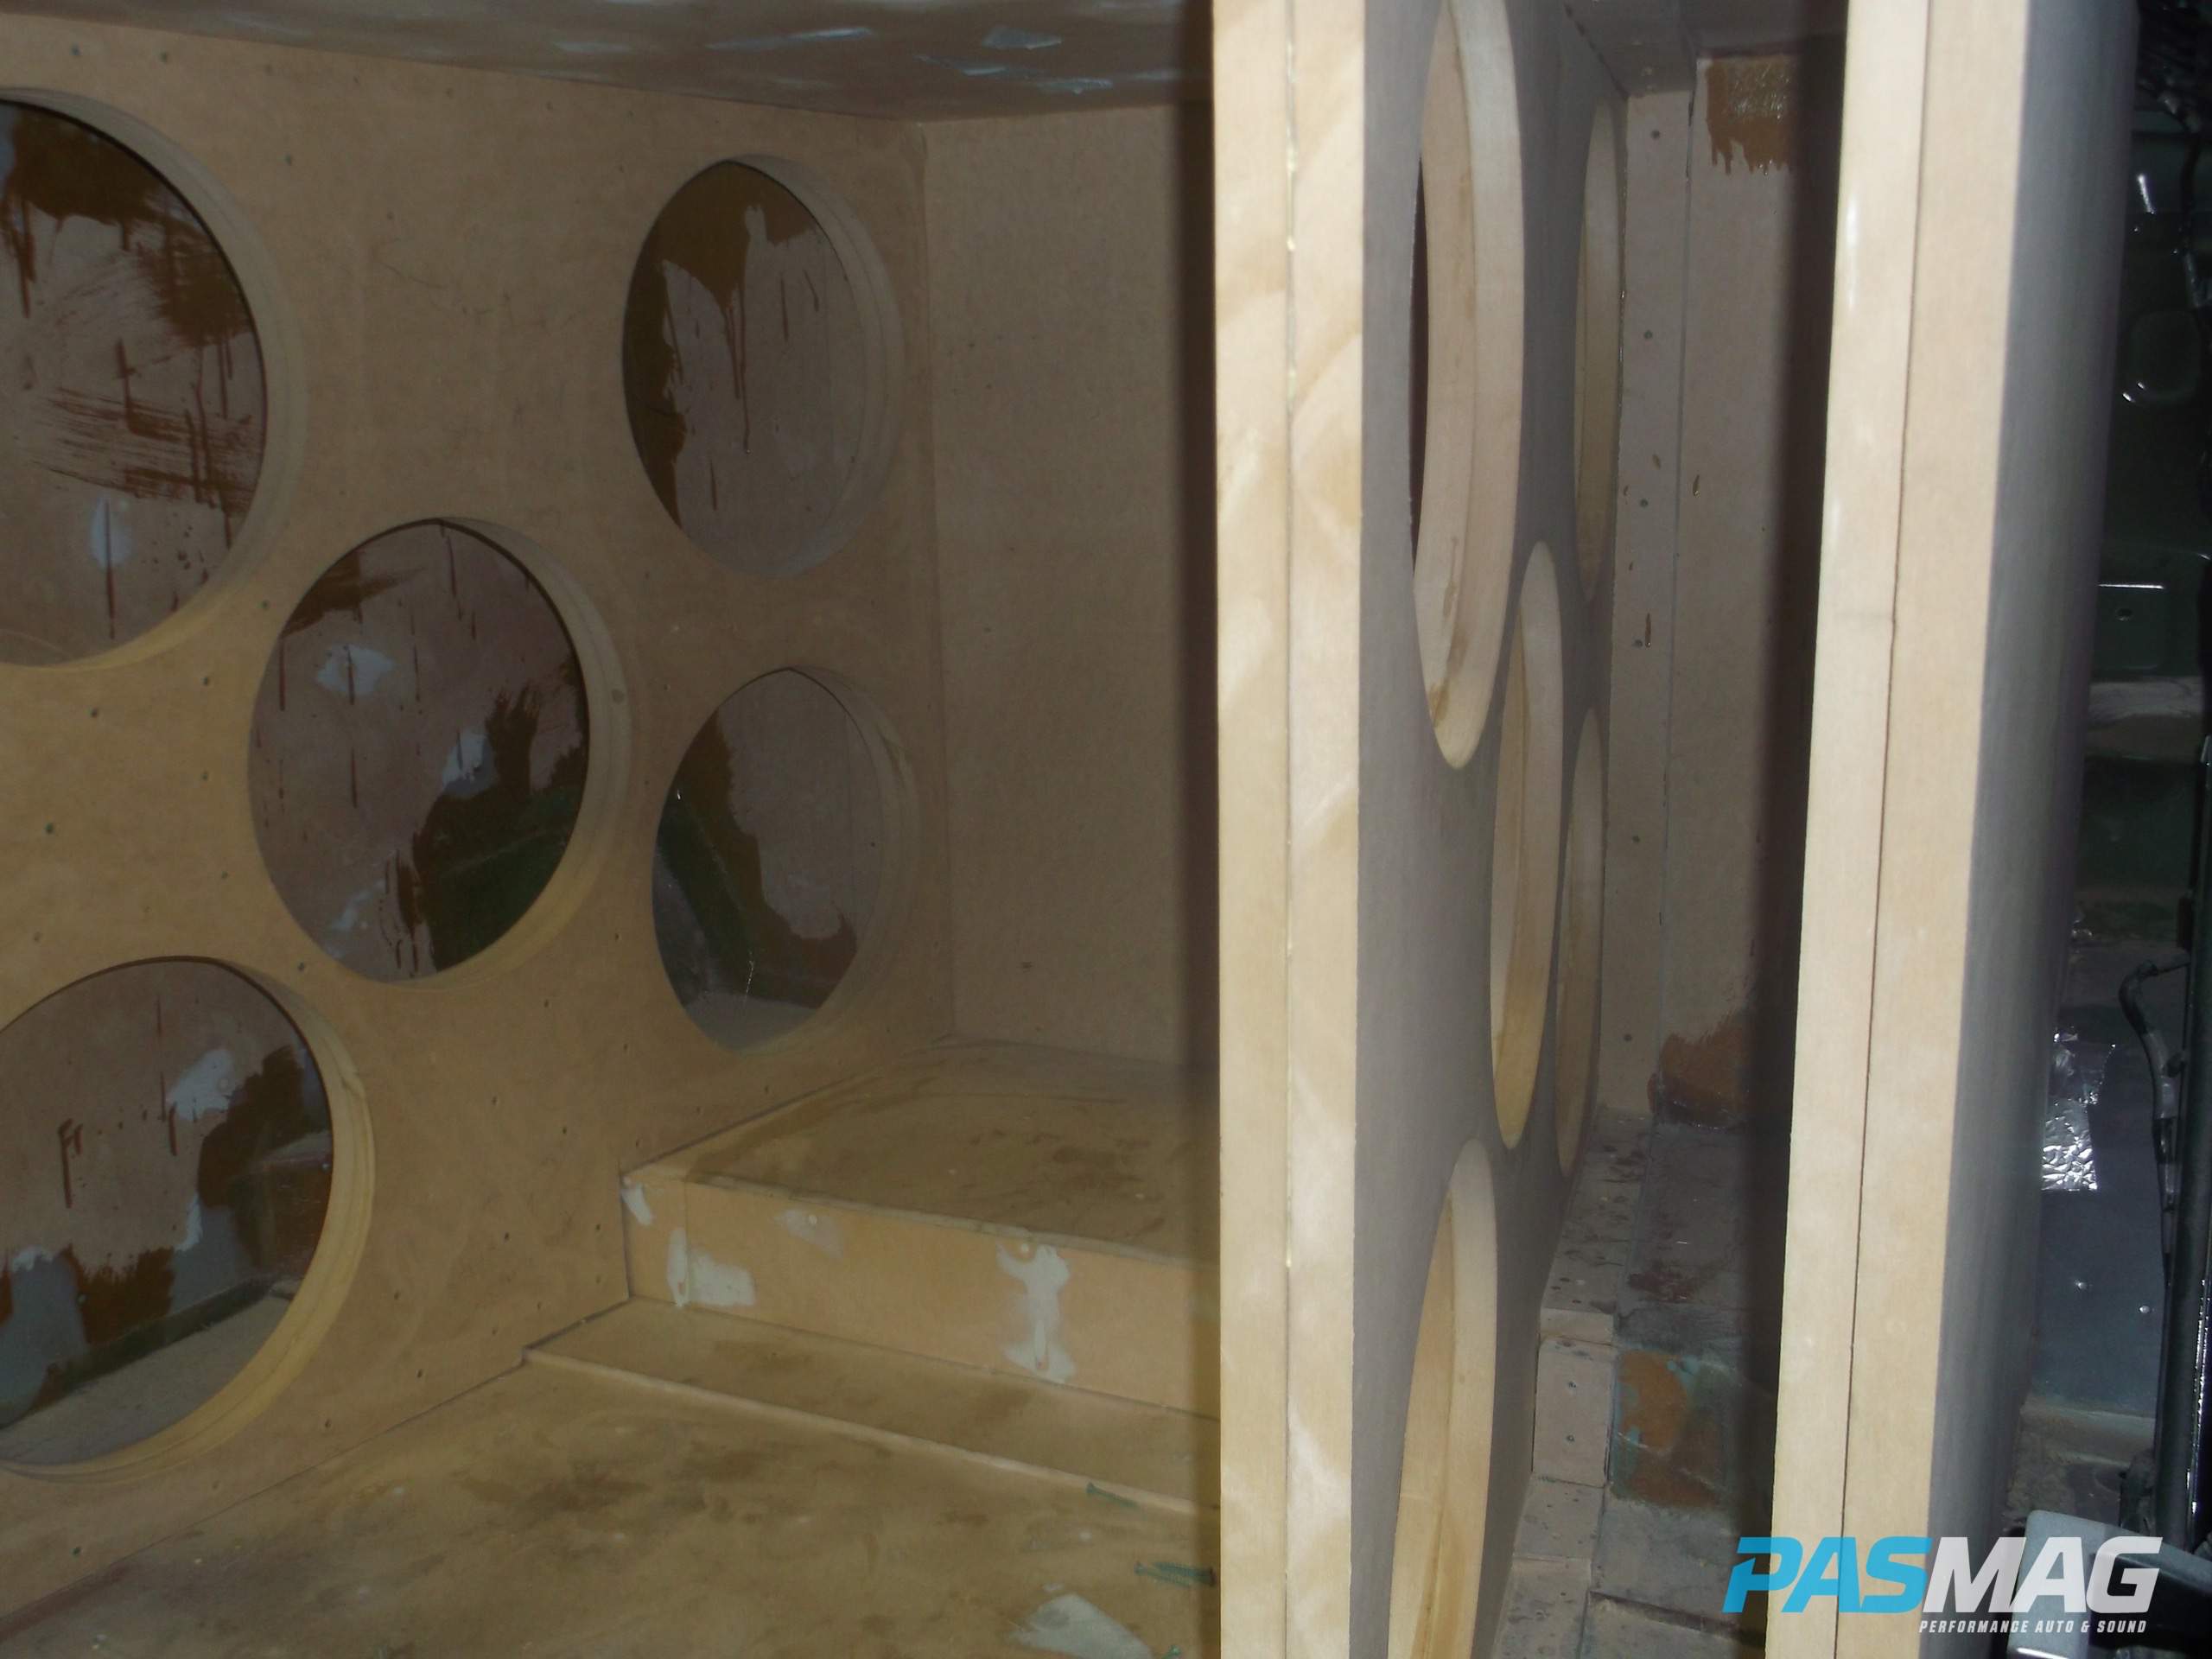
The design of the fourth-order bandpass had to be five 15-inch subs on the left side of the enclosure, and five on the right. In order to make that a reality, the baffles were laid out in a “V” pattern with the center of the enclosure acting as a port for the best music and demo results. The left and right baffles are three inches thick, and each hole has been cut using a jasper jig. Let me tell you, trying to cut through one-inch thick MDF is no easy task! Now, try doing that for a total of six sheets, with the last layer countersunk for additional strengthening and cosmetic finish. Then you will understand how much of a pain it is.
 |
 |
Before the baffles are installed, we mount both the driver and passenger seats in the cabin and recline them to a comfortable position, because once the baffles are in place they won't be able to move further back.
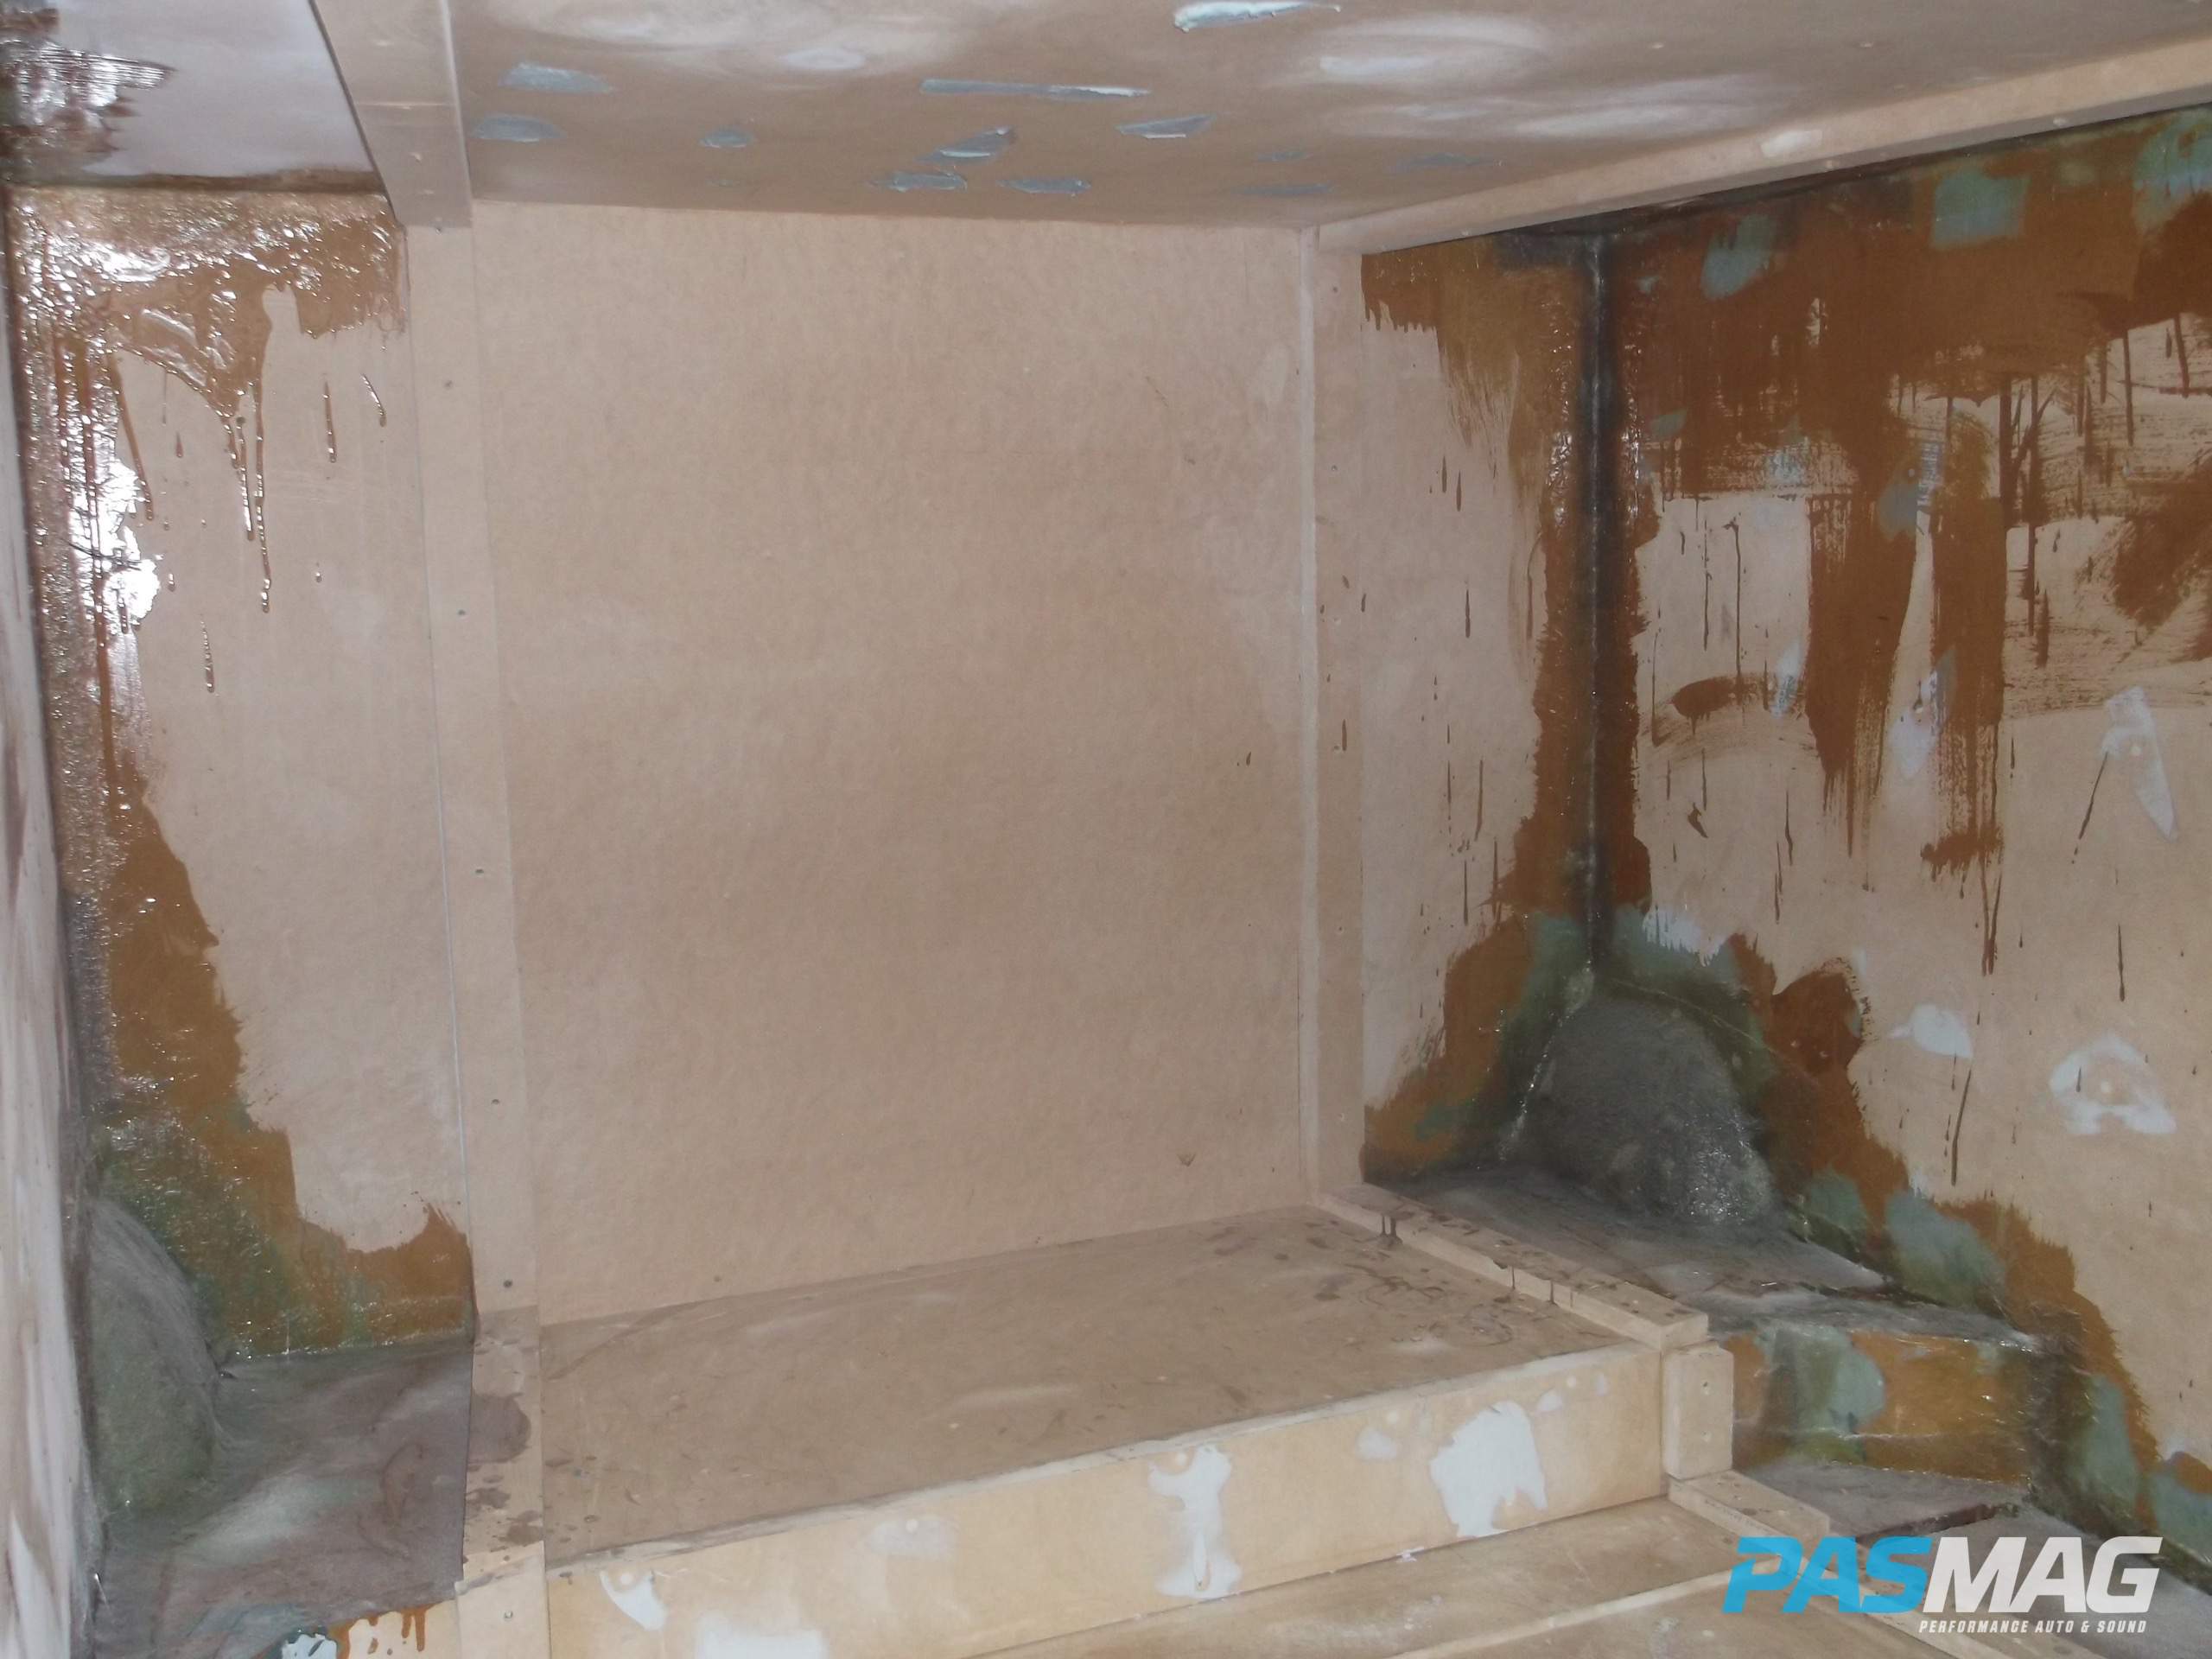 Prior to installing the baffles, each seam in the shell receives a good helping of Bondo, resin and fiberglass with tons of sanding. Once this is done, the baffles are installed and the process is repeated again.
I have to mention that Cimino, Core Industries' National Sales Manager, helmed this phase of the build and was hands-on from beginning to the end, spending countless nights elbow deep in resin, Bondo and MDF dust. You have a better chance of hitting the lottery than seeing a distributor get this involved in a build, but it speaks volumes to me and provides additional confidence in my choice of product.
The baffles act as support and bracing since they span the entire height and depth of the enclosure, but with the expected pressure from 10 62-pound woofers, additional bracing is a no-brainer. Multiple braces made of square tubing along with flat metal bases are strategically-placed in the sealed portion of the enclosure to add strength and support.
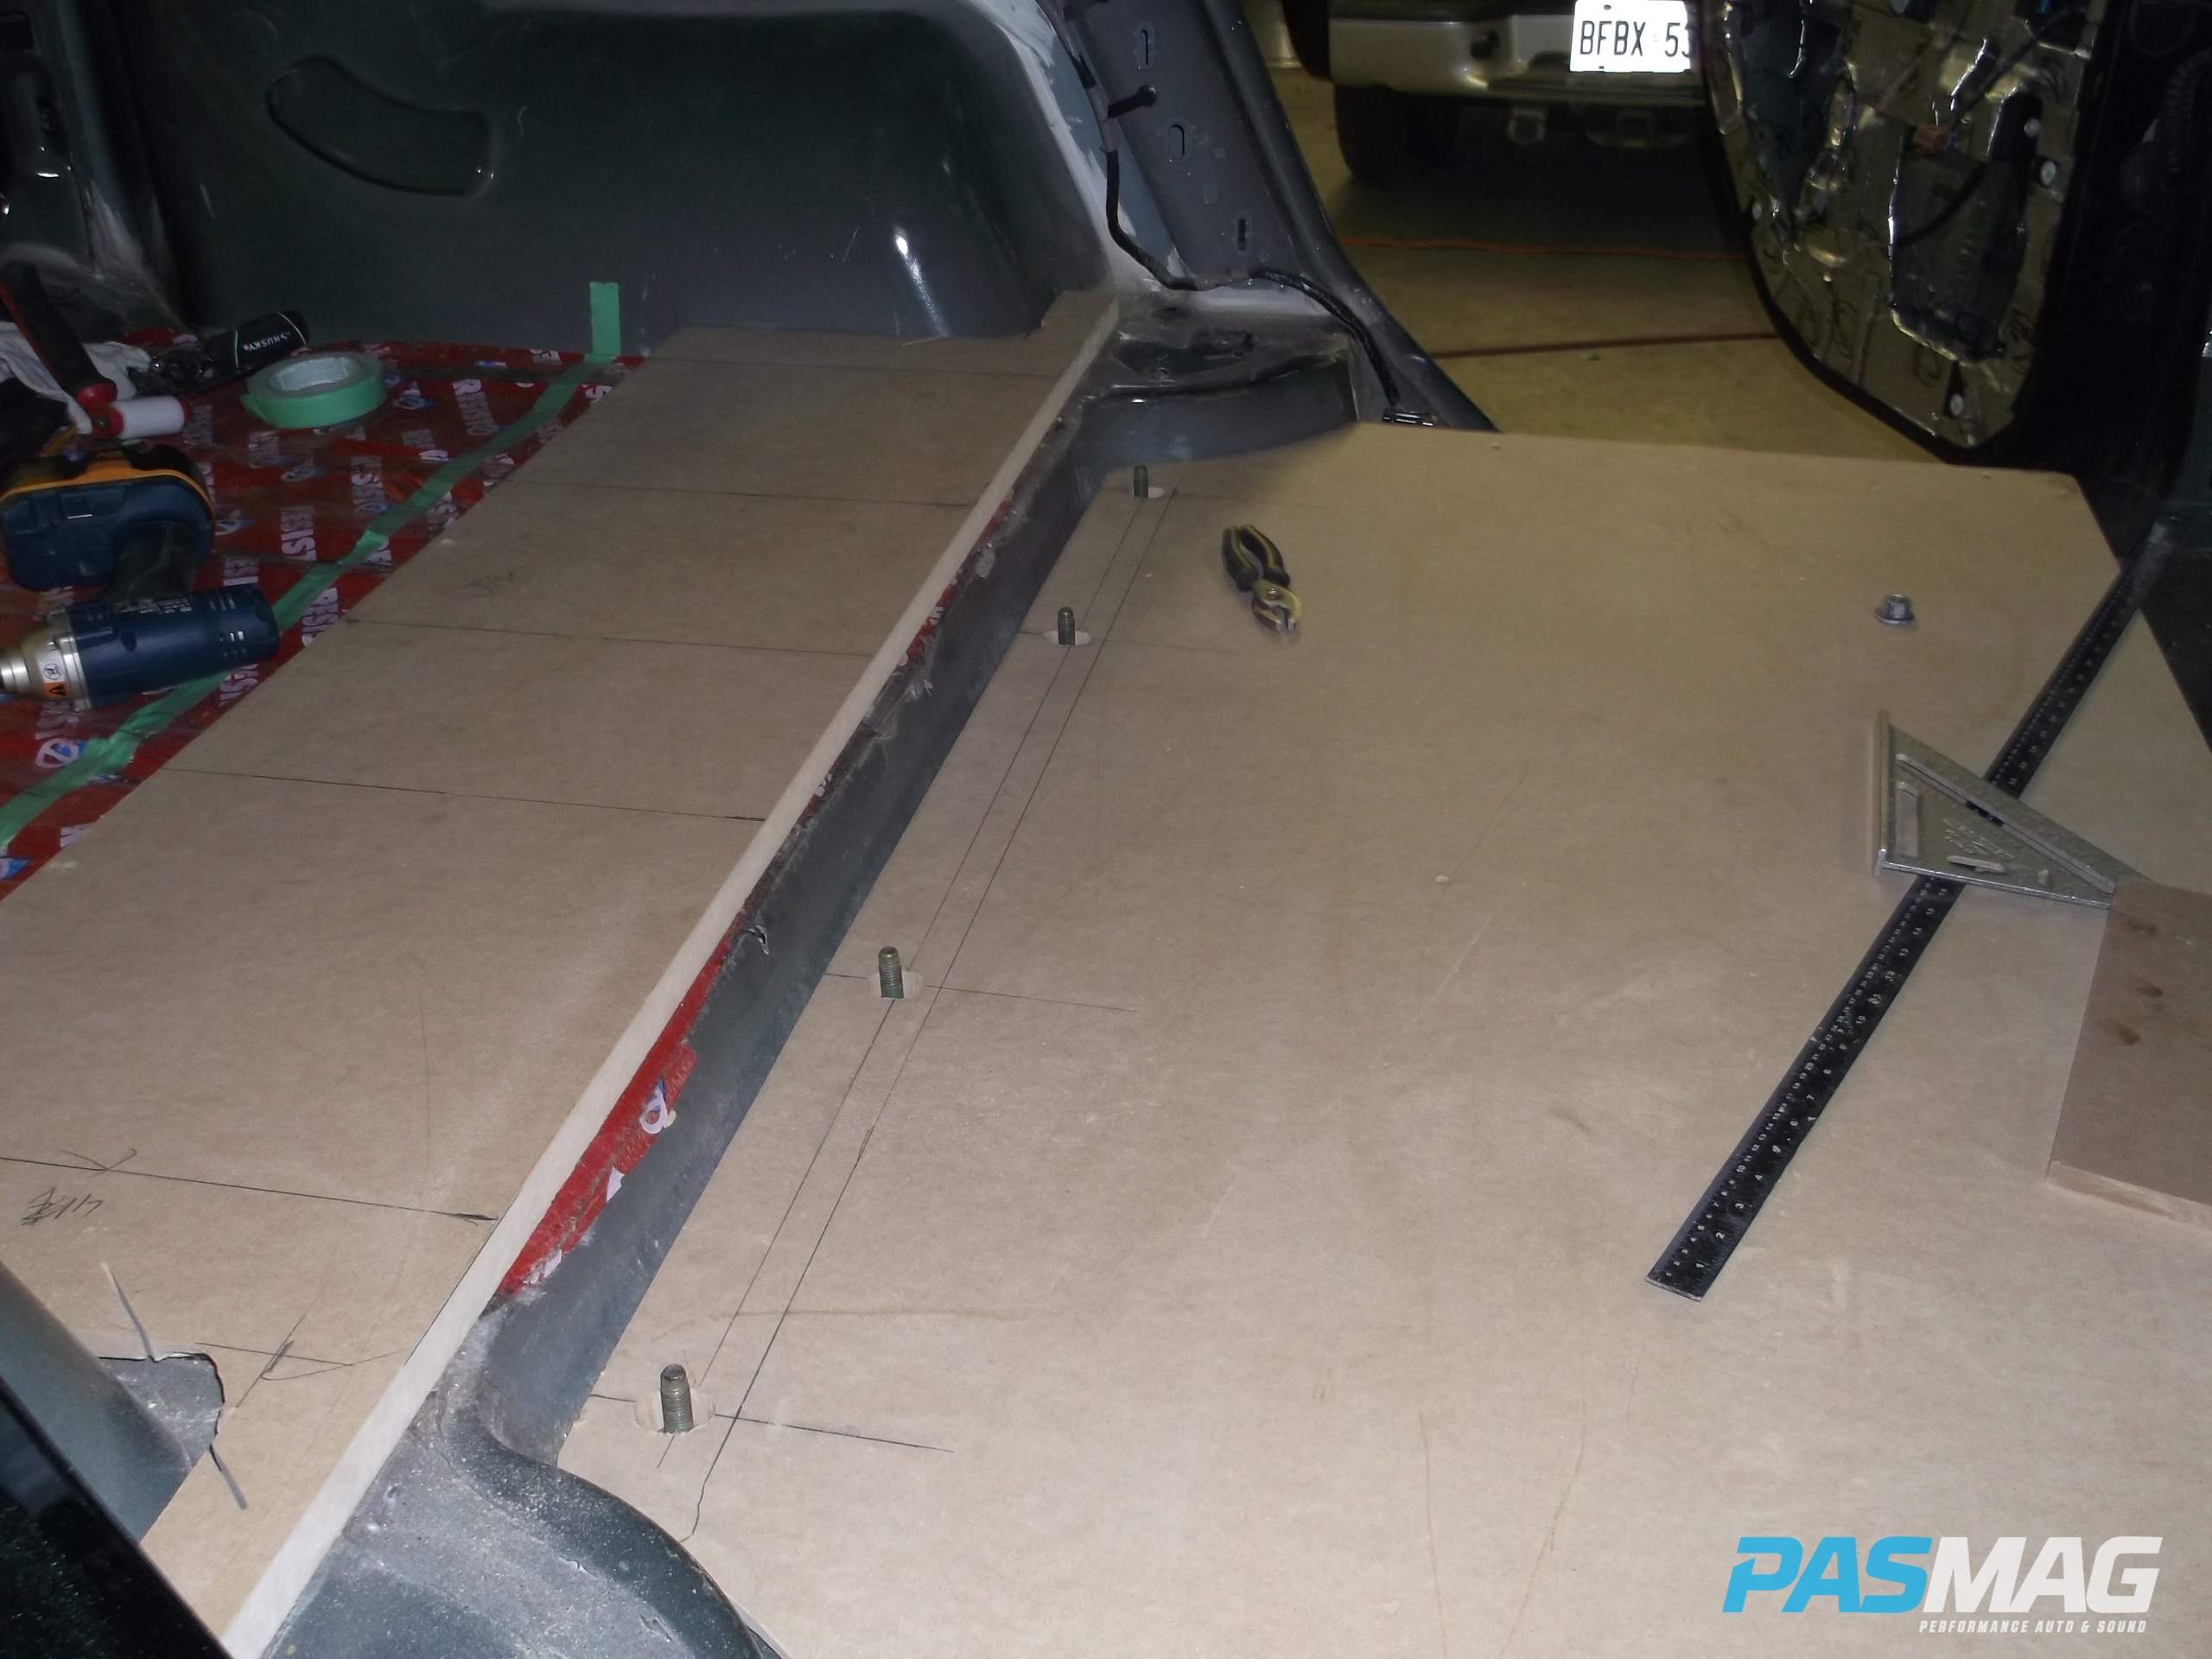
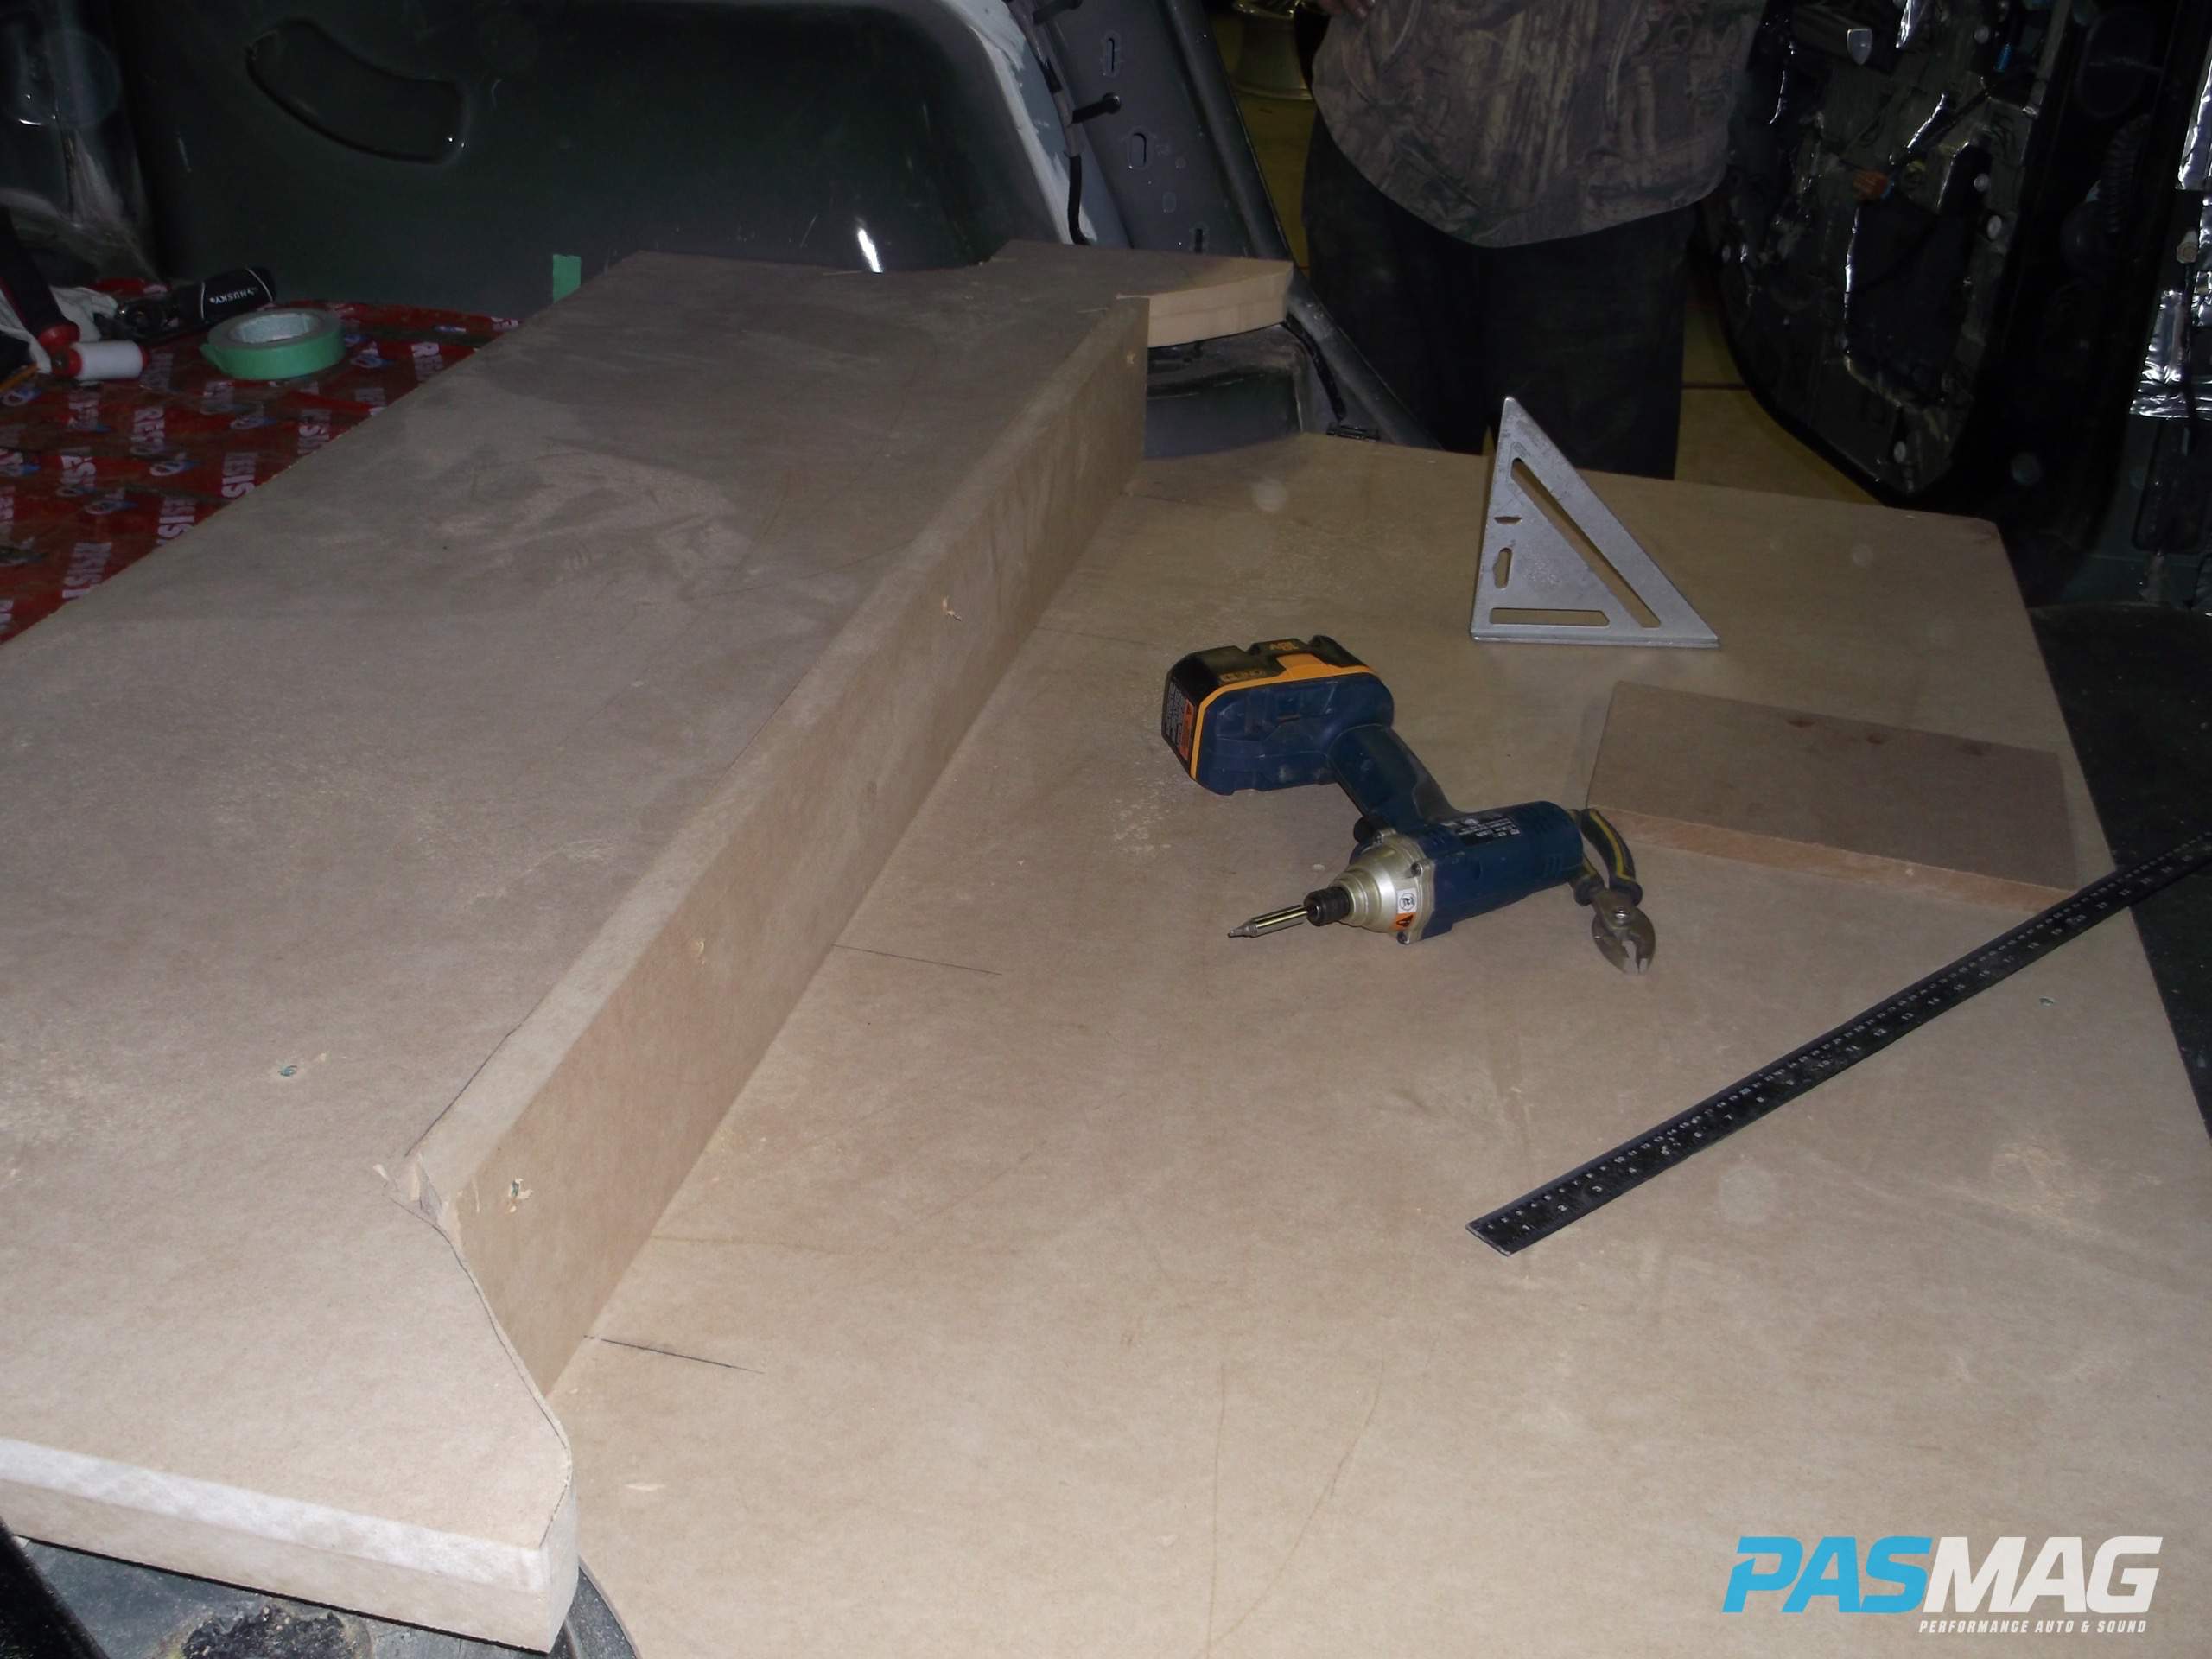
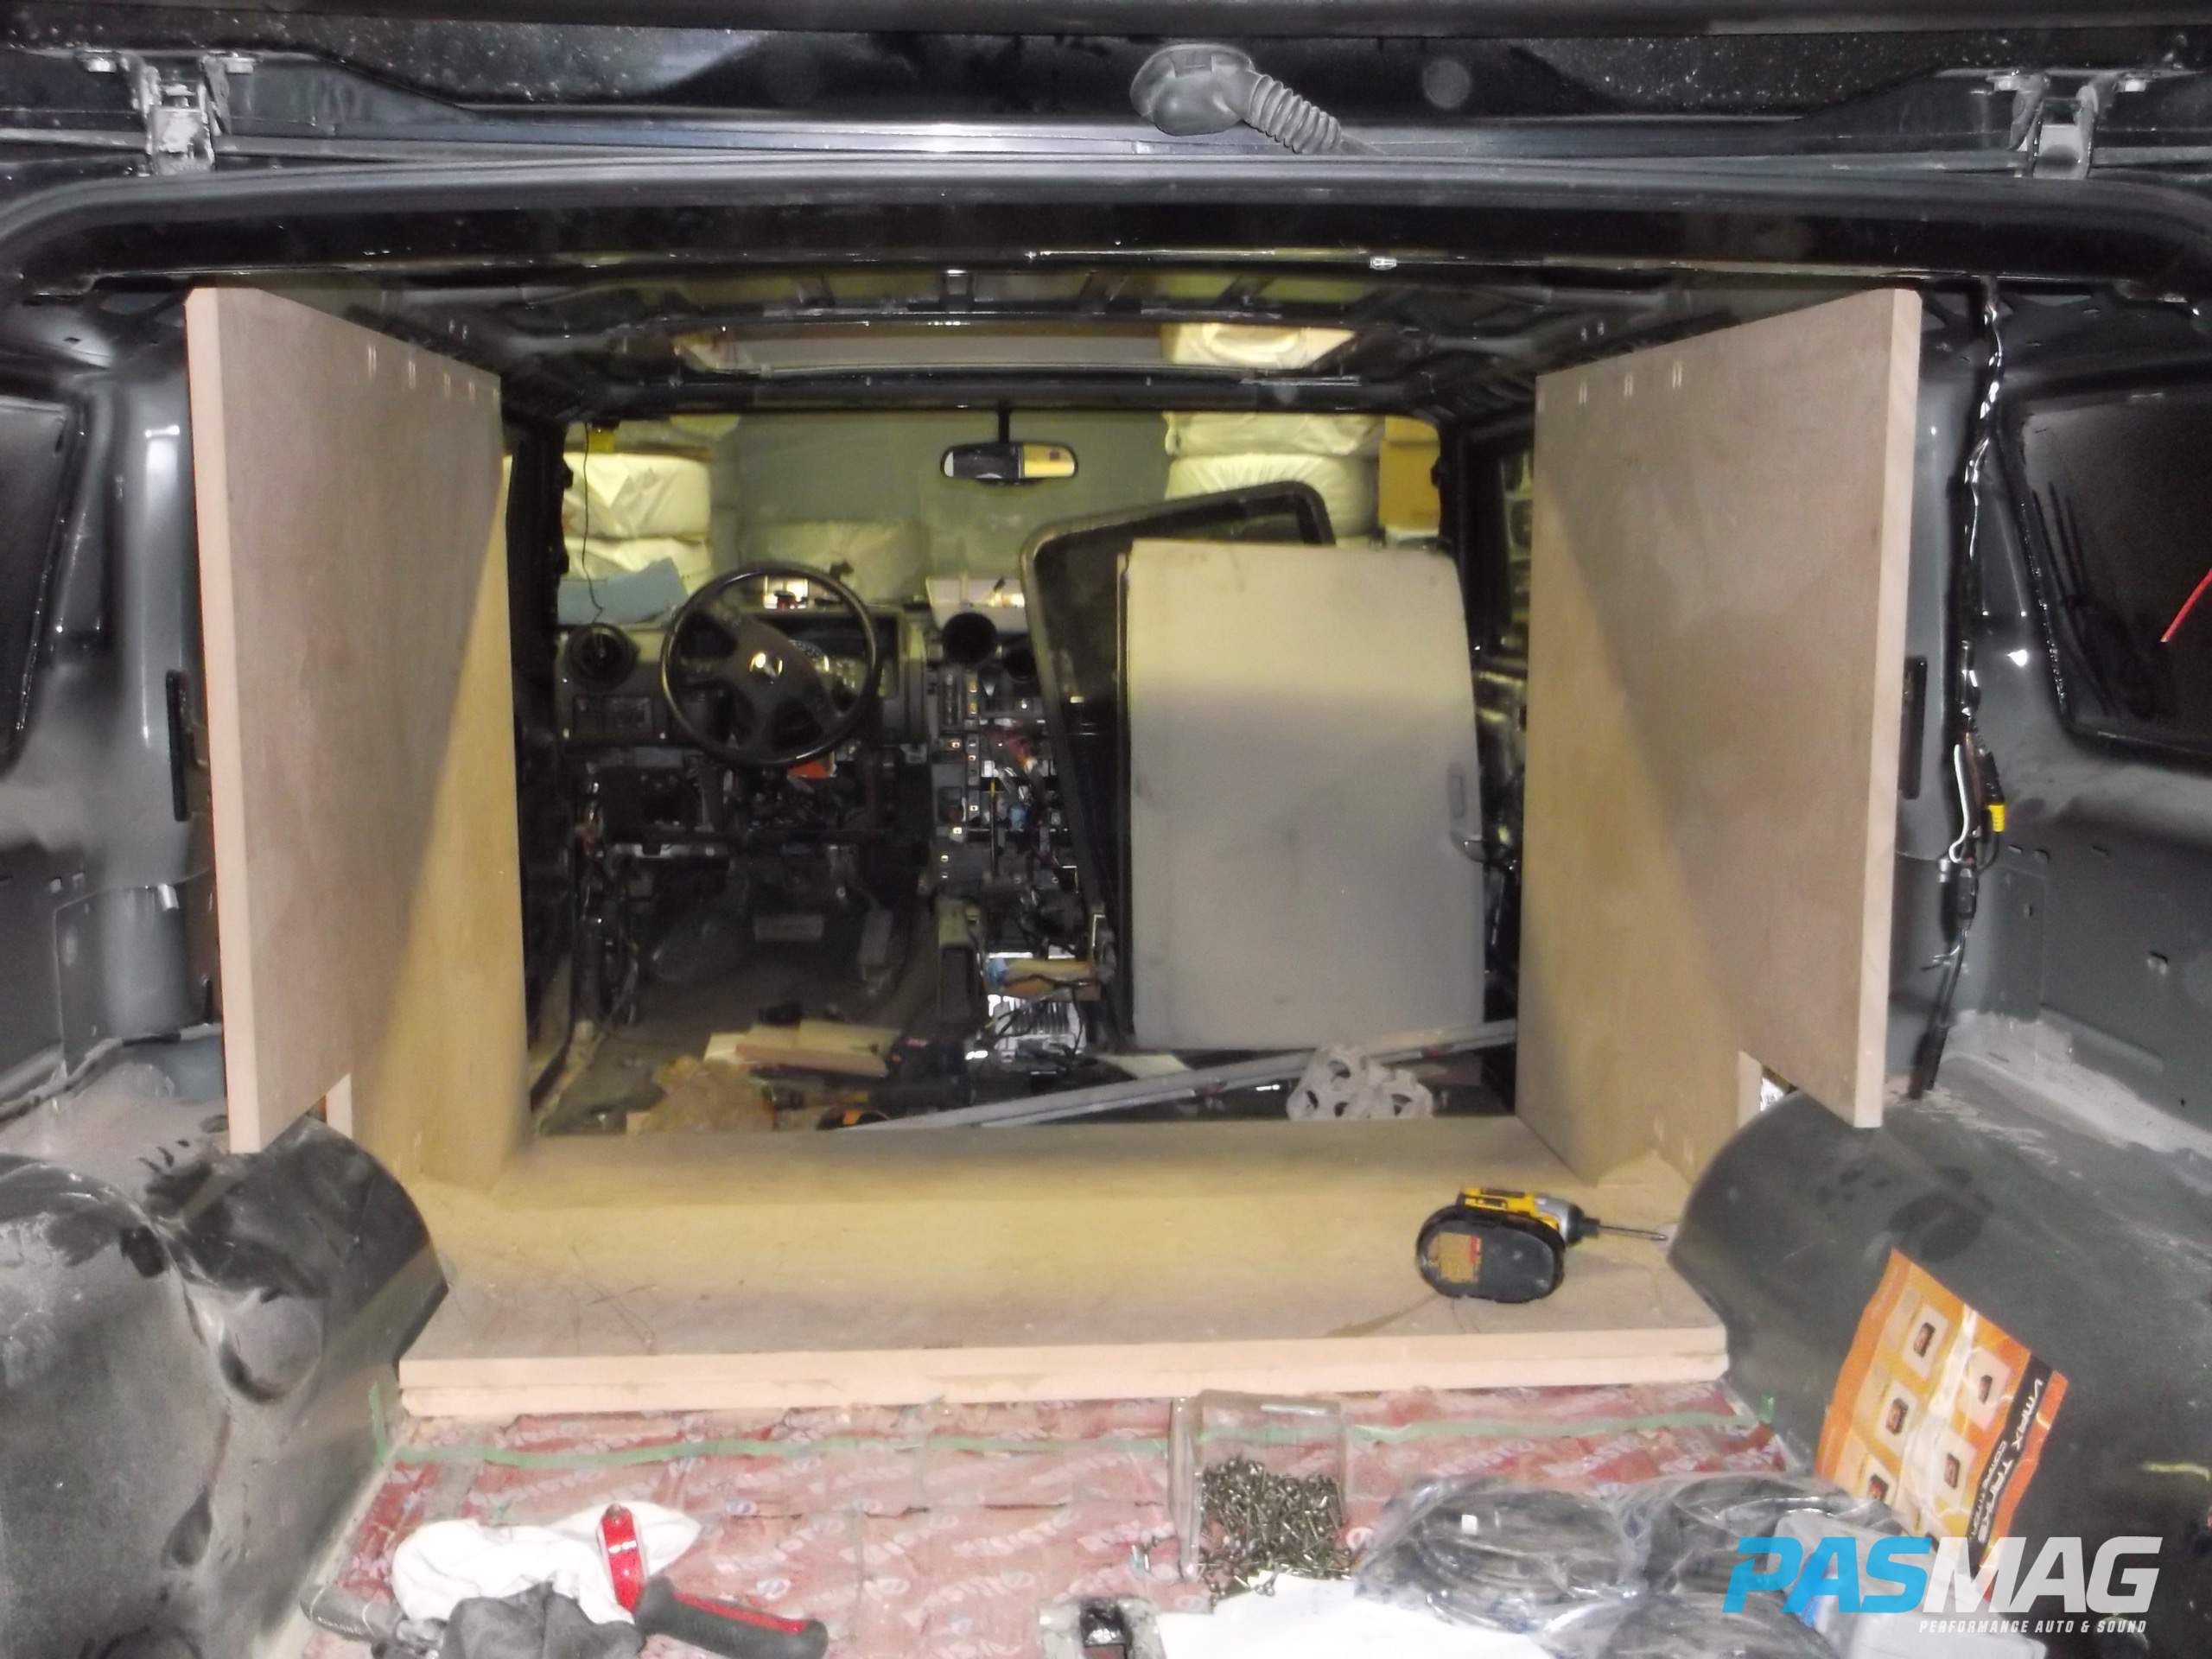
From there we move to the loading wall, which separates the enclosure from the front cabin.
 |
 |
Three layers of one-inch MDF are used for starters. The left and right loading walls are set in place with the help of good old, tried and tested PL Premium and a couple-hundred screws via the Kreg Jig. Once secured, the inside seams are glassed and covered in resin. The outer face of the loading wall has an additional 1.75-inches of wood yet to be applied. Another one-inch sheet of MDF is used for port depth and another three-quarter-inch sheet for trimming purposes.
 |
 |
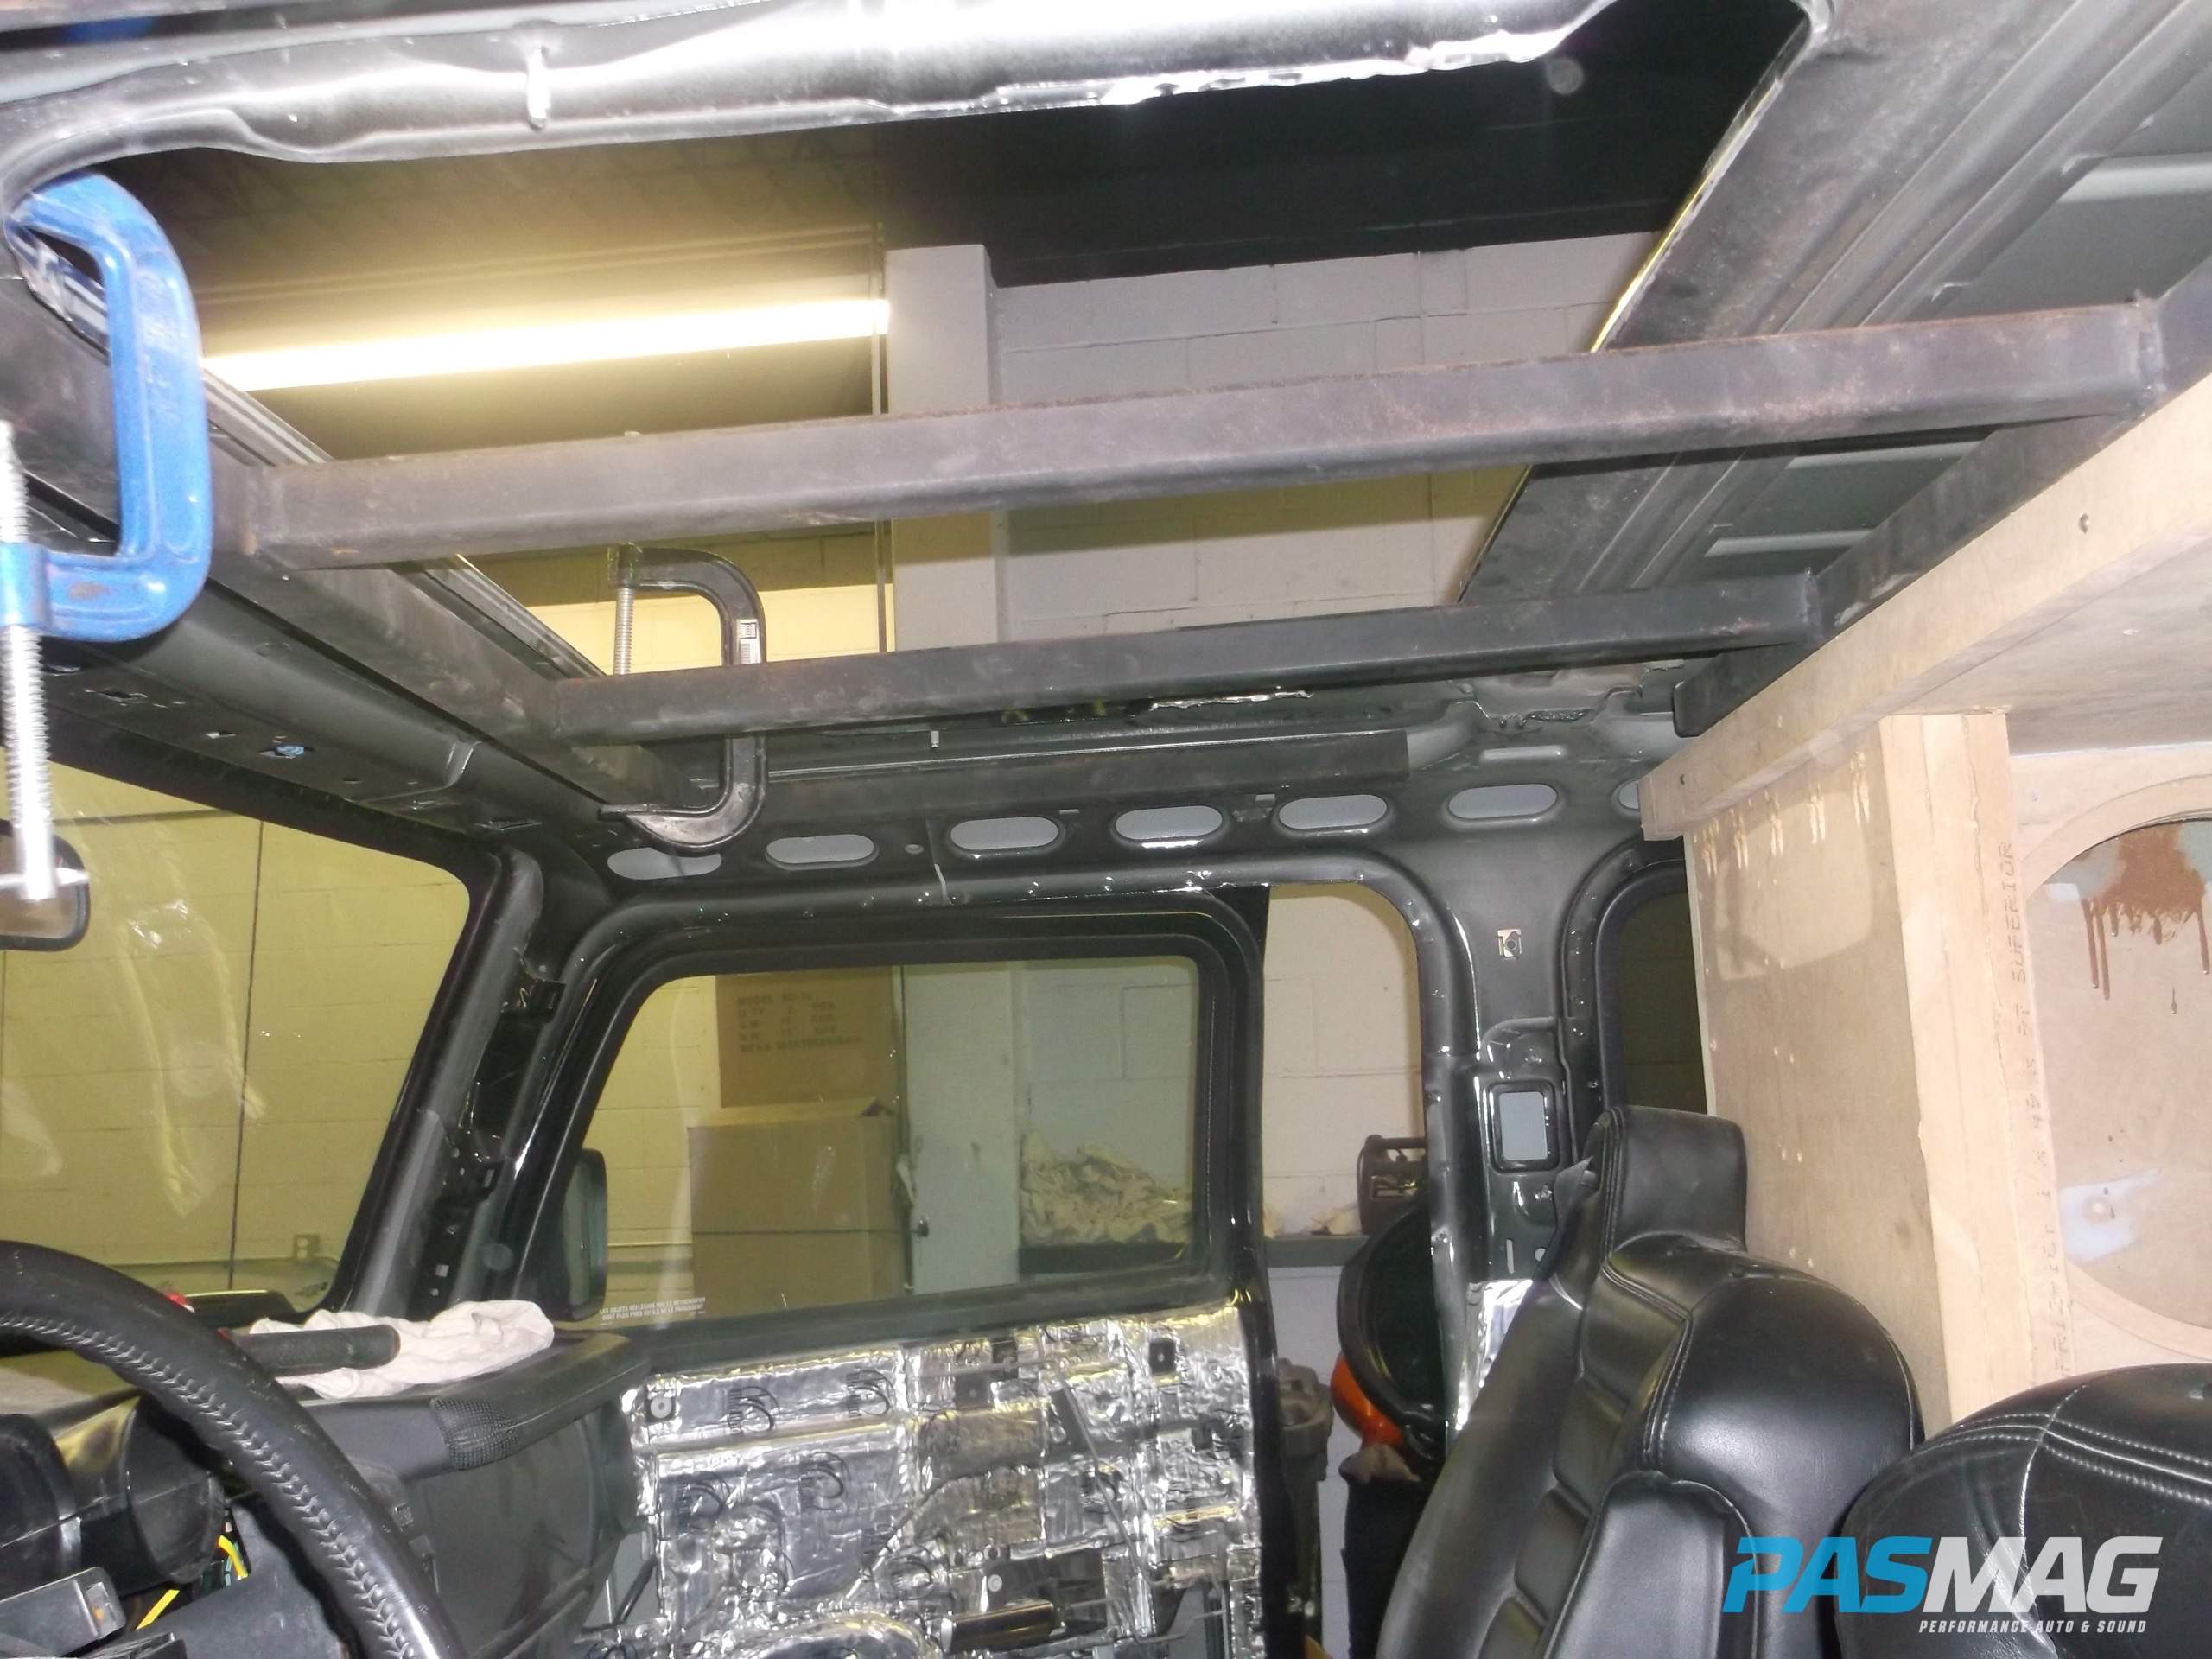
I have to say, losing the use of my sunroof is going to be a bitter pill to swallow, but it is all for the greater good of bass. The rails were unbolted from the roof and the glass sunroof was removed. From there, a steel cage was constructed using 1.5-inches of one-eighth wall square tubing. This cage is an integral part and ties in the wall, sides and windshield frame together, while being completely sealed from the sunroof glass. With the cage welded in place along the sides and front, and bolted on the back end near the loading wall and enclosure, it's time to focus on reinstalling the sunroof. This is done by mounting the glass in place using custom welded brackets and windshield urethane.
With this massive phase complete, it's onto the next, which will cover the fit and finish of the enclosure, cabin and other key components of the build. Stay tuned for phase four in the next issue of PASMAG (16.06).
Also see:
Project Ground Pounder: Phase 1
Project Ground Pounder: Phase 2
Project Ground Pounder: Phase 4
Project Ground Pounder: Phase 5