
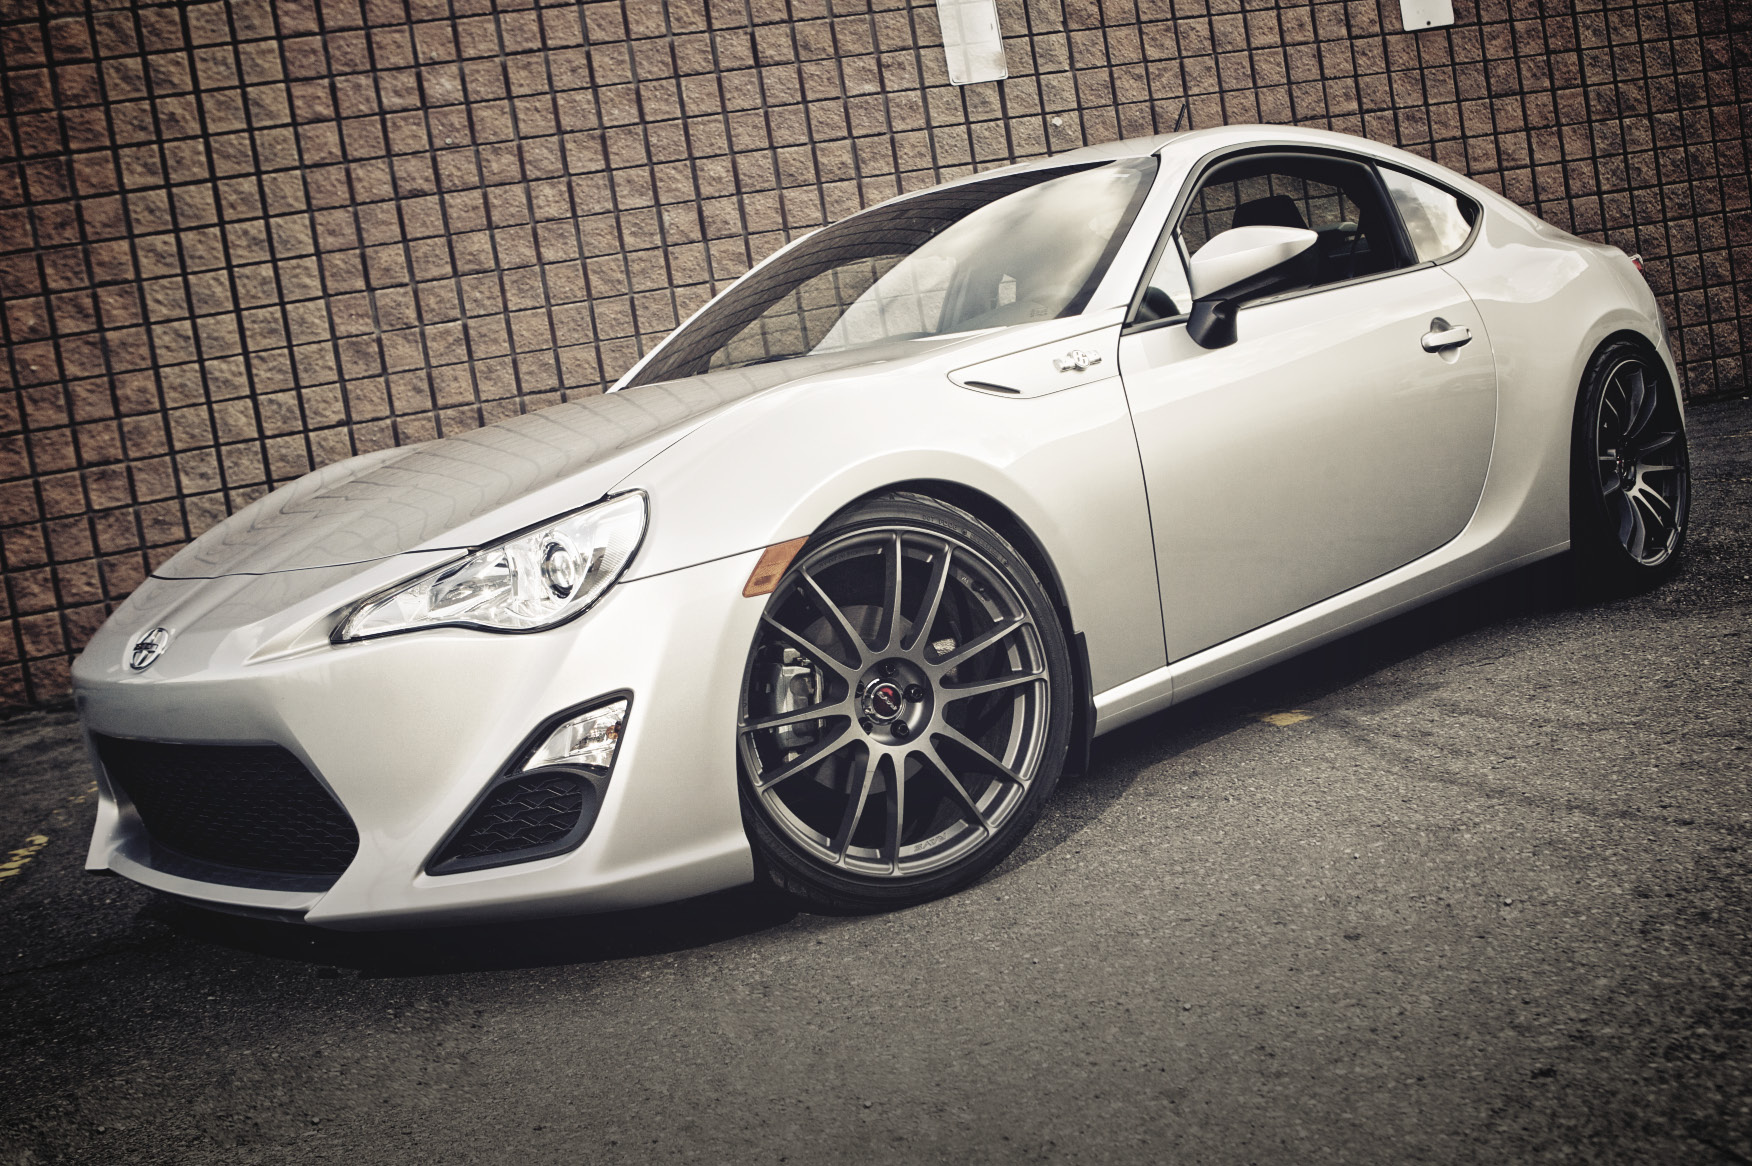
With the buzz surrounding the release of the new FR-S platform from Scion, it’s no surprise the industry’s top aftermarket companies have been hard at work developing new performance upgrades. We at PASMAG have hooked up with JRP Inc. and Scion Canada to show you a host of new upgrades available for the FR-S! We’ve got big plans for this new project and we’re starting with a complete suspension overhaul with help from KW Suspensions, Whiteline Engineering and Cusco. Let’s get our hands dirty with the folks at NV Auto to see how it’s done.
The first step is to get the car safely lifted off the ground and remove the wheels.
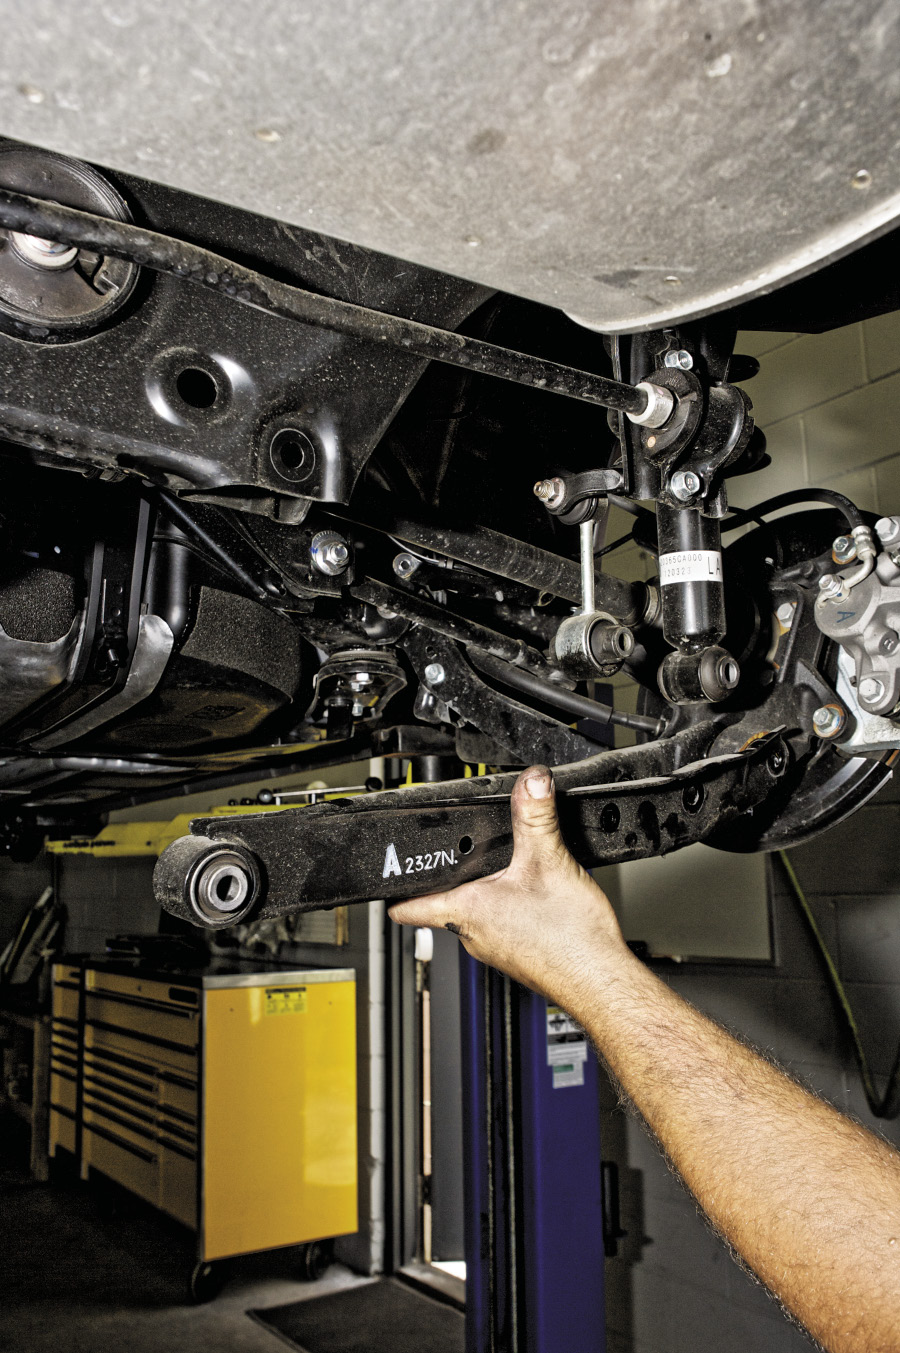
Start at the rear of the car by removing the lower control arms. Remove the mounting bolts for the sway bar end link and rear strut first followed by the inner and outer mounting bolts for the control arm.
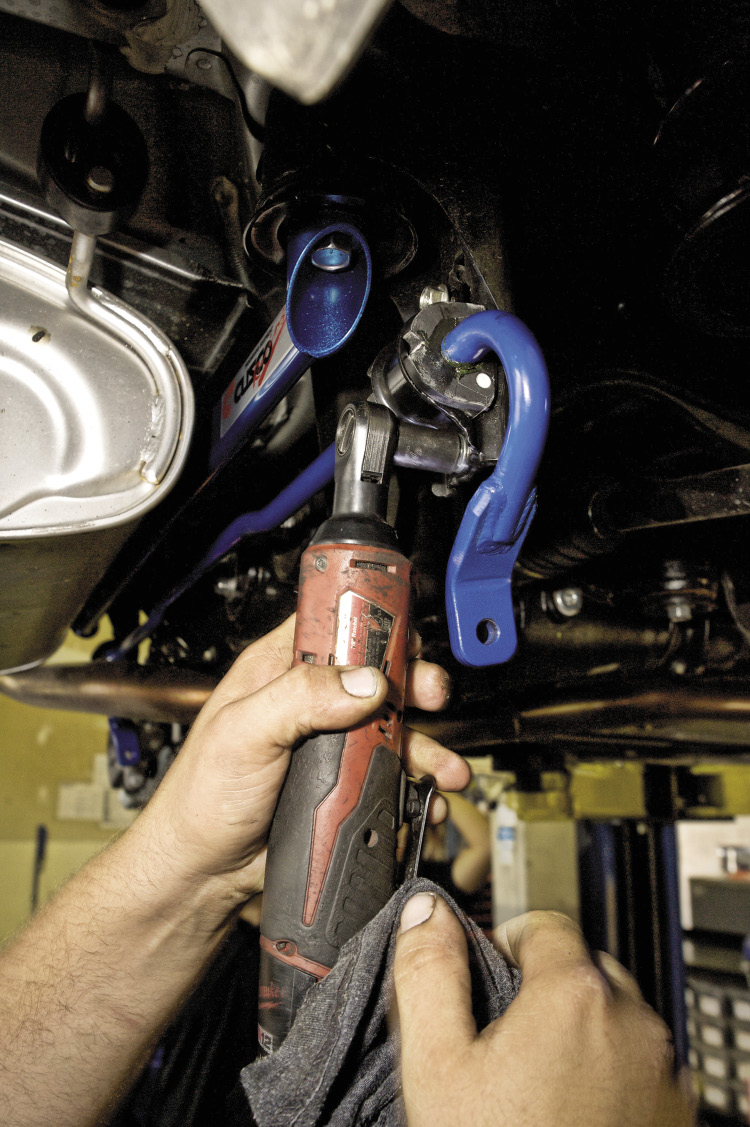
Next, locate and remove the sway bar mounting bolts for the rear sway bar. Once the factory sway bar and end links are removed, set them aside.

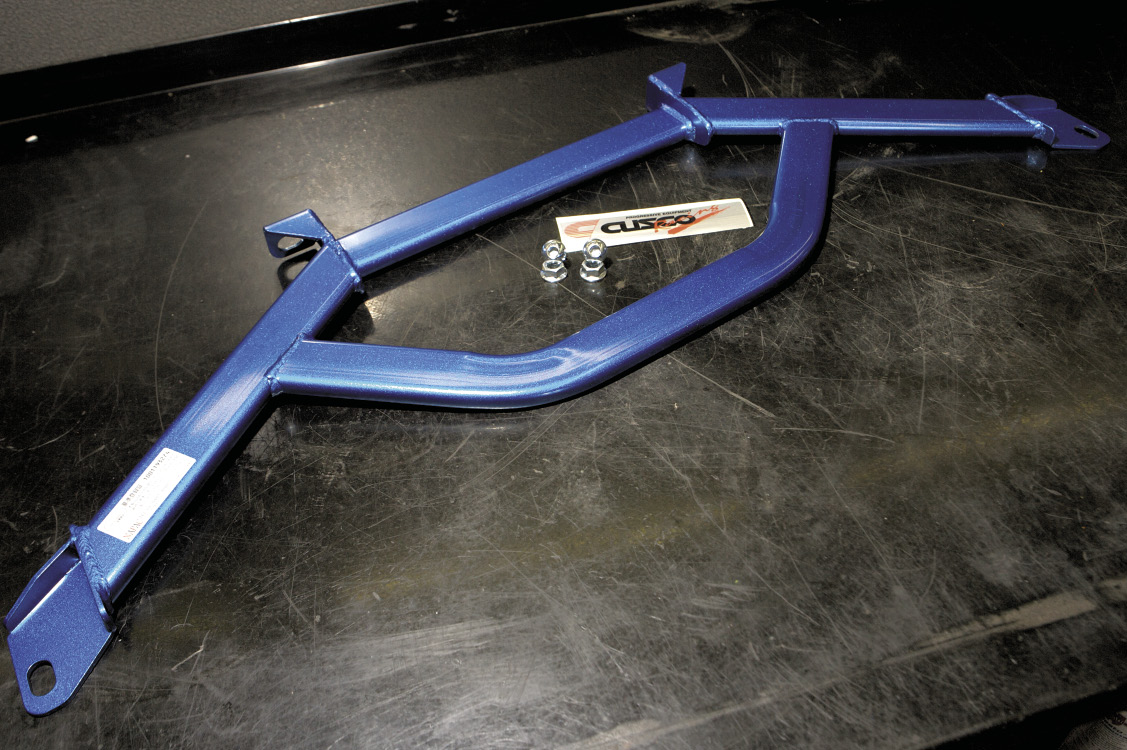
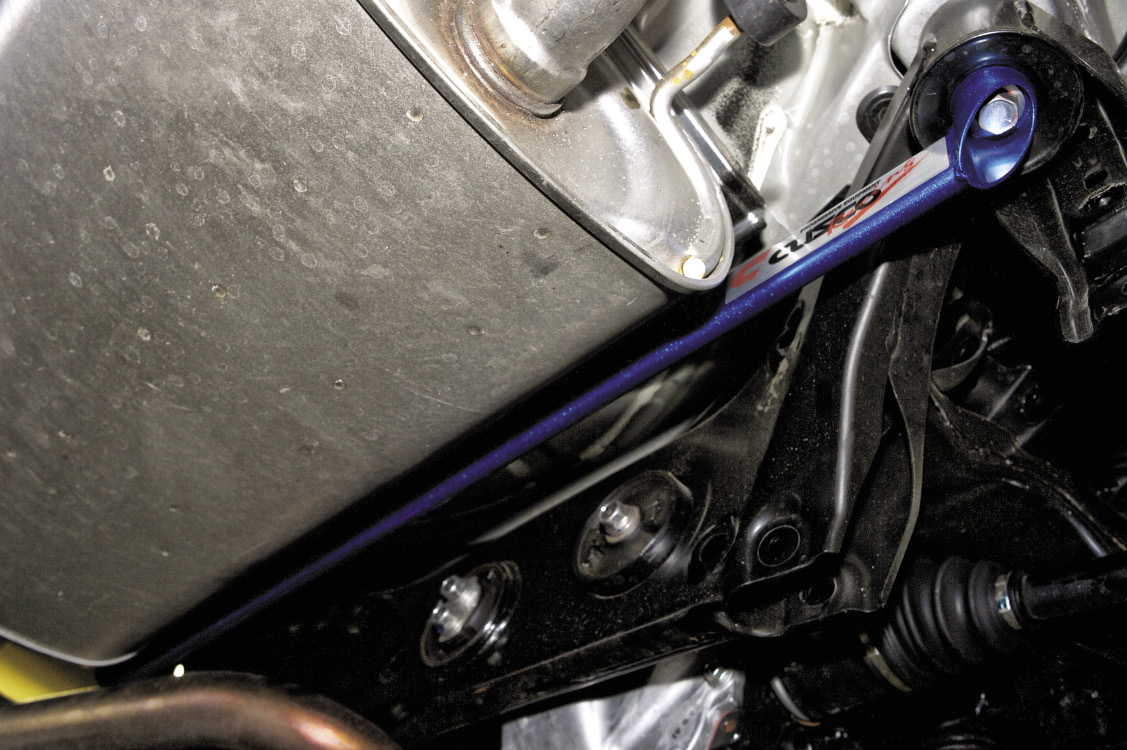
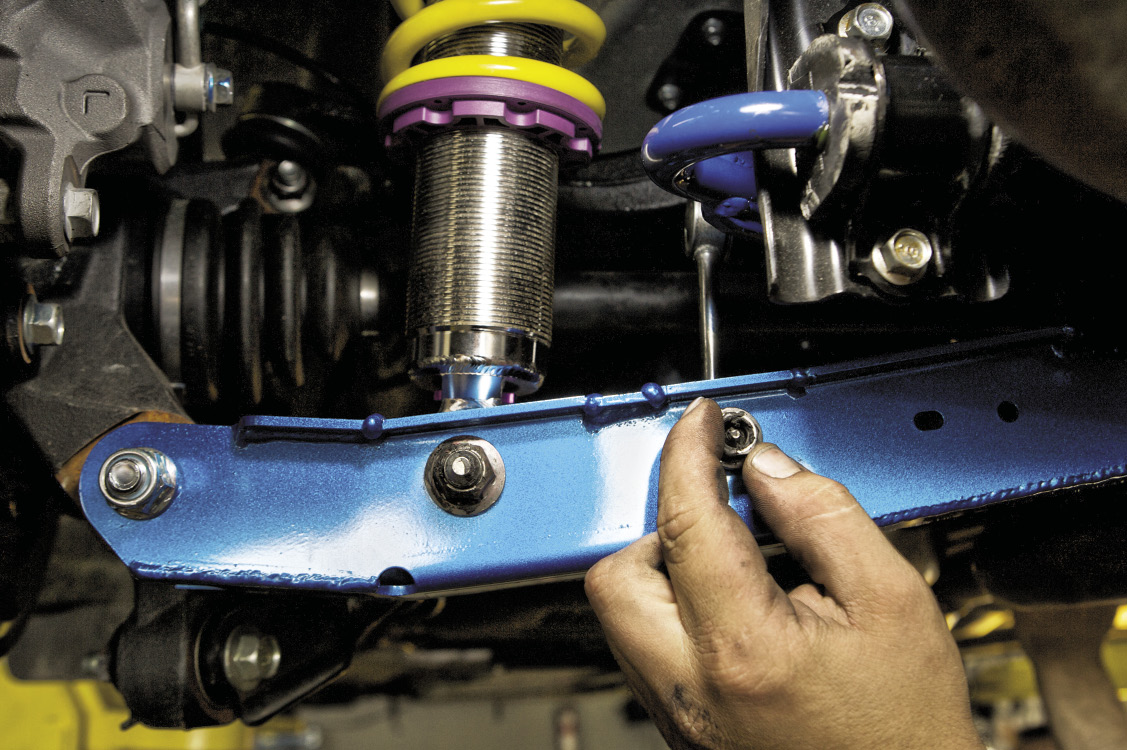
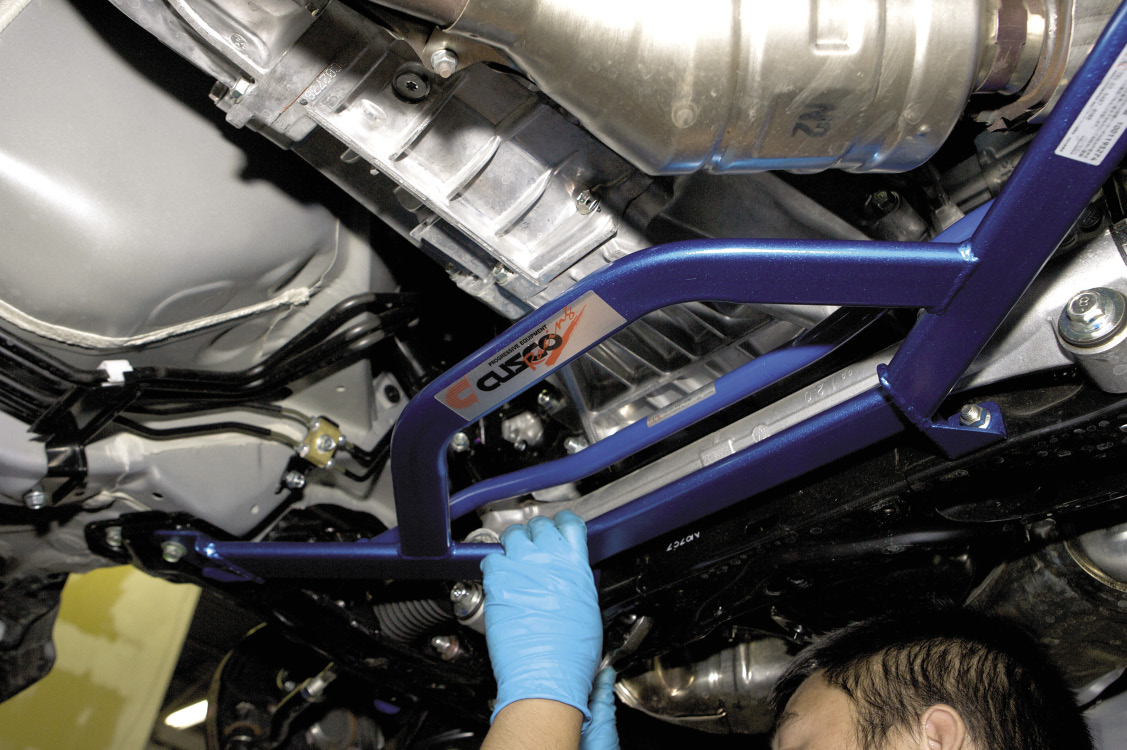
With the factory sway bar removed, you can now easily access the subframe bolts the Cusco rear chassis brace will bolt to. Support the subframe with a jack so as to avoid unnecessary stress on the front bolts and install the Cusco chassis brace. Re-torque the bolts to 106 lb-ft.
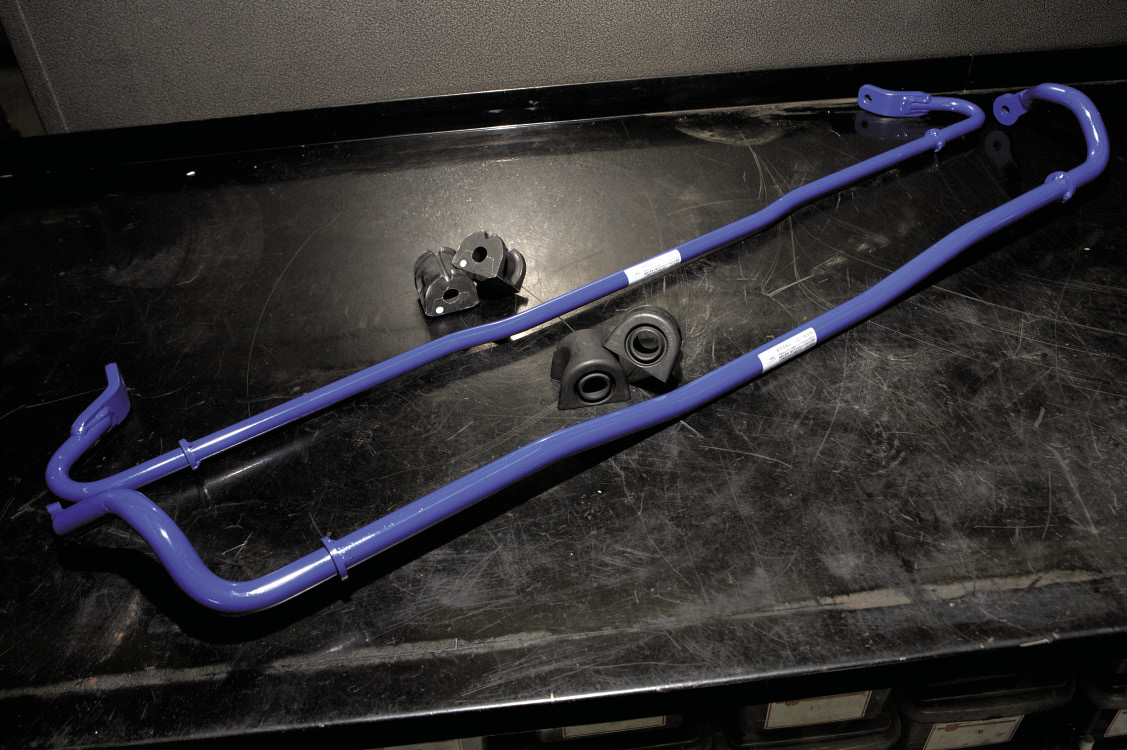
Proceed with installing the new Cusco rear sway bar by reversing the steps used to remove the factory sway bar. Leave the end link disconnected.
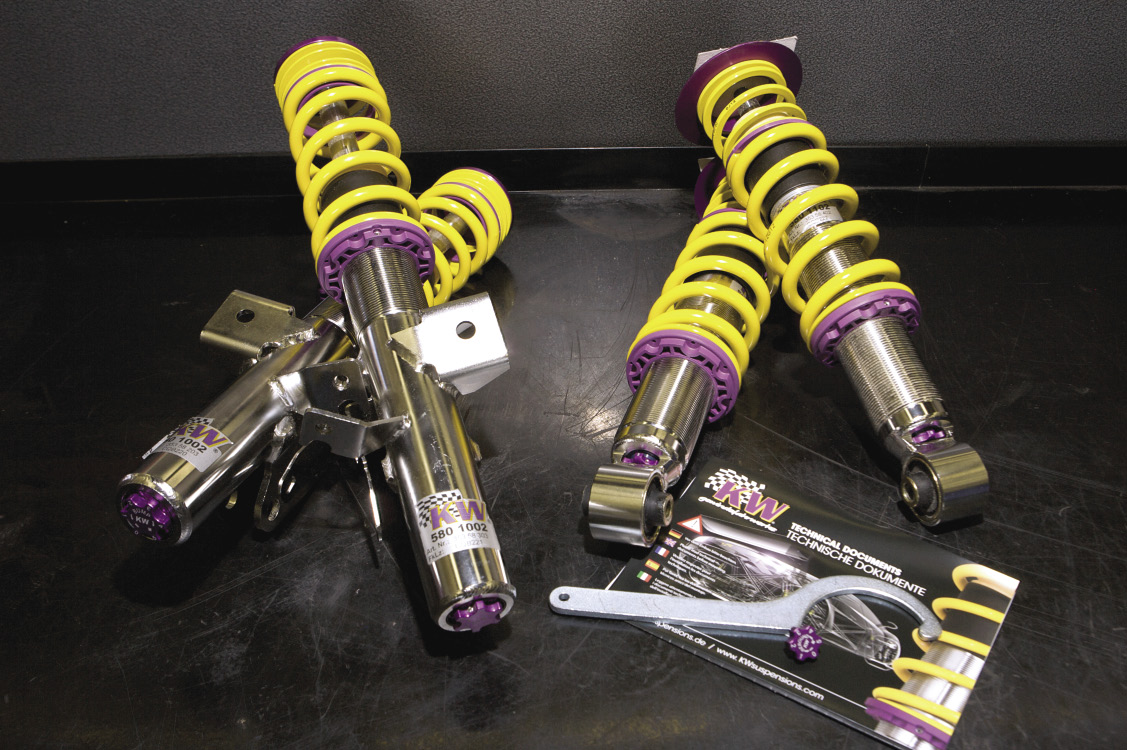
Now, finish removing the factory strut assembly. Locate and remove the bolts at the top end of the strut assembly and remove the factory shock and spring. Using a spring compressor, compress the spring and remove the factory top hat for use with the KW coil-overs. Once removed, assemble the rear KW coil-overs using the factory top hat. Install the new KW coil-overs onto the car by bolting only the top hat at this point.
Proceed with installing the Cusco rear lower control arms. At this time, only bolt the two ends of the new control arms. Do not connect the sway bar end link or KW coil-over just yet.

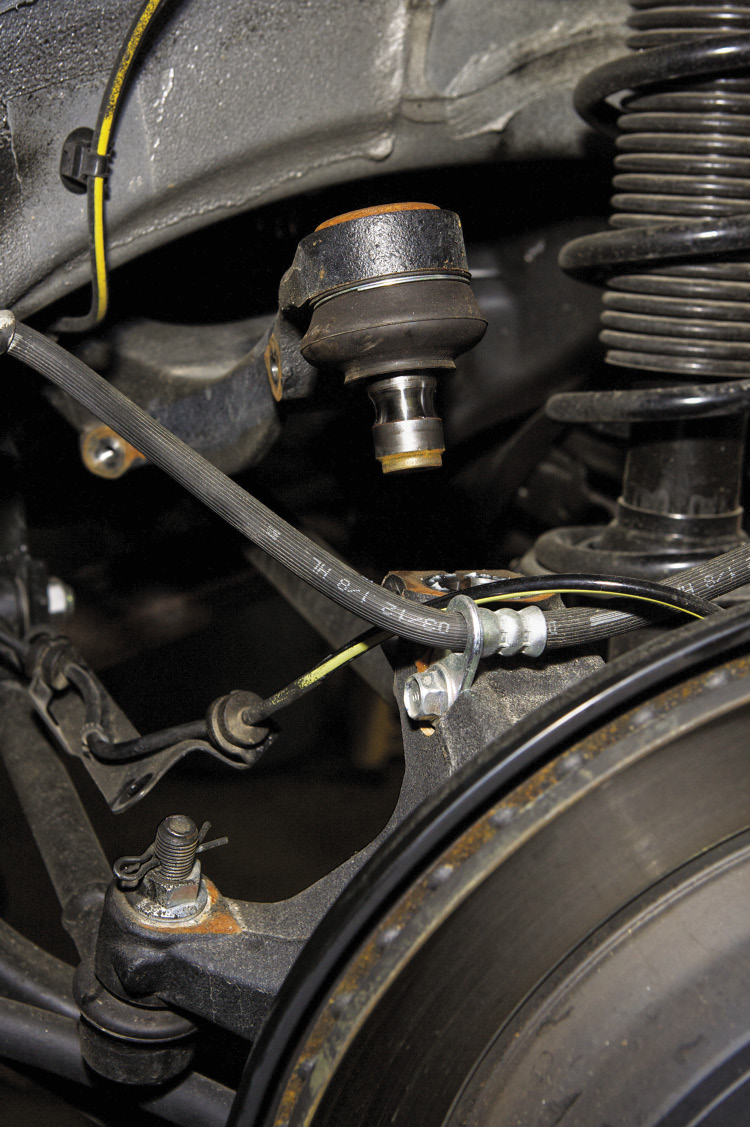
Move on to installing the Whiteline rear upper control arm bushings. Start by locating and disconnecting the ball joint from the rear knuckle.
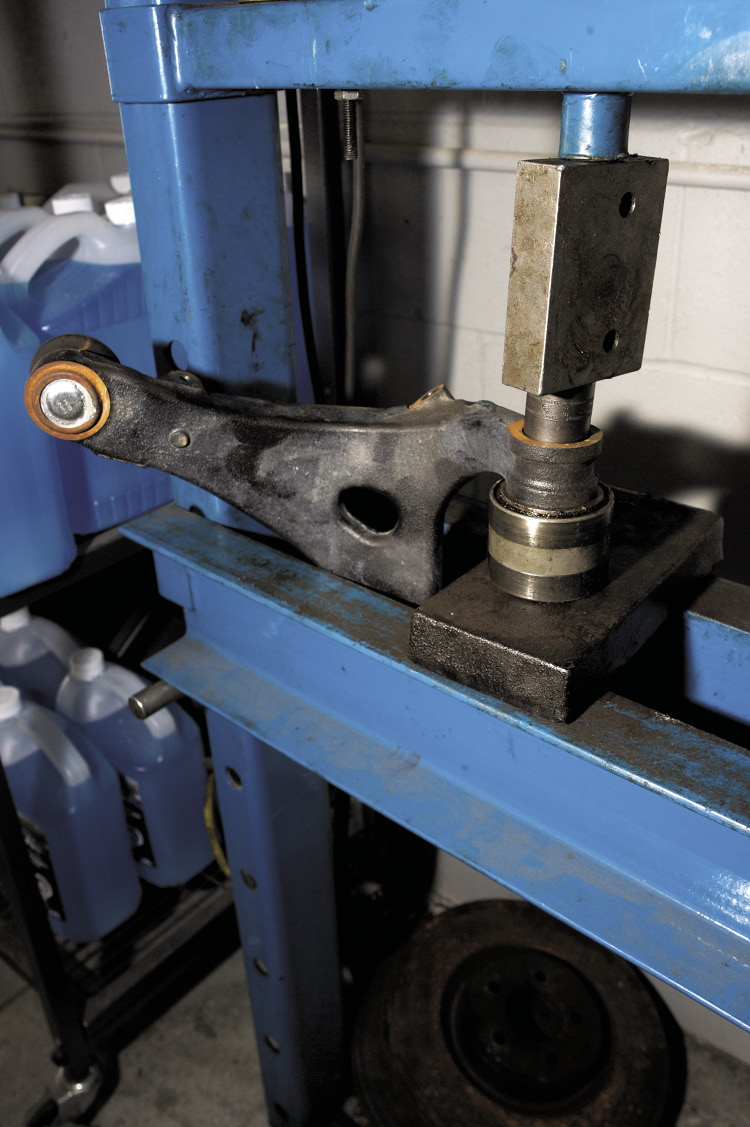
Now, locate and remove the two inner mounting bolts and remove the control arm. Remove the factory rear bushings and replace them with the new Whiteline camber adjusting bushing kit, positioning the offset holes at the same angle. Positioning the holes further back toward the center of the car will add more negative camber. Reinstall the rear upper control arms by reversing the steps for removal.
Finish by reconnecting and tightening all remaining bolts at the rear of the car.
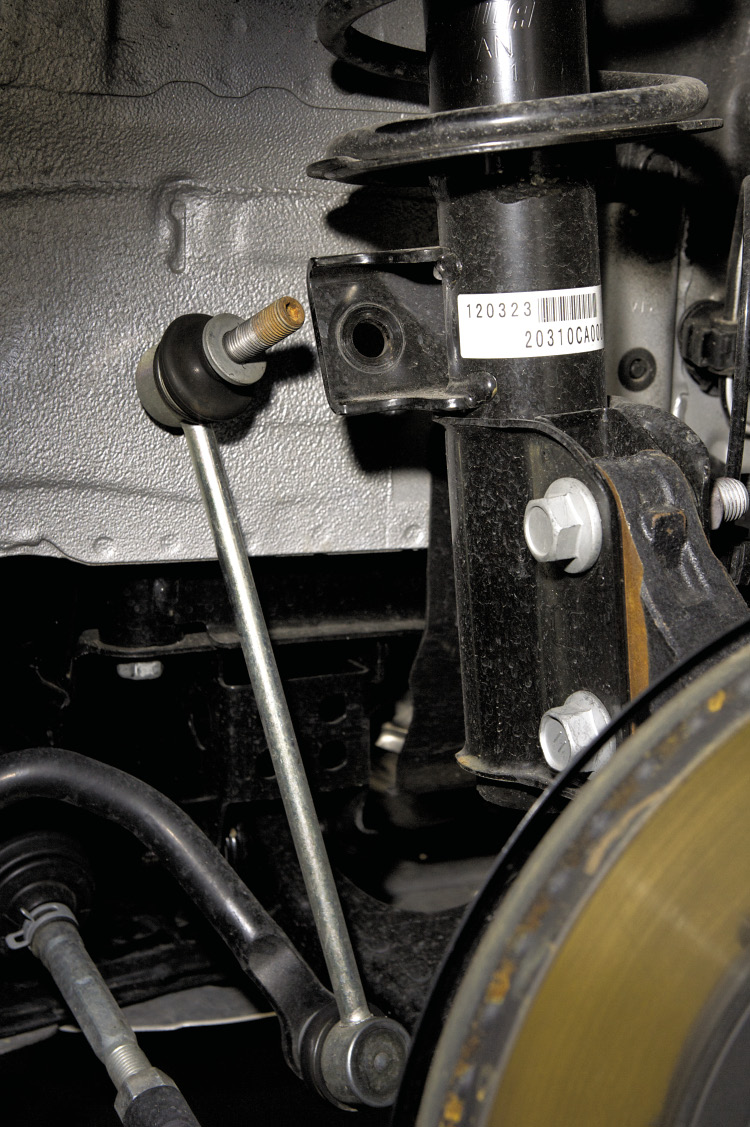
Next, we move to the front of the car. Start by removing the factory skid plates. Once exposed, remove the bolt that connects the front sway bar end link to the factory strut as well as all speed sensor wires and brake lines connected to the strut.
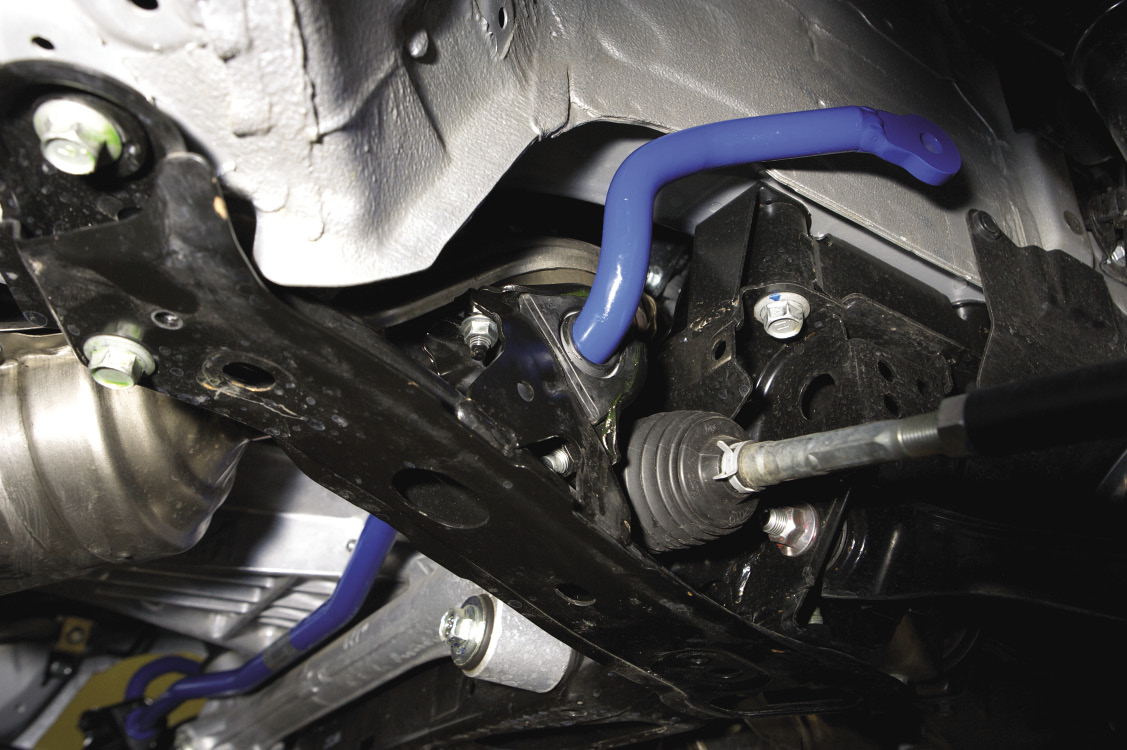
Remove the front sway bar by removing the bolts holding the sway bar mount to the chassis. Once the assembly is removed from the car, remove the sway bar from its bracket and replace it with the Cusco sway bar.

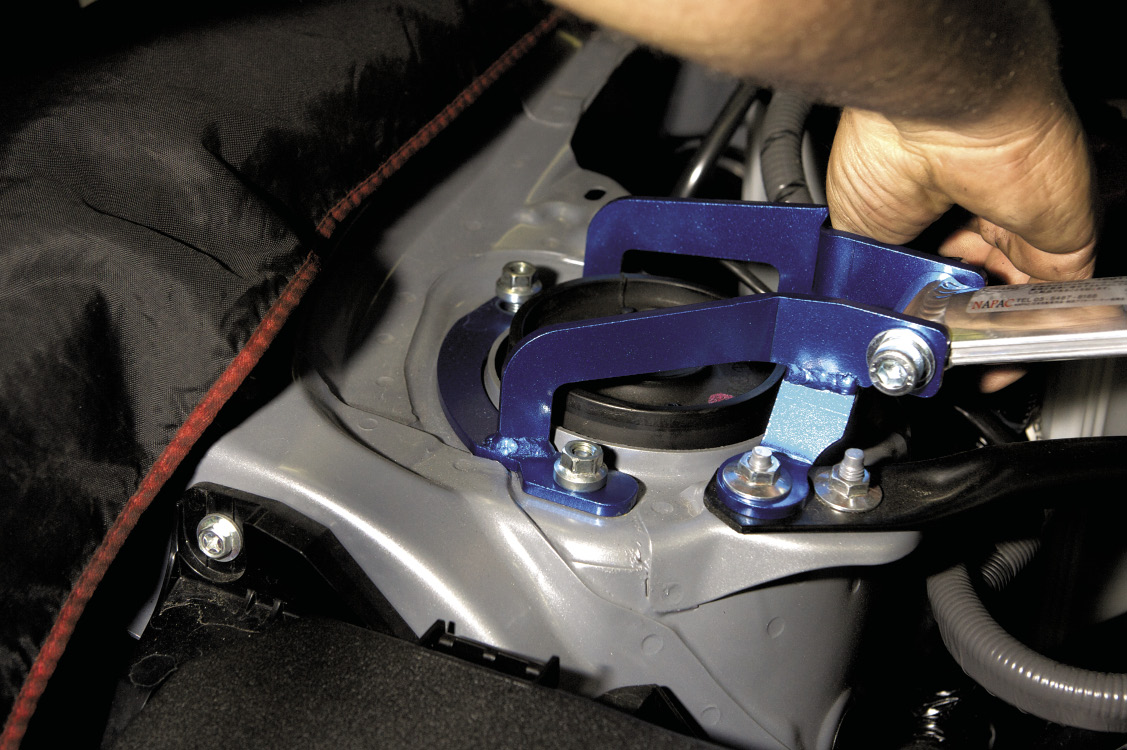
Remove the factory struts by removing the three bolts up top (access through the engine bay). Once removed, assemble the KW coil-overs by reusing the factory top hats and install onto the car.

Install the KW by reversing the directions for removal of the factory strut assembly. Install the Cusco front strut tower brace at the same time!
Reinstall the sway bar mounting brackets with the Cusco sway bar and reconnect the sway bar end link, brake lines and speed sensor wire. Finish by installing the Cusco front chassis brace.
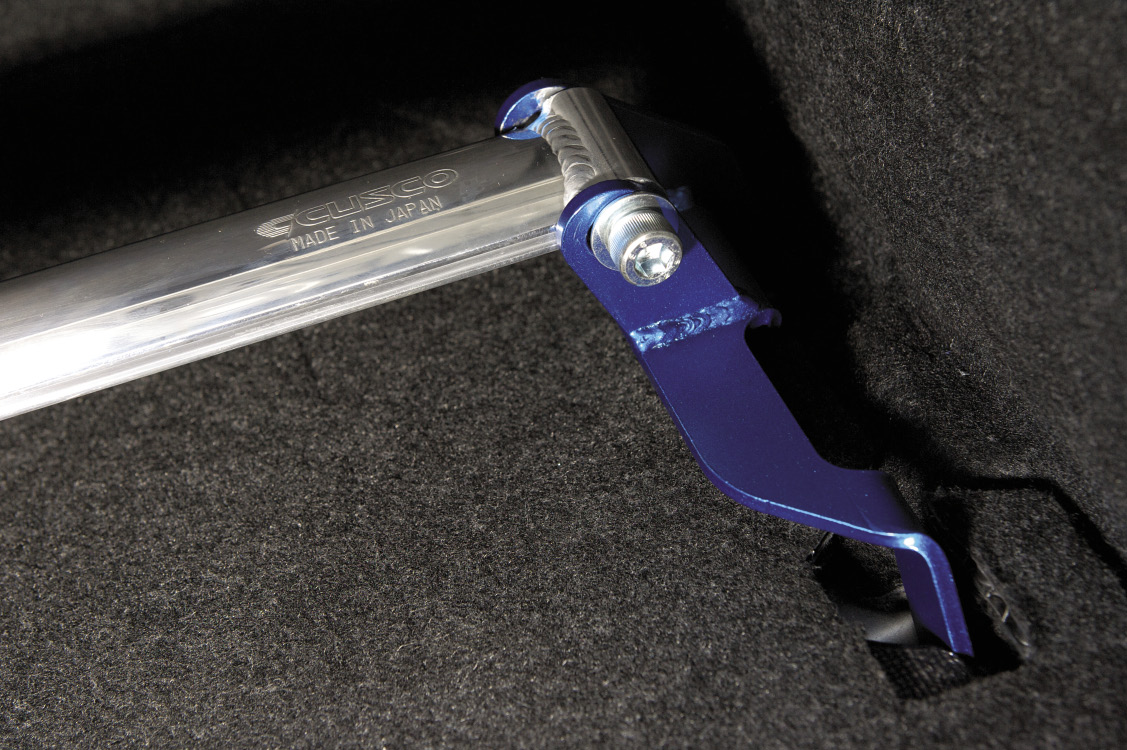
Finally, install your new Cusco rear strut tower bar inside the trunk!
Get your ride height set and alignment redone prior to driving and enjoy your transformed FR-S!