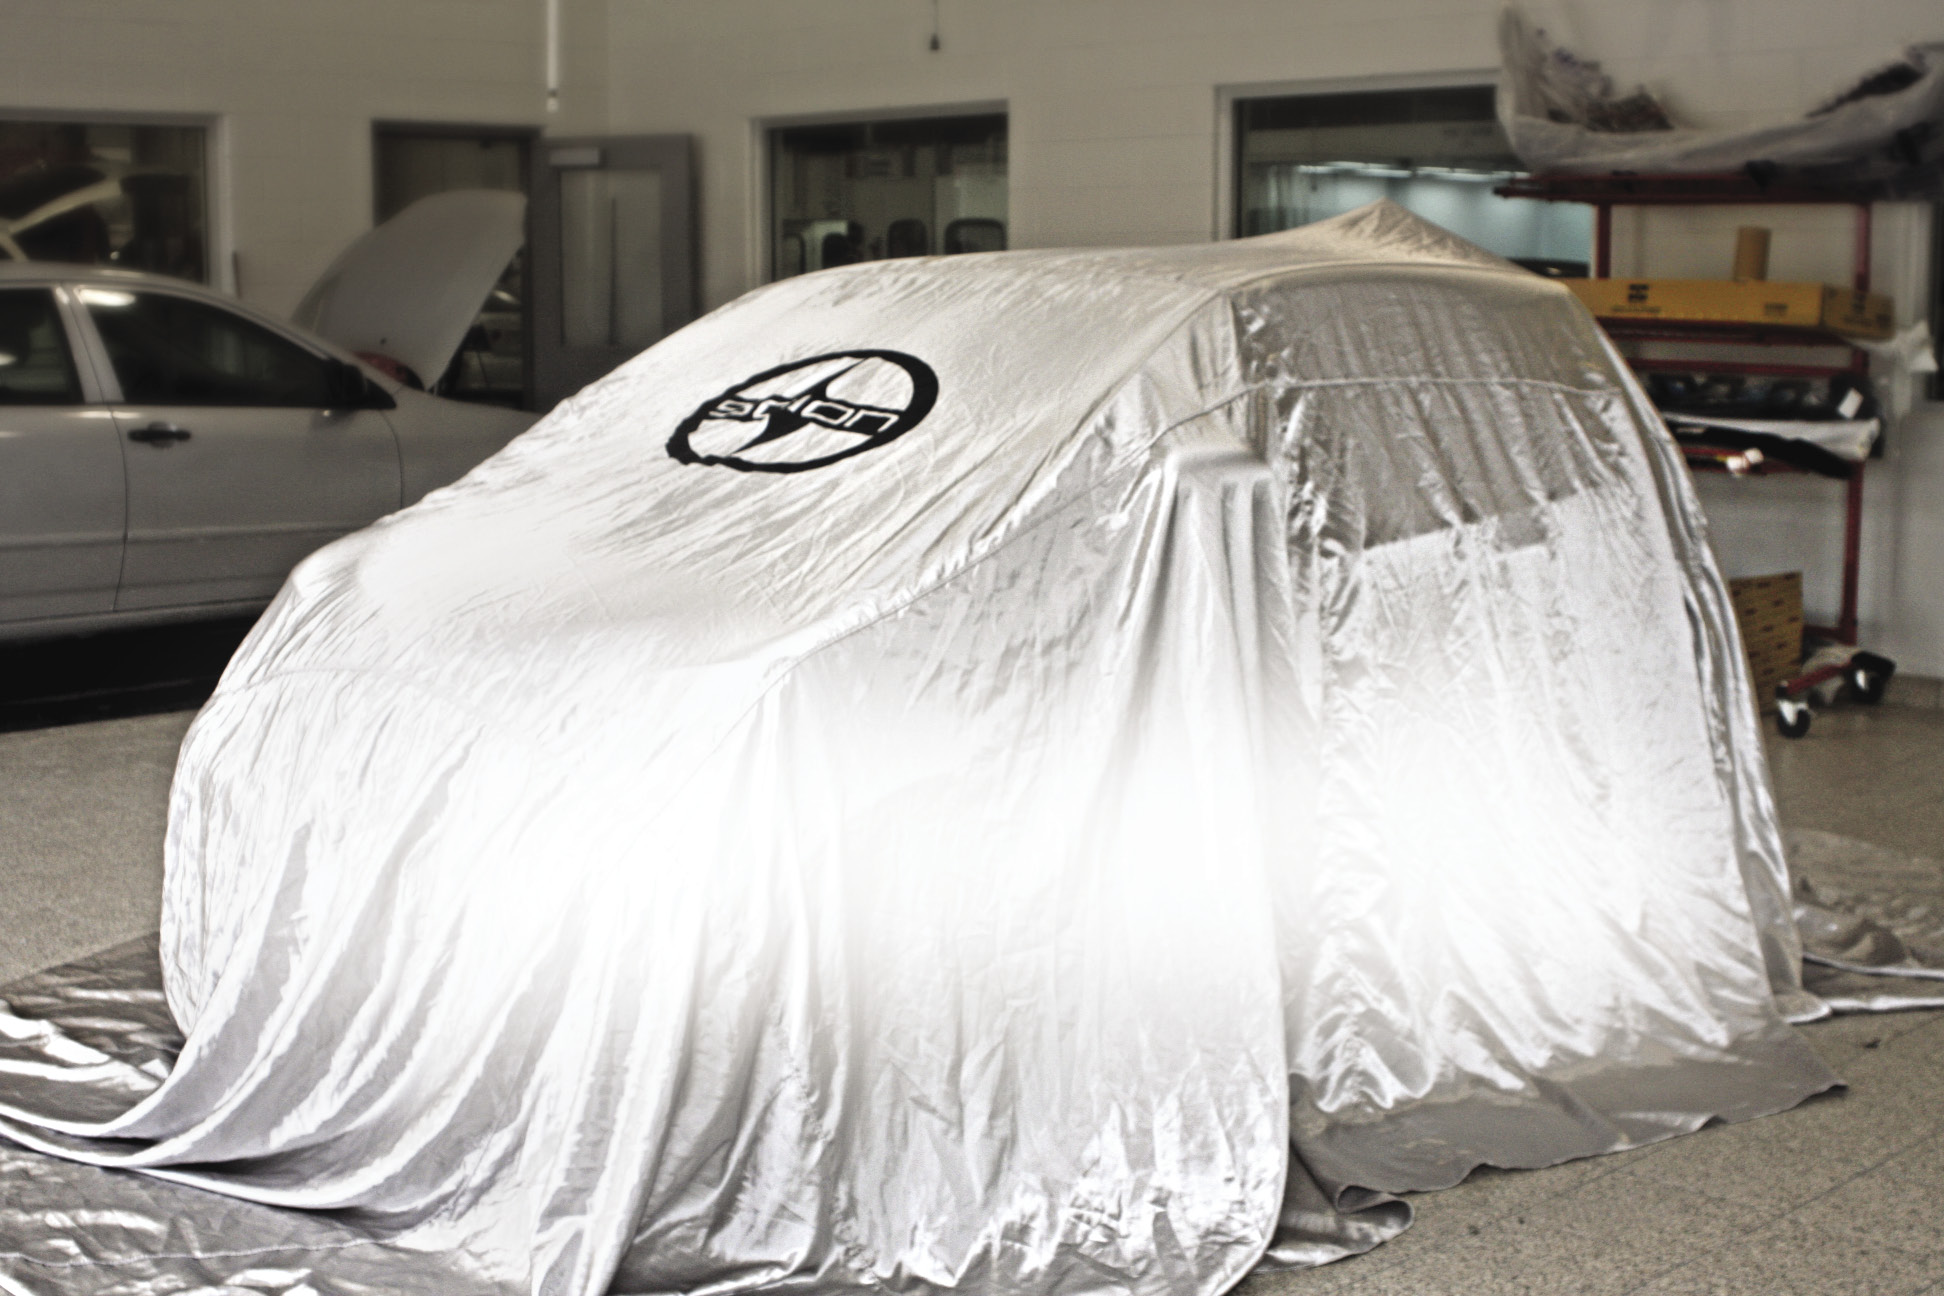
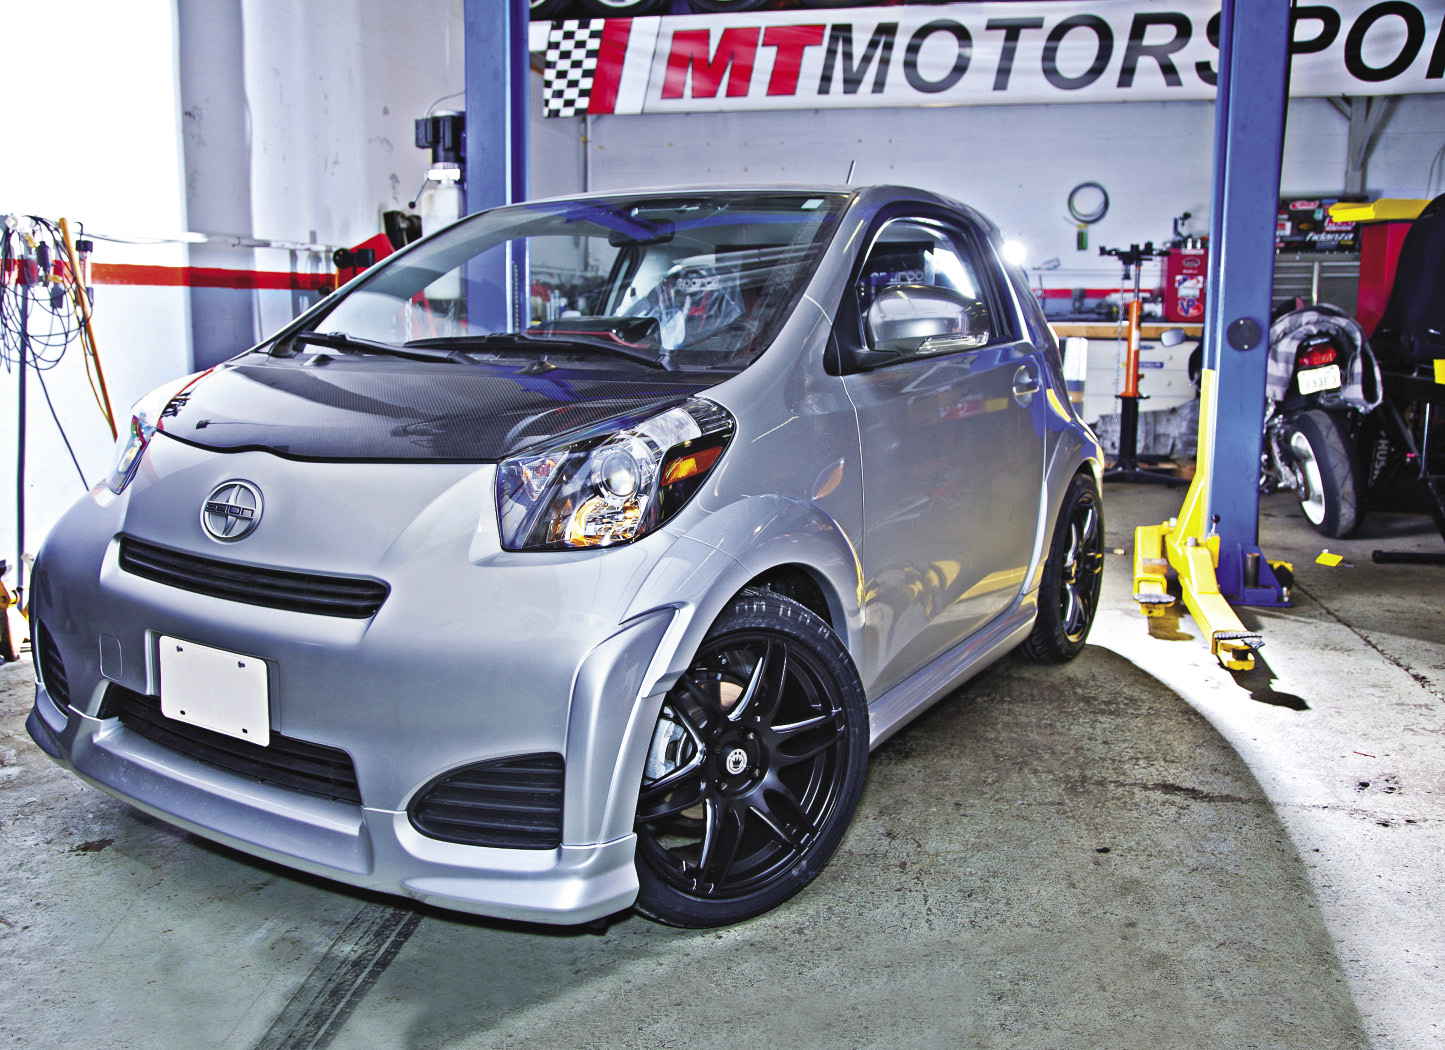
Humans spend their entire lives learning and going to school to raise their IQ, but I am here to tell you that lowering your iQ is the smart thing to do. And, I am going to tell you how to do it. I am referring to your Scion iQ, of course, and by lowering it, I mean installing a set of Toyota Racing Development (TRD) springs. And, because Scions are made by Toyota, this is a factory performance part that will not void your warranty.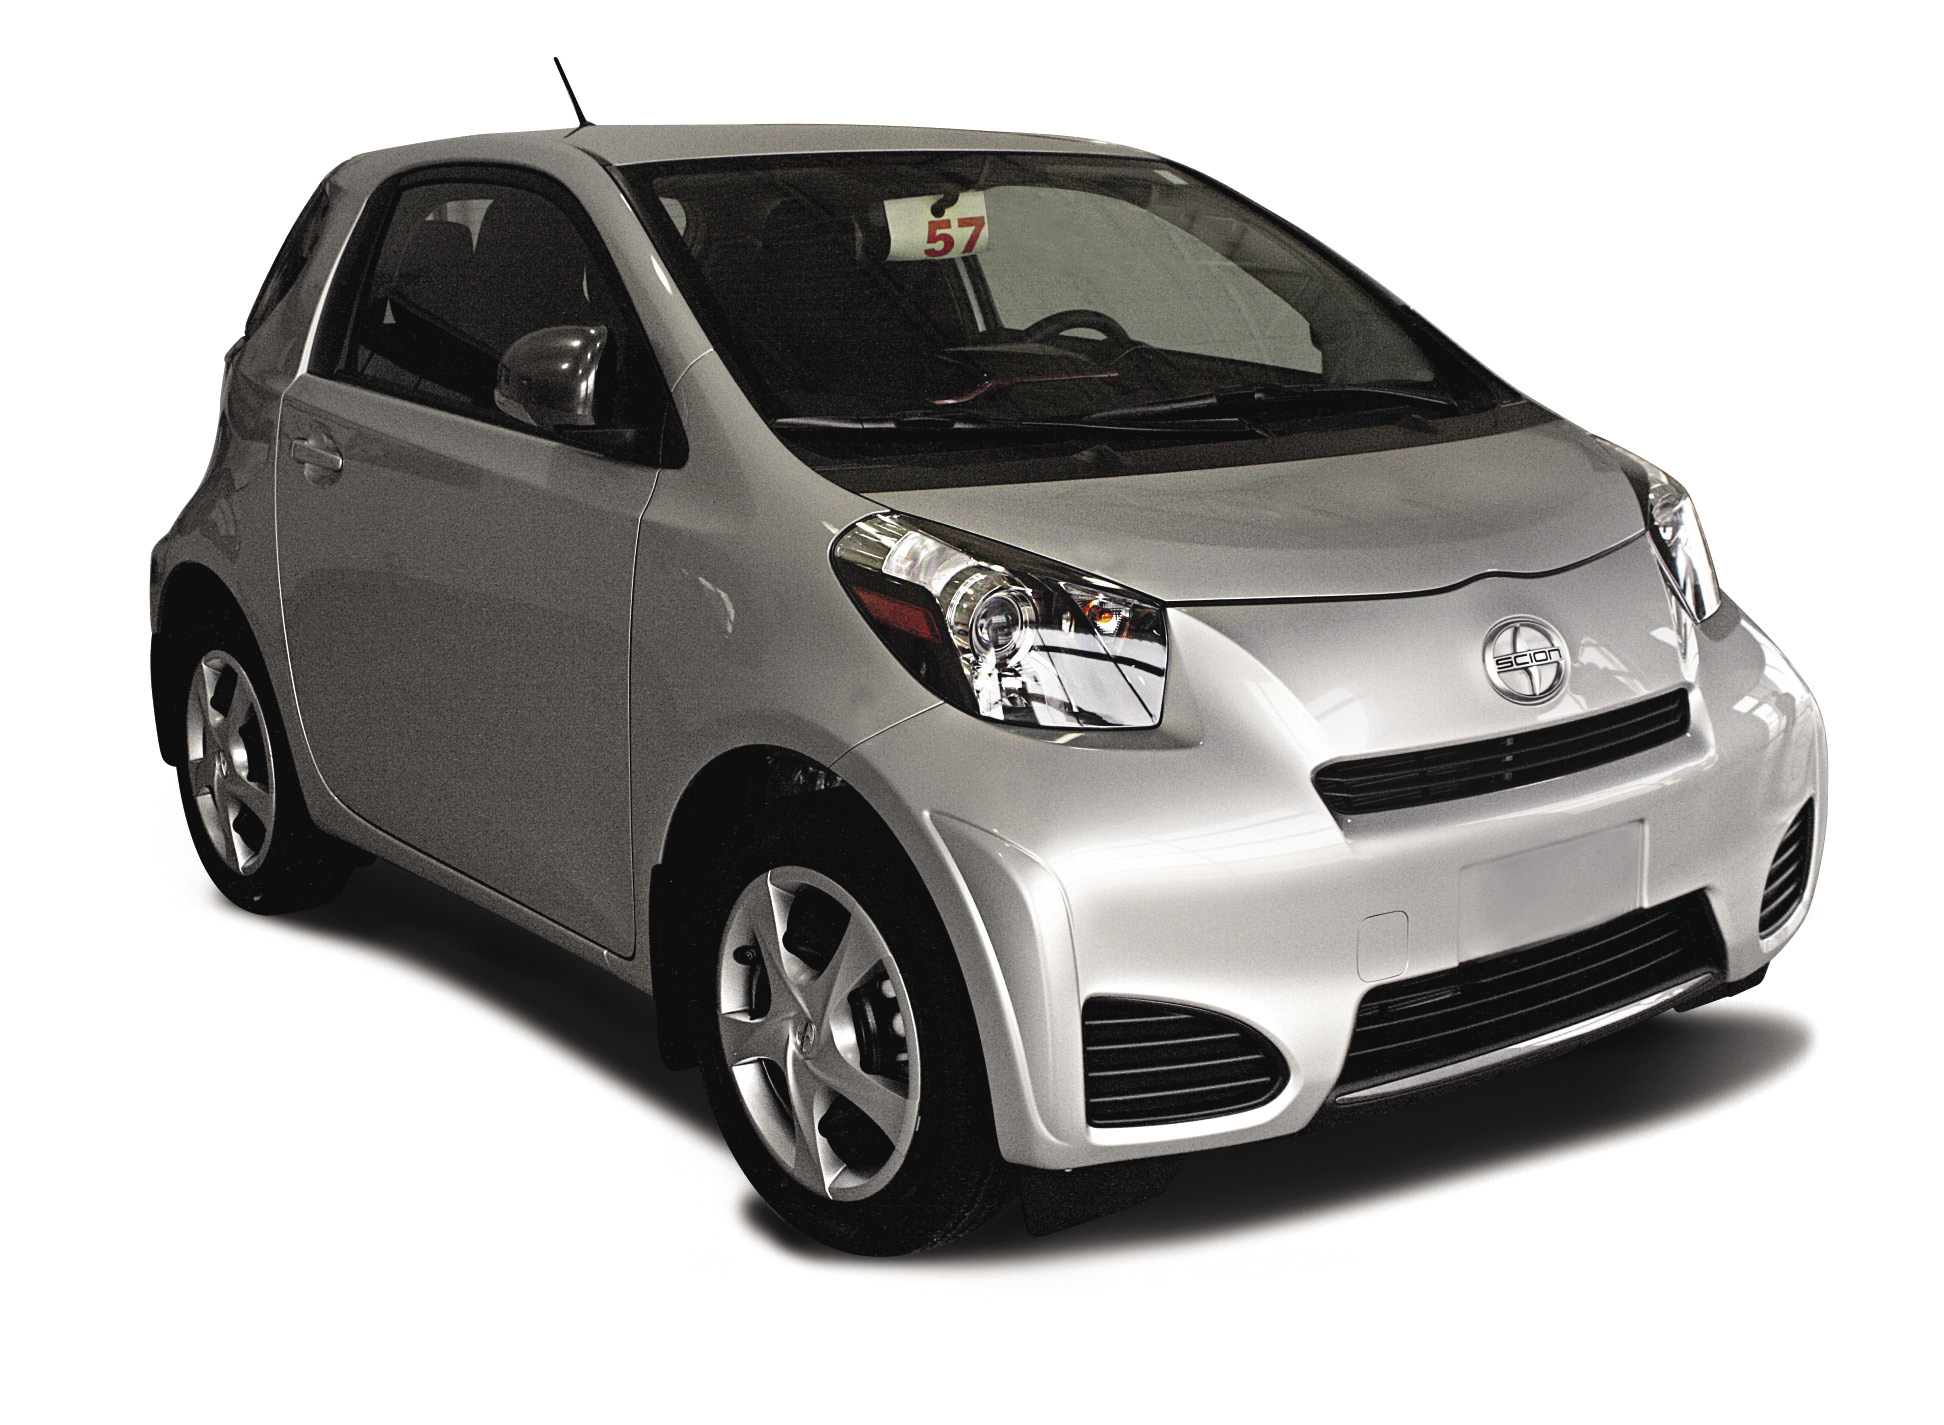
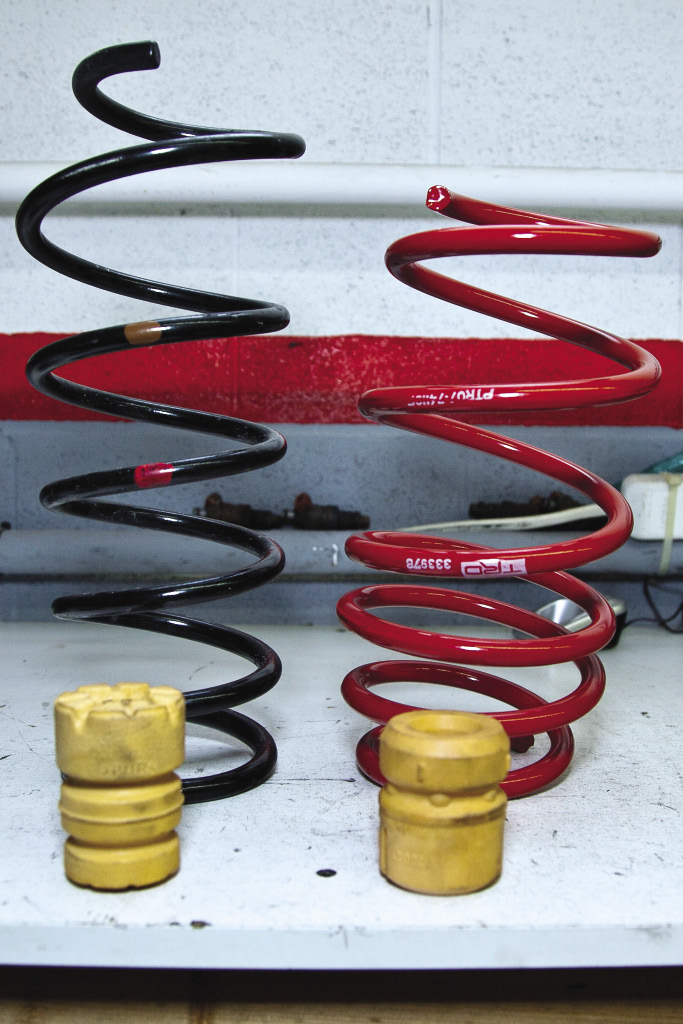
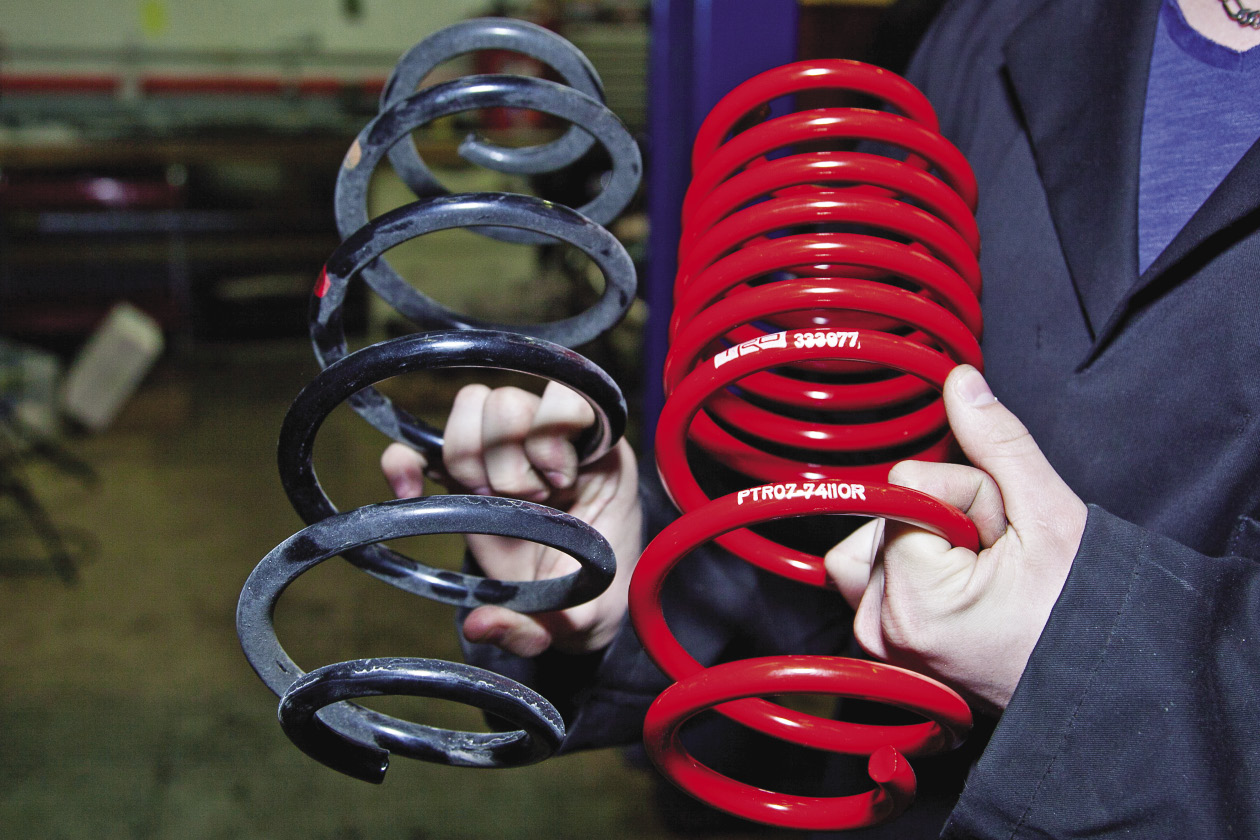
There are a few benefits to swapping out your factory iQ springs with a set of shiny new red ones from TRD. For starters, there's performance. The TRD springs for the iQ (part #: PTR0774110) feature stiffer spring rates and lower the iQ's ride height by 1.2 inches in the front and 1.5 inches in the rear. This lowers the center of gravity, enhances steering and improves cornering and handling performance. The second benefit is looks. In today's modified car culture, lowering your car is a must. There are entire organizations, clubs, brands et al that revolve completely around lowered vehicles.
Here's the best part, TRD lowering springs are relatively inexpensive (Canadian MSRP is $315) and they are easy to install for the garage mechanic. How easy? Let's find out as we lower the Performance Auto & Sound Project Scion iQ with the help from the guys at MT Motorsports of Richmond Hill, Ont. Canada.
First, you must start by properly lifting the car off of the ground. We highly recommend a hydraulic car lift, but if you must use a floor jack and jack stands, make sure you are on a relatively flat surface and using the factory jacking points. Do not place any part of your body underneath a car unless it is securely settled on jack stands.
 |
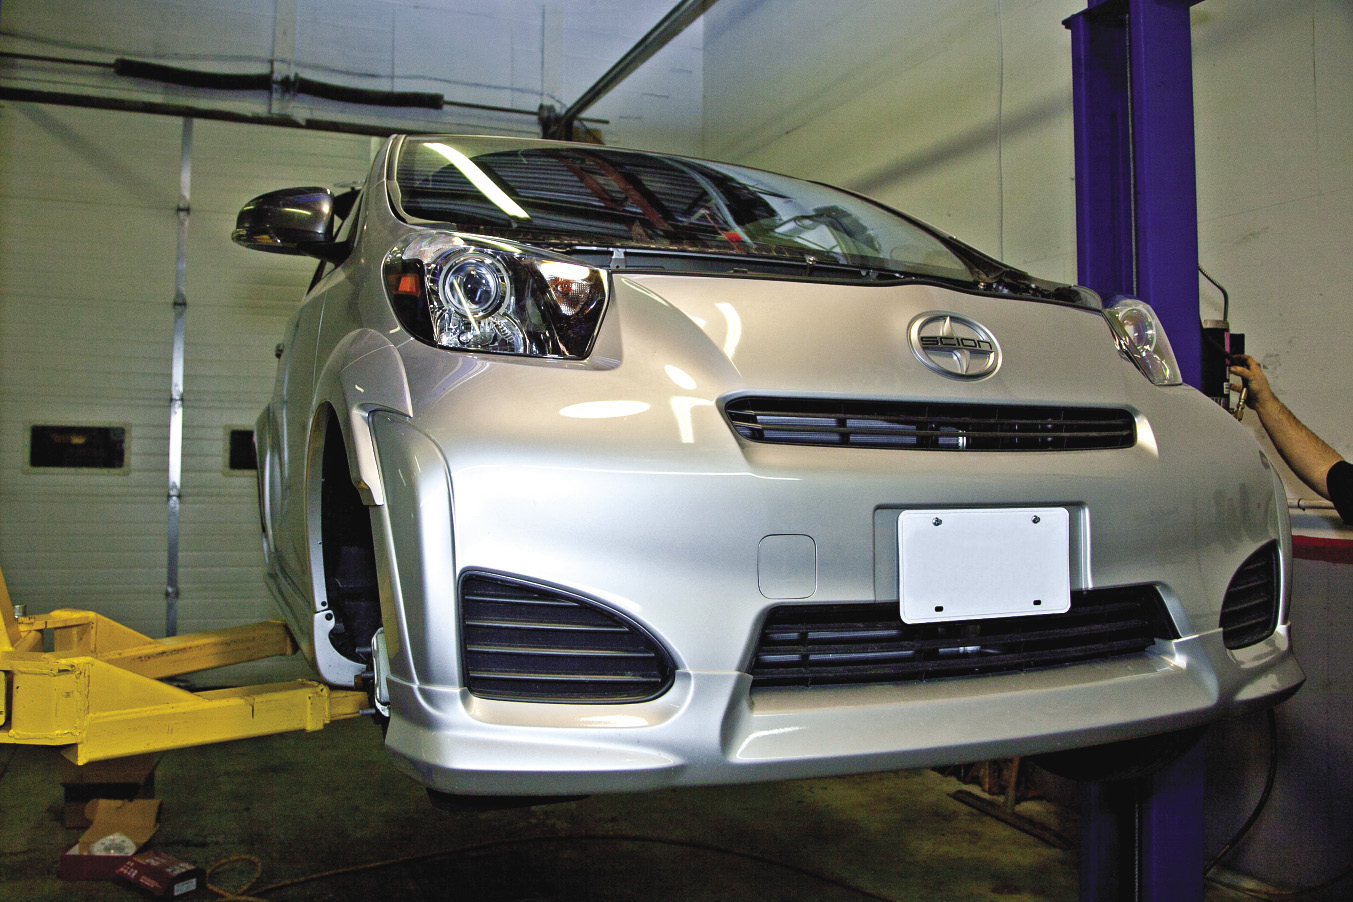 |
Prior to lifting each wheel off of the ground, break loose the lug nuts on the wheel, but do not loosen all the way. Once the car is up in the air and safely on jack stands, finish loosening and removing all of the lug nuts and place them in a baggie or box where they will not get lost or roll around. Next, remove the wheels and set aside.
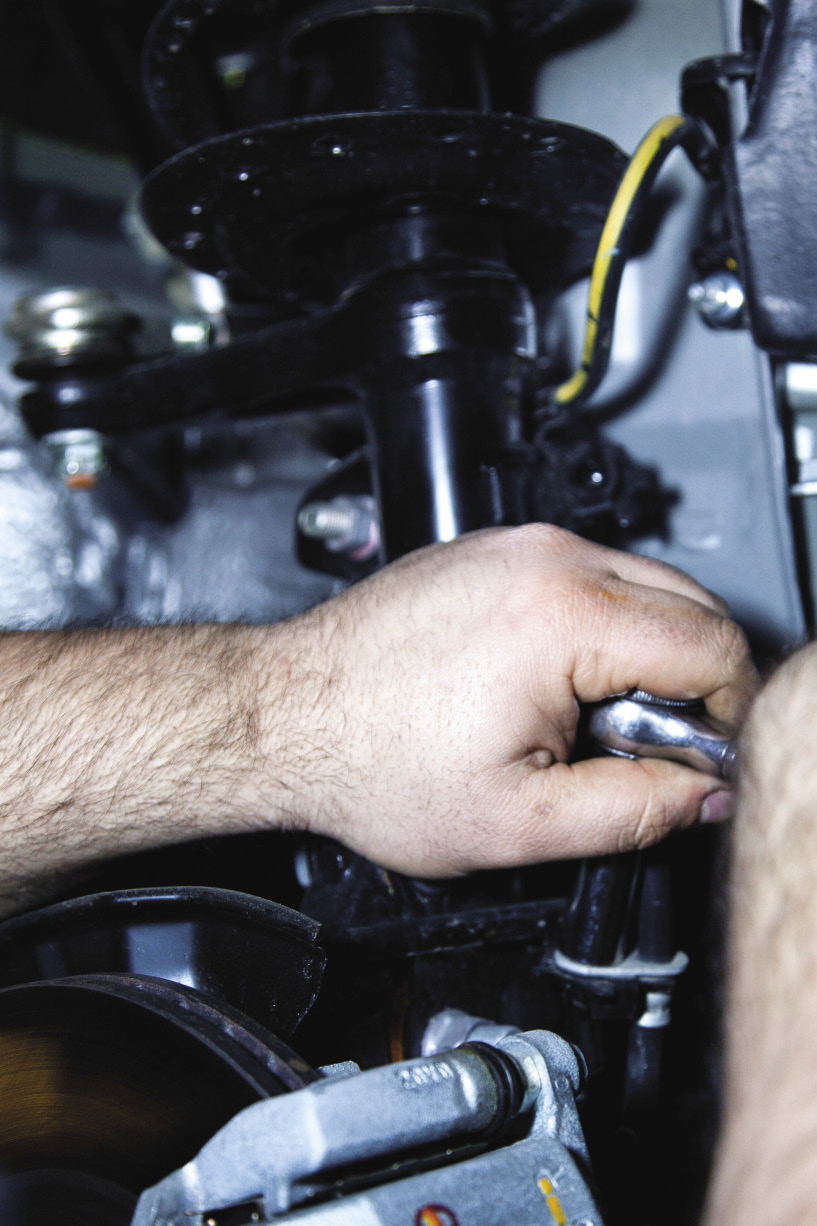
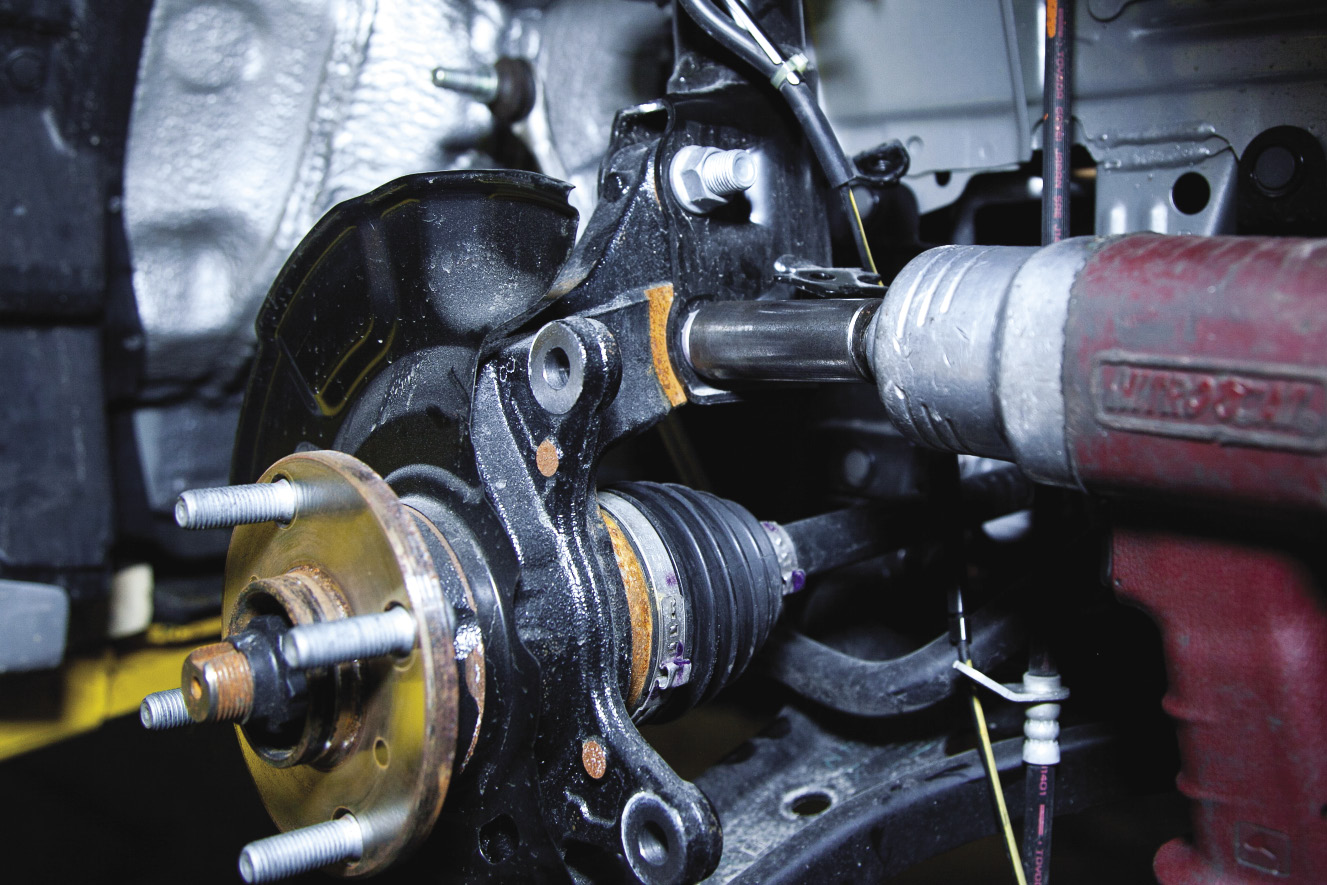
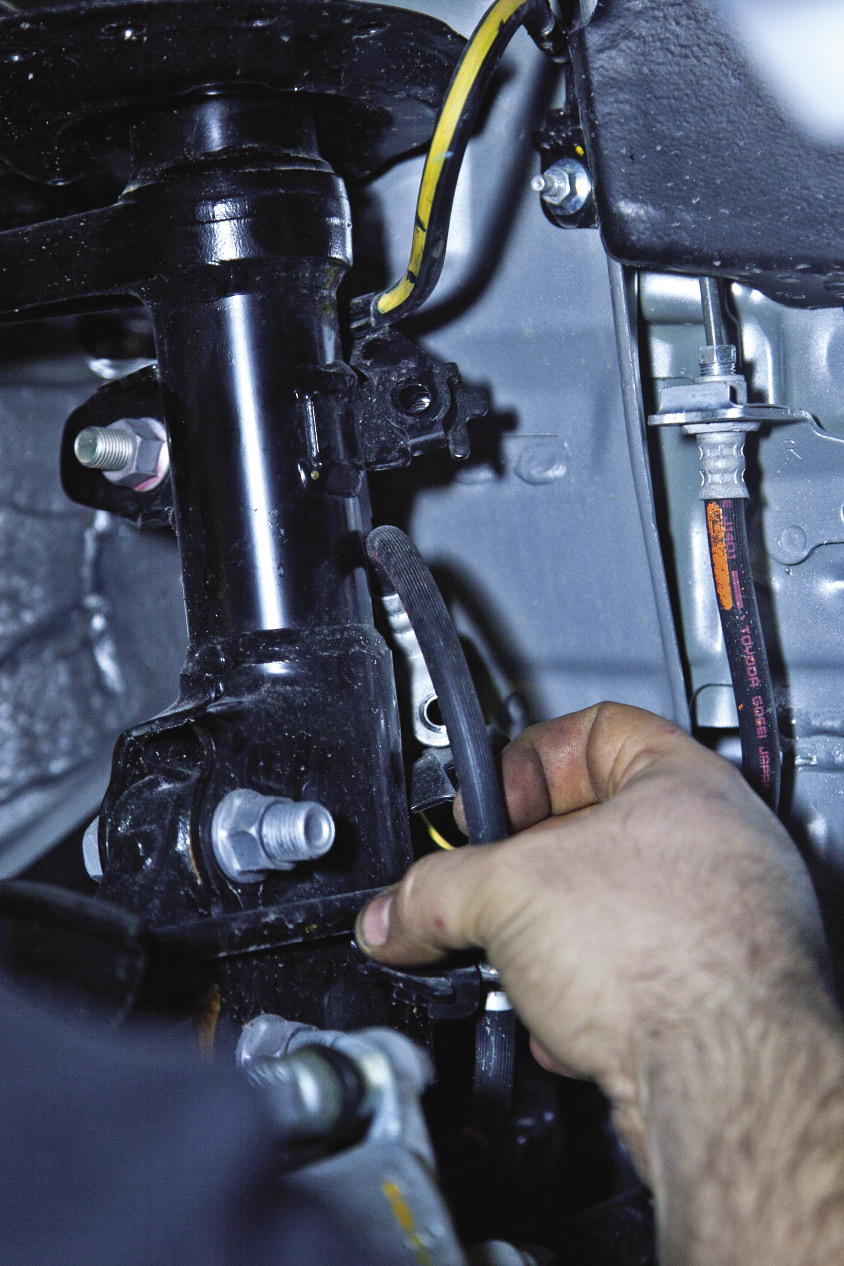
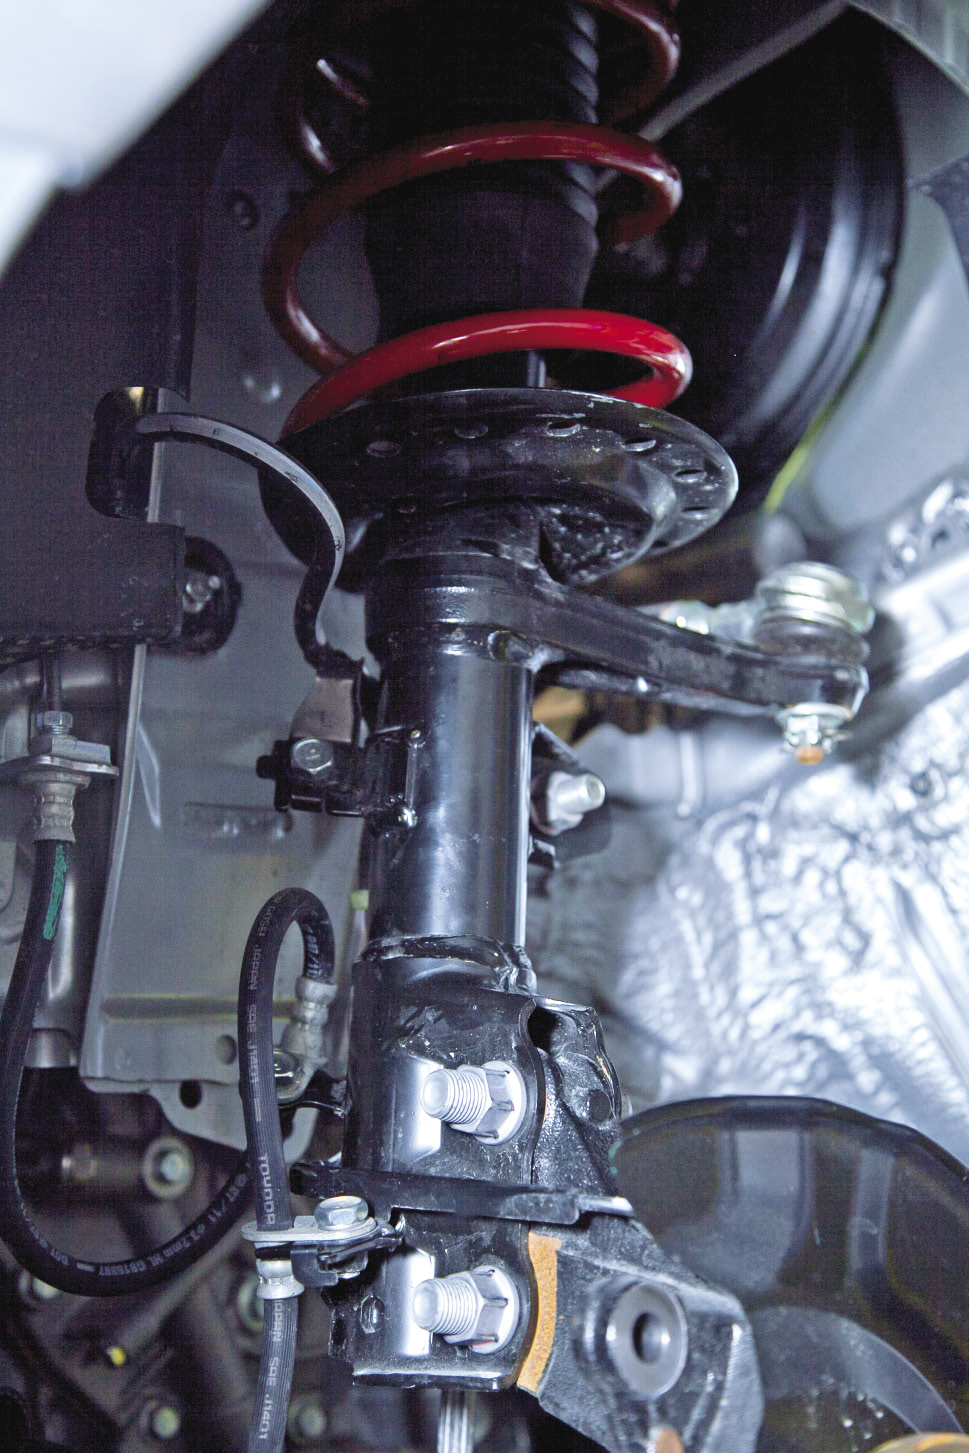
Now it is time to remove the factory front coil spring and strut assembly. First, make a note or take photos of how the brake lines and ABS sensor lines are routed around the stock suspension. Next, locate and remove the nuts that hold the brake line, ABS sensor, front tie rods and sway bar end link to the strut assembly. Once those are removed proceed to remove the two lower bolts that bolt the strut assembly to the front knuckle. At this point the only thing that is holding the strut assembly in place are the three bolts that bolt the top hat to the shock tower.
 |
 |
 |
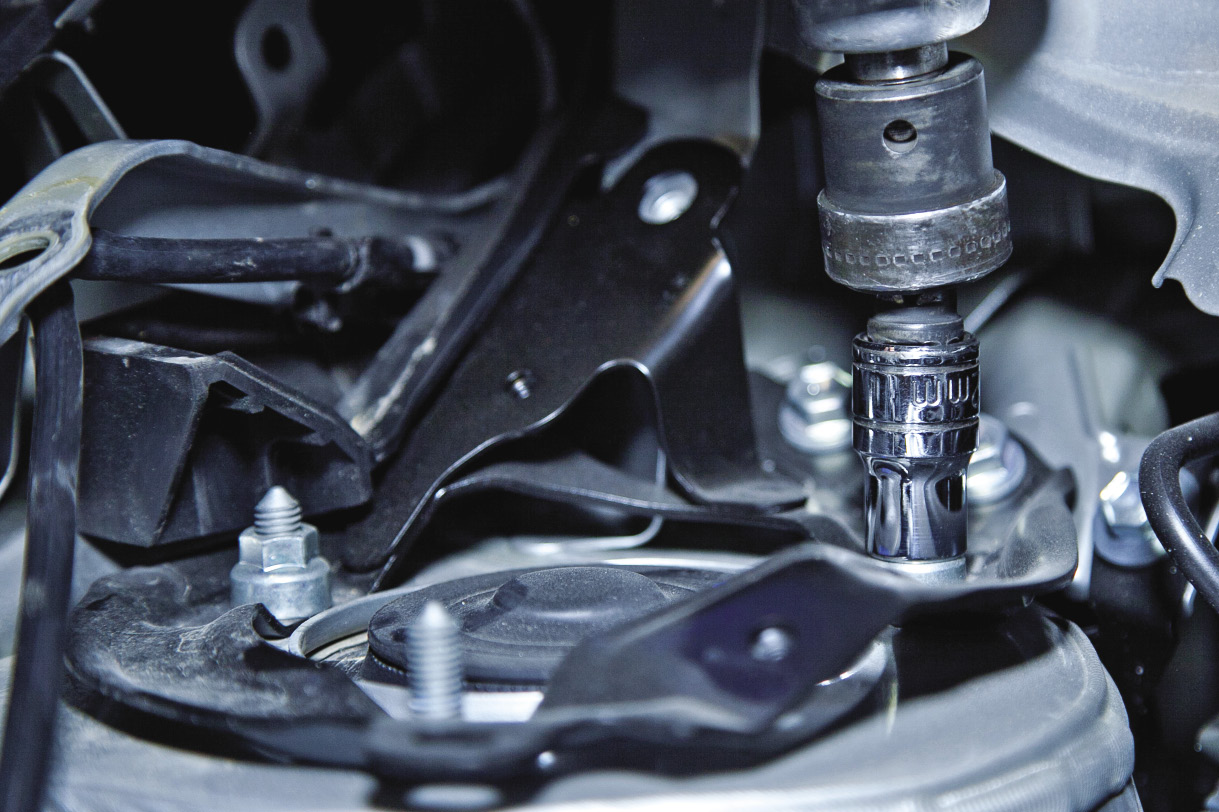 |
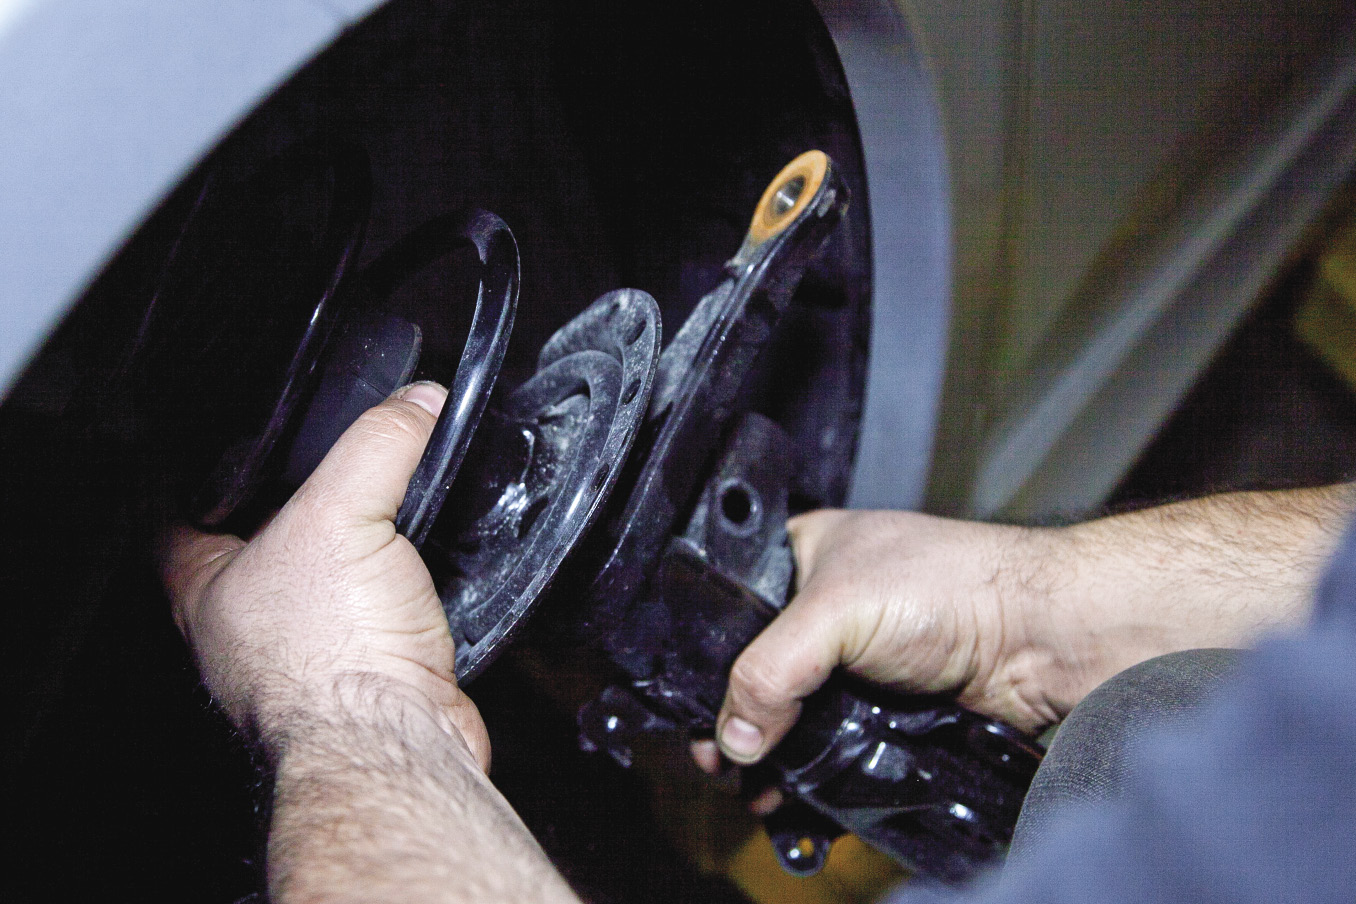
Pop the hood and locate the front shock tower. Proceed to loosen the three bolts and the strut assembly should start to drop down. Make sure you have a firm grasp on the strut assembly before completely removing the top hat bolts, else it will fall and possibly damage something in the process. Once all of the bolts are removed, maneuver the assembly out of the car being careful not to tug, snag or rip the ABS sensor and brake lines. Repeat this process for the other front strut assembly.
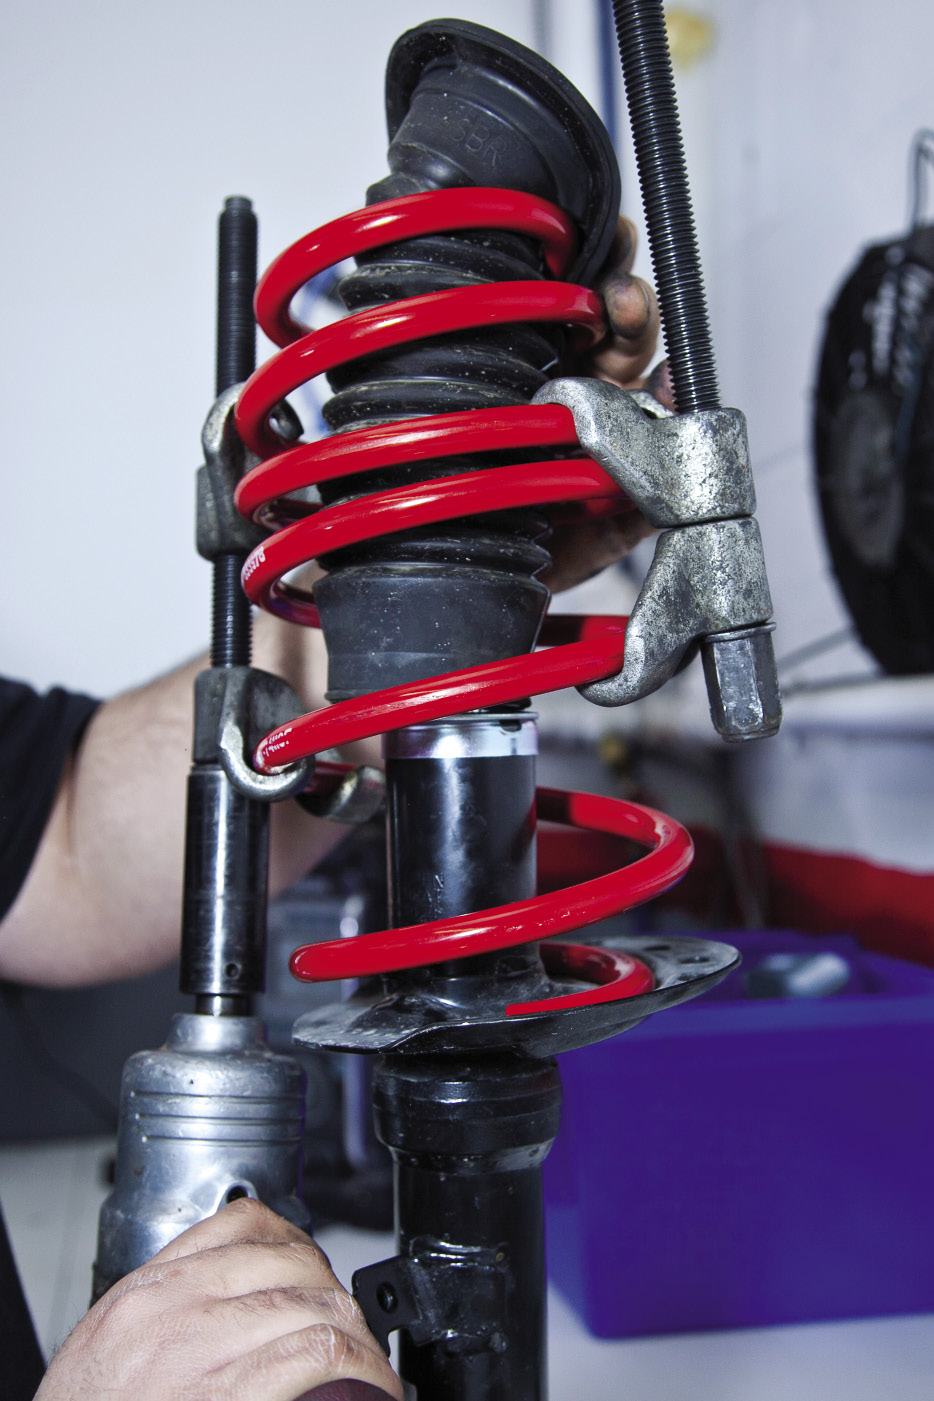
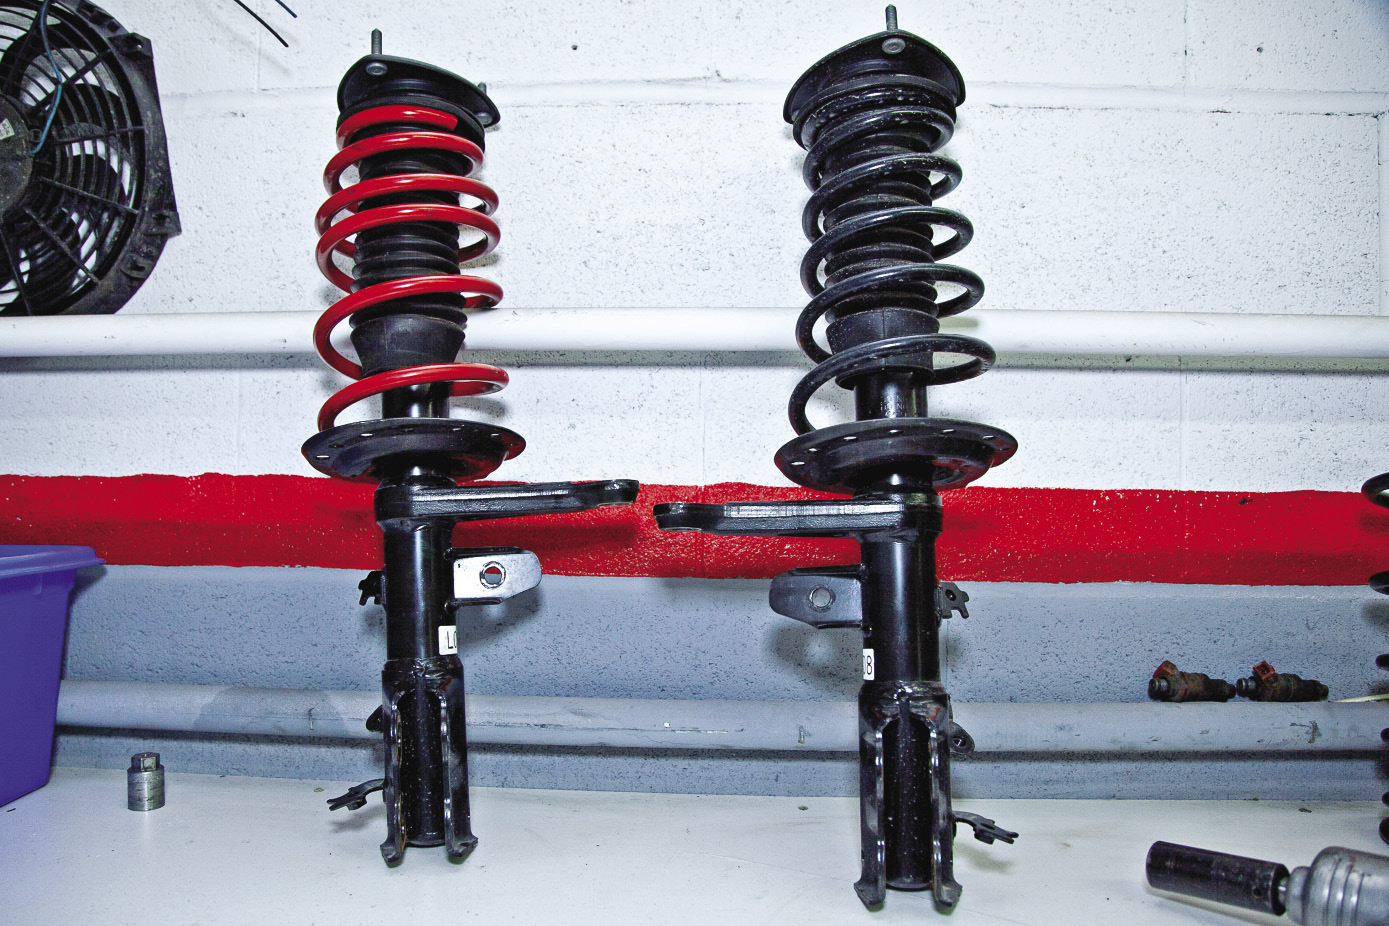
With the factory front suspension now removed from the vehicle, it is time to remove the stock springs and replace them with the new TRD springs. Compress the factory spring with a spring compressor. If you do not have access to a spring compressor, do not proceed with the install until you do. Spring compressors can be purchased or rented from most auto parts stores.
Once the factory spring is compressed, remove the bolt in the center of the top hat that holds the top hat to the rest of the strut assembly. Remove the top hat and set aside. Remove the factory spring and replace it with the new TRD front spring. Once the new spring is set on the strut properly, re-install the top hat. Make sure that you tighten the top hat bolt all the way or else it can damage the strut. With the new TRD springs installed over the factory front struts, reverse the steps to re-install the strut assemblies back onto the car. Once re-installed, double check to make sure your brake lines and ABS sensor lines are routed properly.
 |
 |
 |
 |
 |
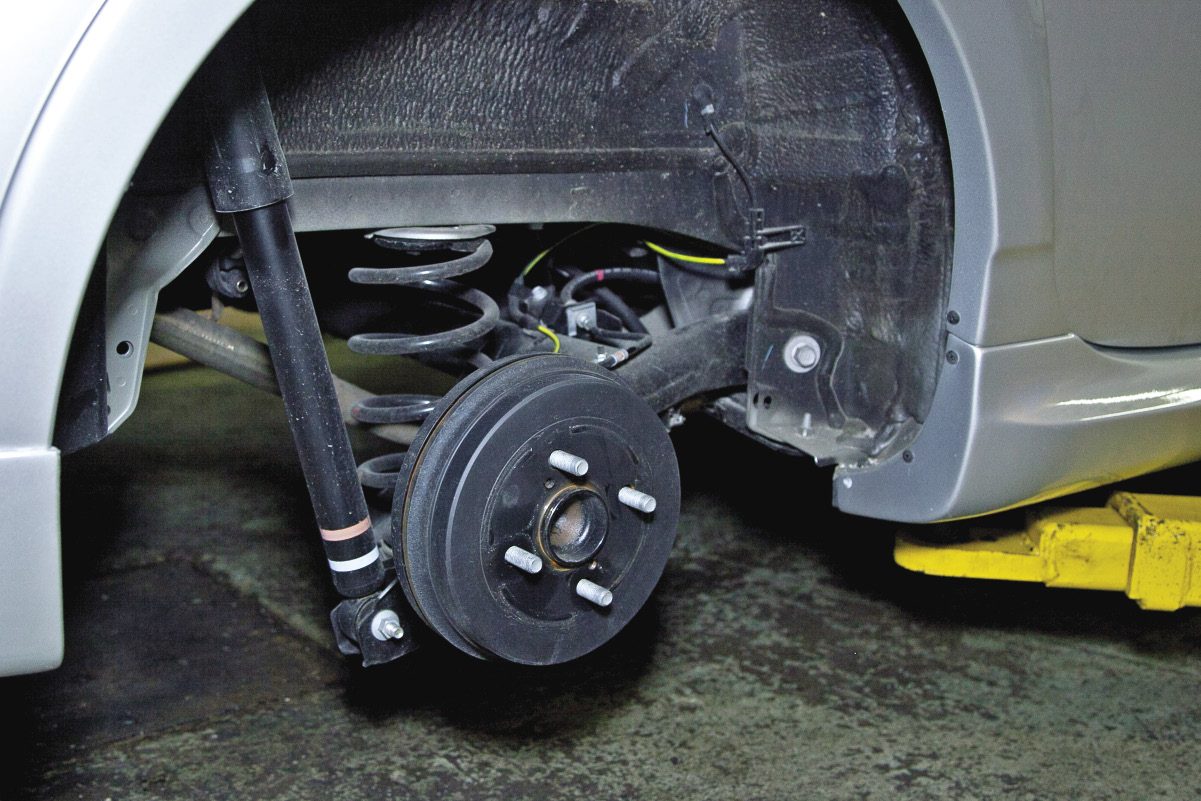
With the front springs complete, it is time to for the rears to get installed. The Scion iQ's rear suspension features a divorced spring and strut configuration, which makes it an easier process than the fronts.
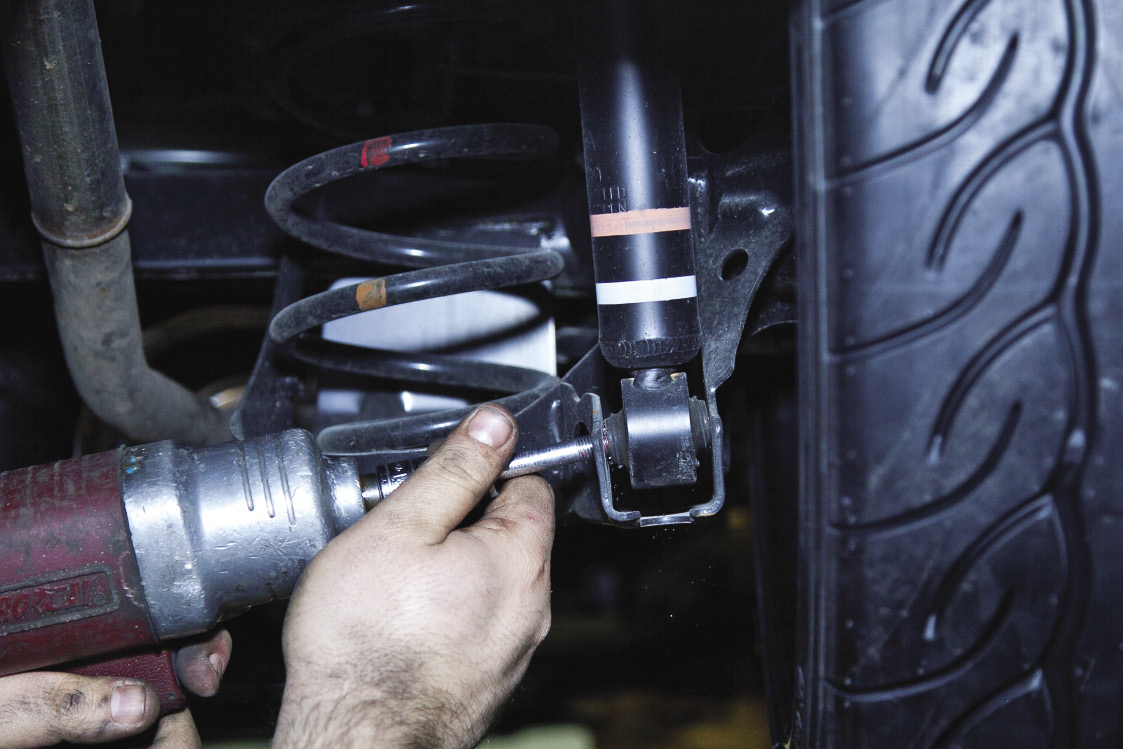
Use a floor jack and place it underneath the spring bucket. Gently put a small amount of pressure onto the bottom of the spring bucket with the floor jack to prevent the spring from popping out and injuring you during the next step. With a light pressure on the spring bucket, locate and remove the two bolts that connect the assembly to the knuckle and to the bottom of the rear strut. With those bolts removed, gently lower the floor jack and the spring bucket should move downward enough for you to remove the rear spring. Replace the factory rear spring with the TRD rear spring and gently jack the spring bucket back into place compressing the spring and re-installing the two bolts. Tighten everything and remove the floor jack.
 |
 |
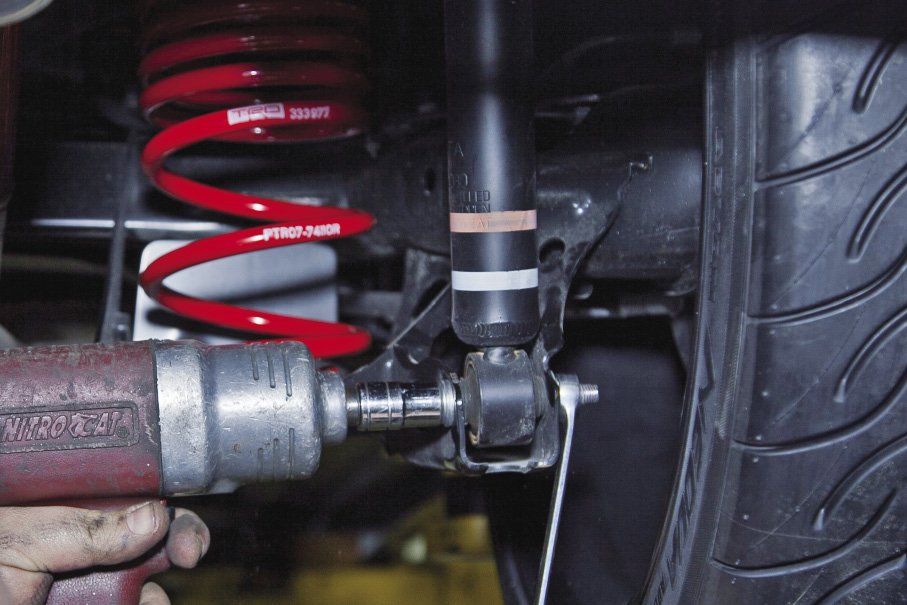 |
With the new springs installed at all four corners, it's time to finish things up! Re-install the wheels and lug nuts. Lower the car off of the jack stands or the hydraulic lift and torque the lug nuts to factory specs. Make sure you torque the lug nuts in a star pattern to ensure proper seating against the hub.
The installation process as well as the car's new lowered ride height can alter the alignment, so it is highly recommended to have your alignment checked and adjusted if necessary. Now the only thing left is to enjoy your enhanced Scion iQ! Now that's smarts!
Related Articles
 PASMAG Editors’ Top 5 SEMA Builds of 2025
 LIQUI MOLY Showcases Dealership Service Solutions at NADA 2026
 ACT Releases SFI-Approved 225mm Mod-Twin for 1989-1992 Nissan Skyline GT-R (R32)
 MID Wheels by RAYS Introduces the All-New D8 Off-Road Wheel
 Unitronic TCU Tuning for the 8Y Audi RS3
 Chopping Block: Acura RDX


