
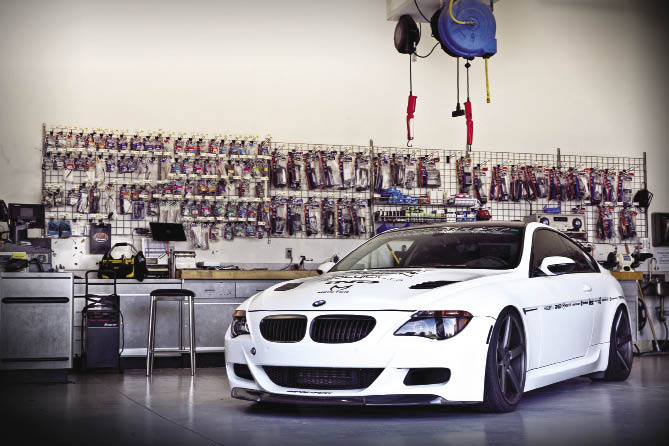
The Ultimate Demo Whip Gets An Audio Makeover - GeekSquad Style
Like a lot of things in our modern, on-demand world, connectivity is a part of our every waking moment. Thanks to auto manufacters embracing the connected life, new cars are being outfitted with the latest and greatest hook-ups to work all of the electronics filling you pockets and belt. Can’t wait to see the iPad belt holster!
Now those drivers with older vehicles can stay connected too, thanks to the Geek Squad. They recently teamed up with Basit Mirza, president of the IMPORTFEST car shows, to convert his 2004 BMW Ci into the ultimate mobile office.
Dension Gateway 500
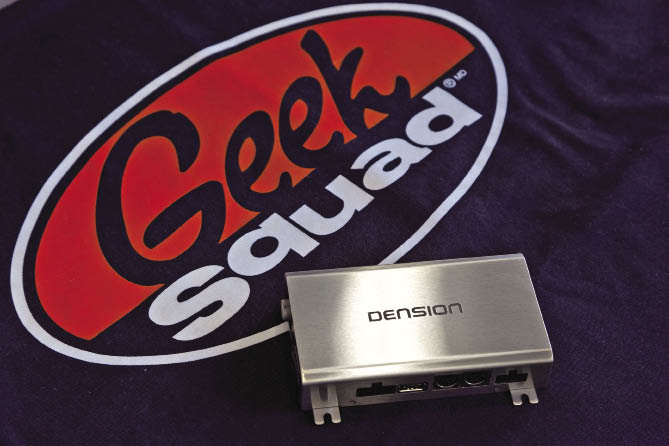
This little shiny box acts as an interface between your OEM stereo and your iPod or iPhone, which enables the driver and passengers to listen to music, watch video on factory-installed monitors, make prank calls and charge the device. Thanks to Bluetooth, USB and auxiliary input connectivity, it’s perfect for the anti-Apple consumer.
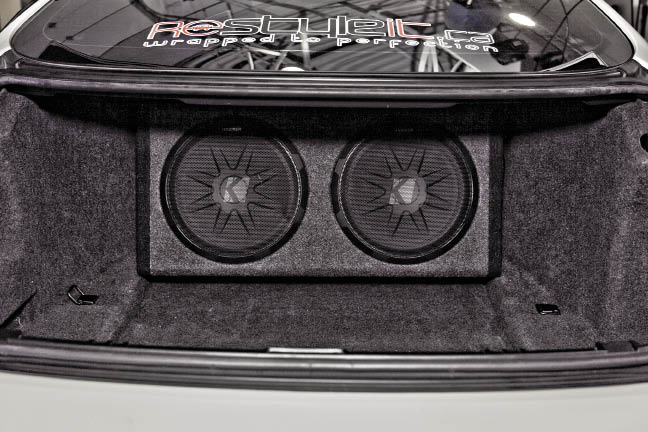
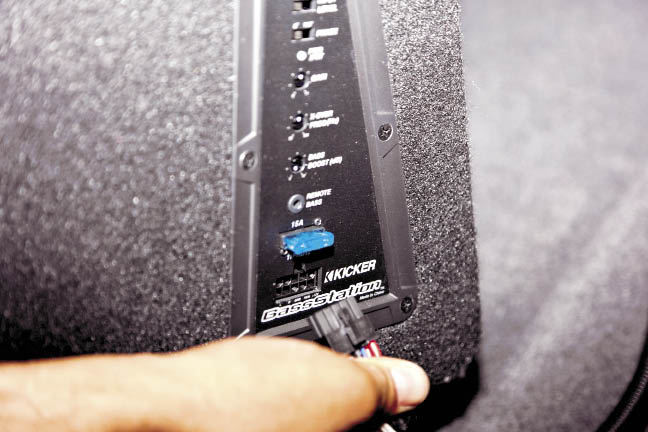
KICKER KS-Series speakers and BassStation powered subwoofers
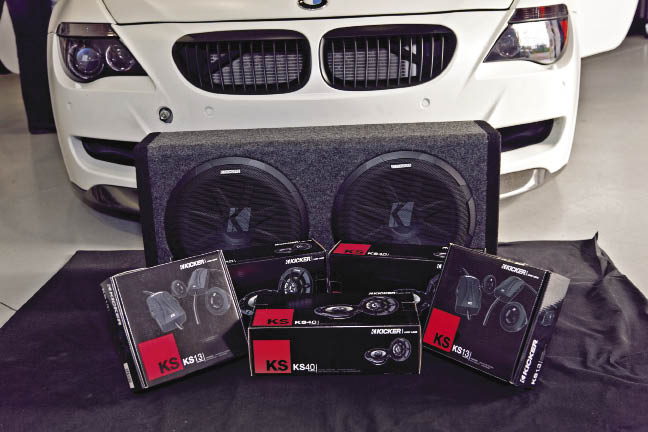
KICKER’s line of speakers will allow you to hear and feel every note making musical reproduction more realistic then anything produced by an OEM stereo. With the BassStation powered subwoofer, it’s like a McDonald’s Happy Meal box for adults. Everything you need for your subwoofer, enclosure and amplifier in one tidy little box. The only thing left to figure out is if you want to upsize to the dual enclosure.
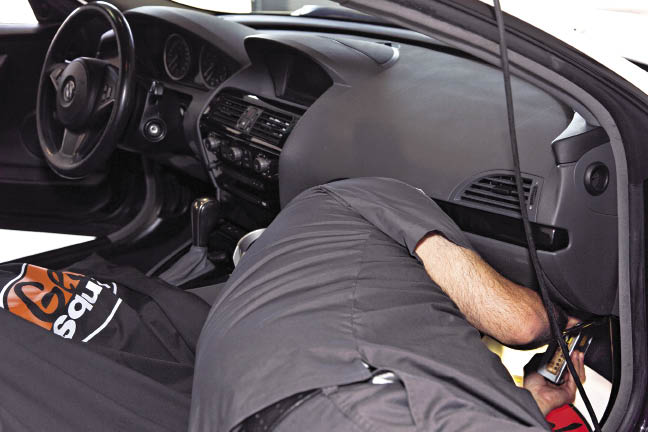
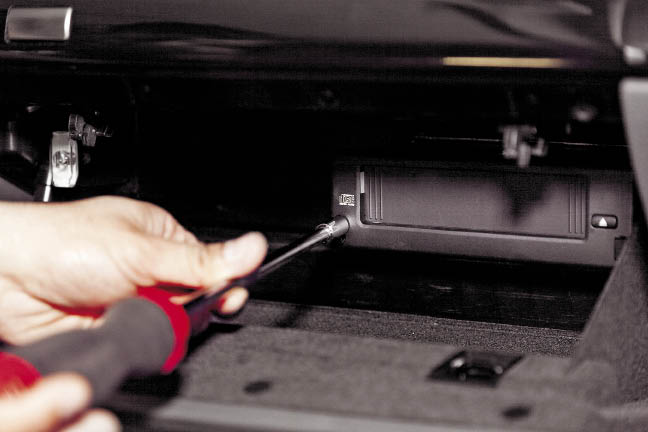
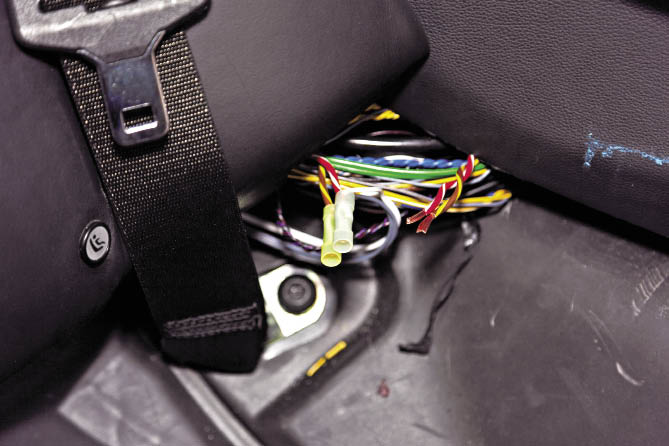
Step 1:
- Remove the plate under the glove box to reveal the mounting and installation area for the Dension Gateway 500
Step 2:
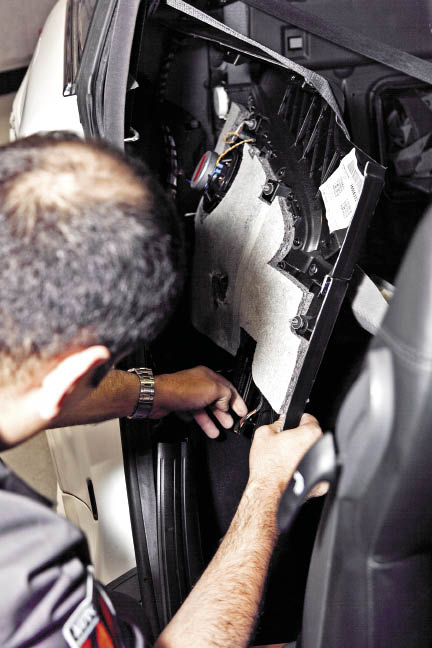
- Unscrew the 2 mounting screws from the front of the glove box-installed factory disk changer, remove and then unplug the harness from the back of the unit. The harness houses the power, ground and fiber optic connections. Reroute these connections behind the glove box as they will also be used for the Dension unit
 |
 |
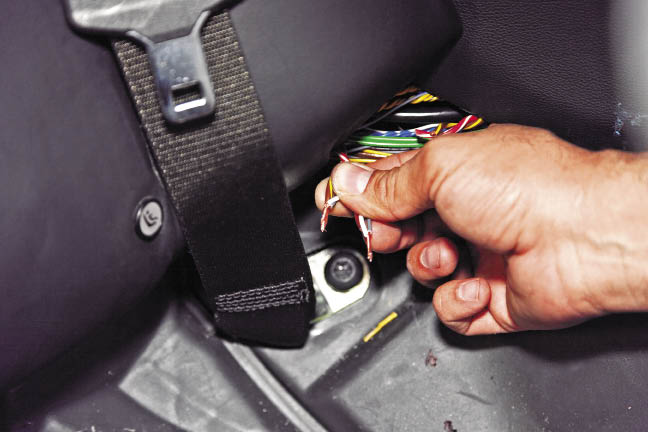
Step 3:
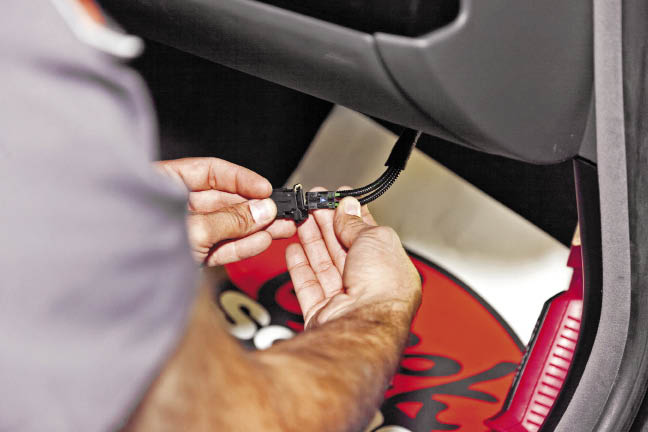
- Remove the OEM fiber optic connector and replace with the Dension supplied connector, and plug into the Gateway 500
Step 4:
- Locate a factory power cable behind the glove box and attach the power cable from the Dension harness. Connect the ground from the harness to the ground distribution located under the carpet near the kick panel
 |
 |
 |
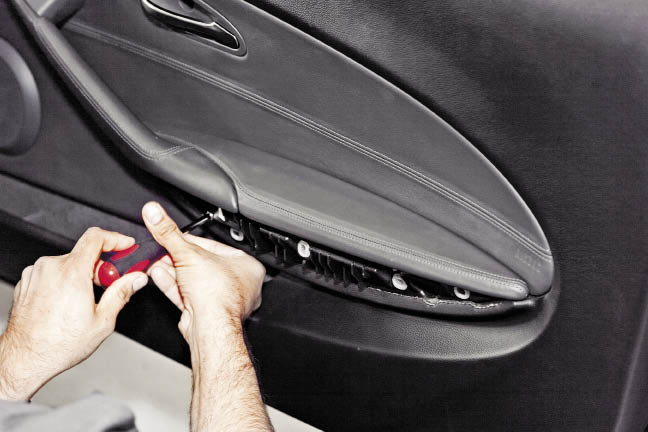
- Unscrew the door mounting screws, unclip and remove the door skin
 |
 |
 |
Step 7:
- Remove the OEM speaker and install the Kicker KS40 4” coaxial speaker in the factory location
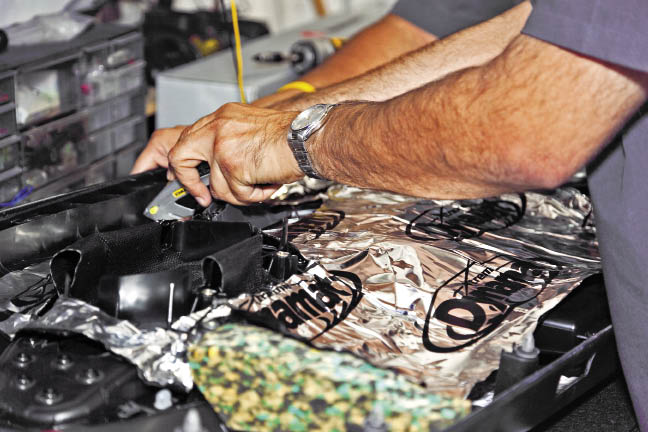
Step 8:
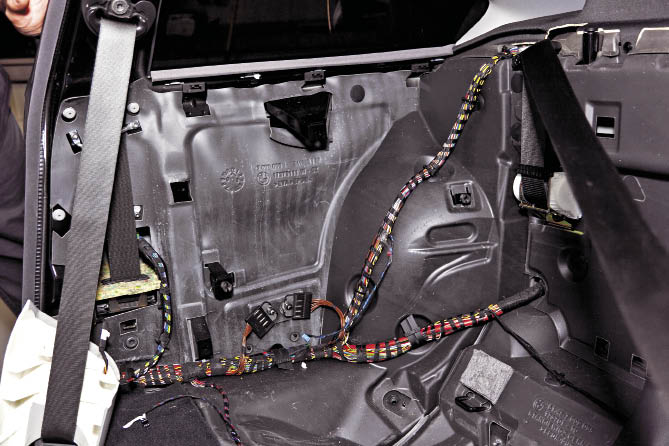
- Apply Dynamat sound deadening material to cover as much of the inner side of the door skin as possible. This will help to reduce sound vibrations and outside noise from the passenger cabin
 |
 |
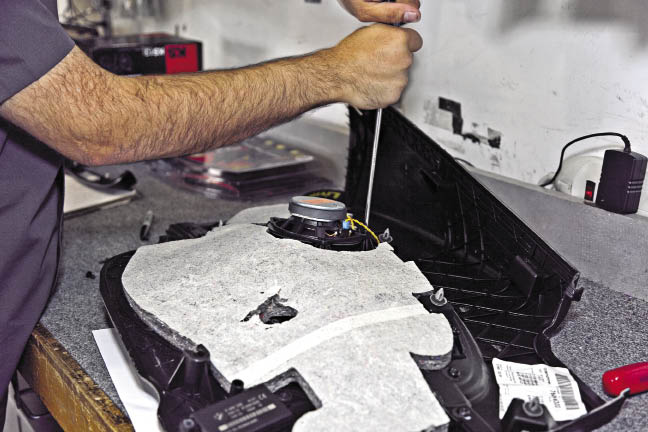
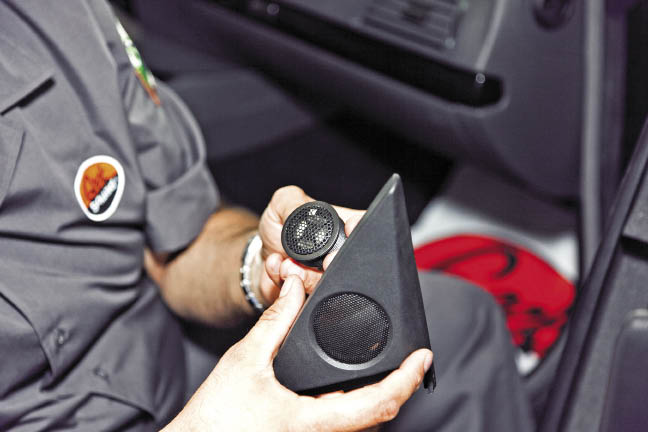
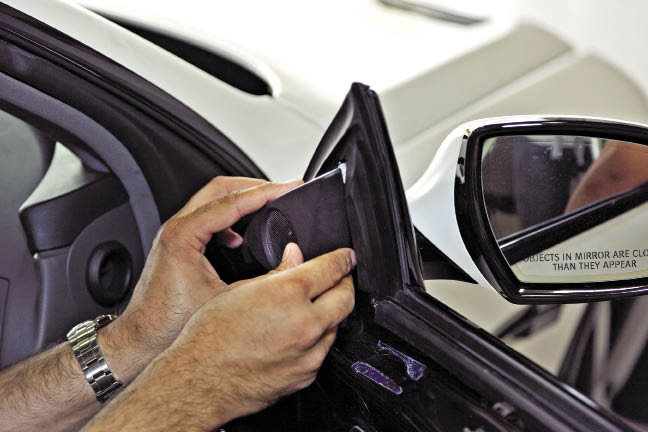
Step 9:
- Remove the A-pillar tweeter pod and factory speaker and replace with a KS13 1” tweeter
Step 10:
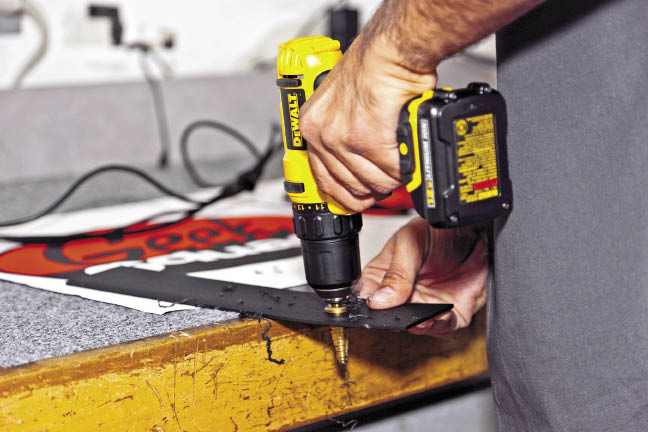
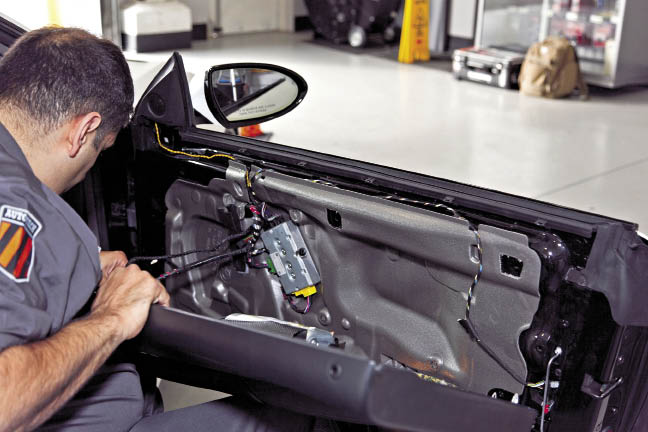
- Mount the external Kicker crossover to an open area inside the door, connect speaker cables from the coaxial and tweeter and reinstall the door skin
 |
 |
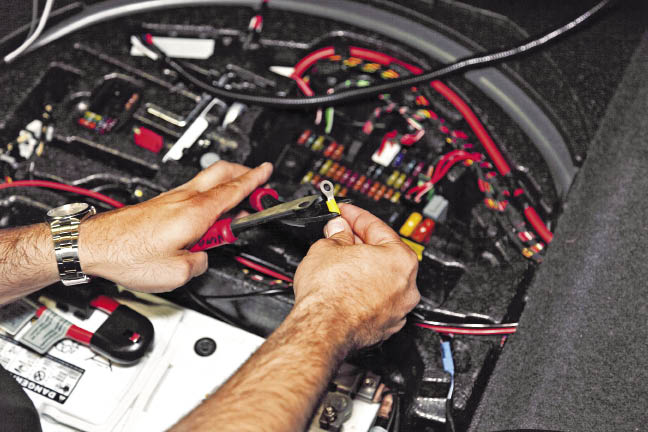
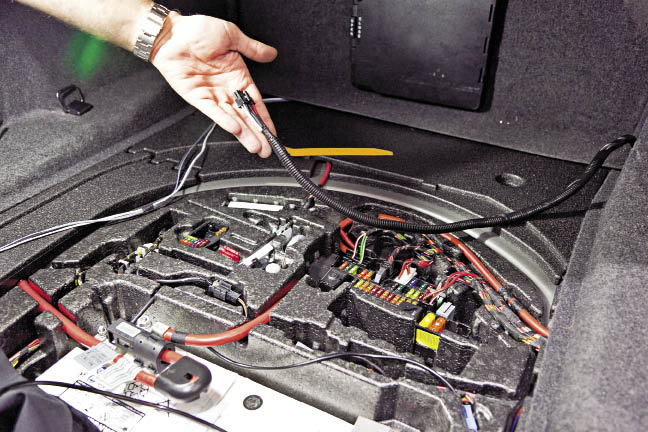
- Using the supplied Kicker wiring harness, attach the power and ground cables to the trunk-mounted battery. Locate an ignition wire from the fuse box and attach the remote cable from the harness
 |
 |
 |
 |
Step 12:
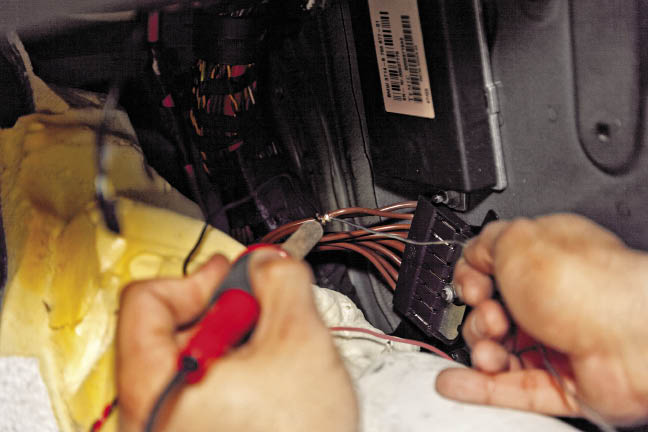
- Audio signals will be delivered to the amp and subs via a Pac Audio SOEM-T 2-channel line output converter. Remove the speaker cables from the OEM amplifier located behind the back seat and attach the wires to the speaker cables on the input side of the SOEM-T. Attach the SOEM-T output speaker cables to the Kicker wiring harness. Now adjust the amp’s input gains, plug that iPod in and play it loud!
Conclusion:
With the Dension Gateway 500 perfectly synchronizing Basit’s iPod or iPhone to the OEM stereo and factory-installed monitors, not to mention the Kicker KS-Series speakers and BassStation powered subwoofer upgrades, his BMW 645Ci entertainment system has truly been transformed from “STOCK to ROCK”.
With it all said and done, Basit summed up his feelings about his demo car. “It’s made a huge difference in my driving experience. The install was really clean and impressive, and the added bass was much needed!”