
As many of you are aware of the more equipment and upgrades you have in your vehicle the less space you have to fit it all in. Especially when most of the vehicles come from the factory with very little room to begin with. In this article we will be eliminating some of the clutter by building two pods that will hold a total of three gauges apiece for our very own PAS Magazine HIN demo car, a Scion xD that the audio experts at Installer Institute built this year for the cross country HIN tour.
The Scion was delivered to us with a total of 9 gauges of which only six really needed to be used and in car show vehicle of this caliber we were going to need all the space we could get.
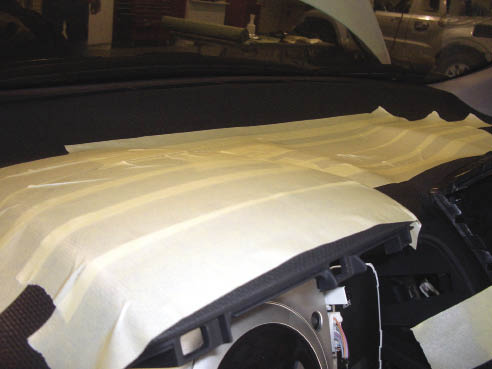
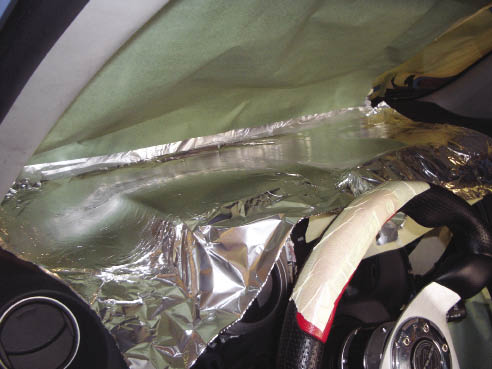
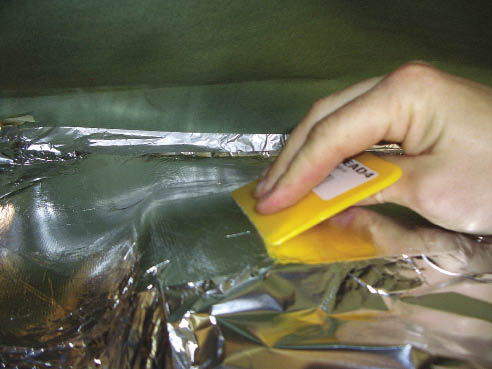
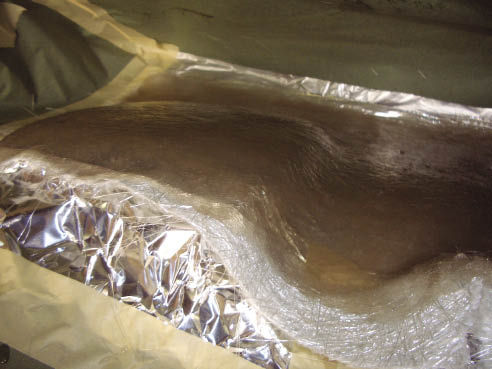
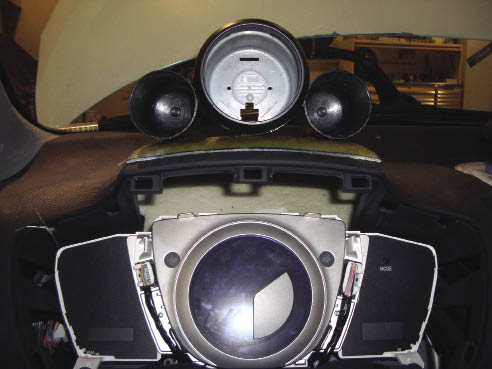
Step 1
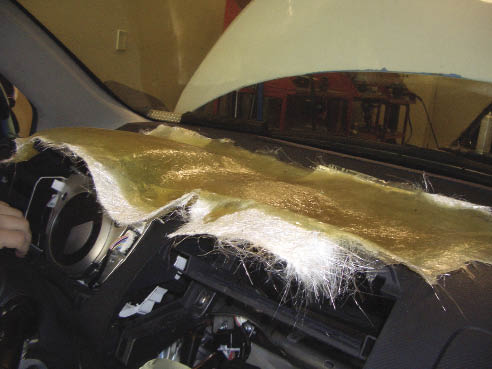
The first step was to pull a mold of the area the gauges were going to be located in. We decided to locate three of the gauges directly above the factory gauge cluster and the other three above the radio. This required the tape and foil the entire top of the dash along with the windshield and floor board. When working on any car you can’t be to careful.
 |
 |
 |
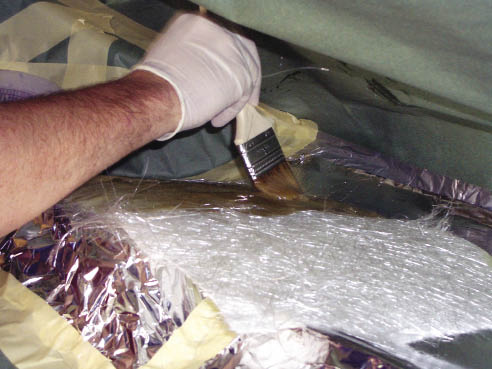
Step 2
Appliing fiberglass is the next step, the idea is to pull a model of the dashes contours so that when we mount the finished product to the dash it will fit perfectly. In this step we applied 4 layers of fiberglass mat.
 |
 |
 |
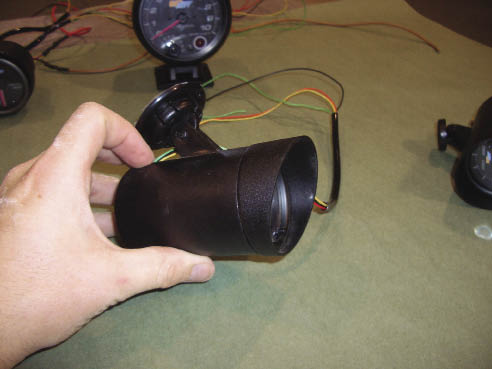
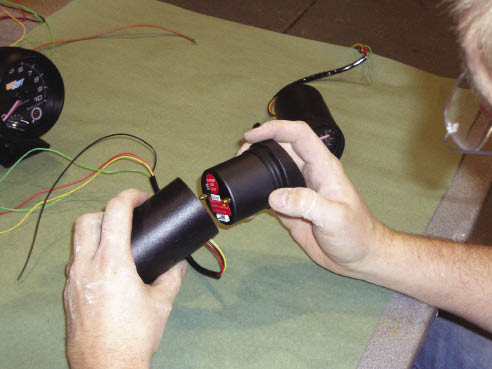
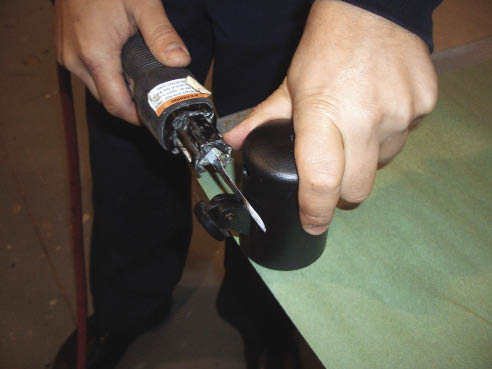
Step 3
While the glass is curing we started to take apart the gauges. The gauges came apart very easy, we had to remove the mounting bracket and trim off all of the extra tabs so that the gauges would fit together correctly. Once you remove the guts of the gauges make sure you keep them in a safe place so they do not get damaged.
 |
 |
 |
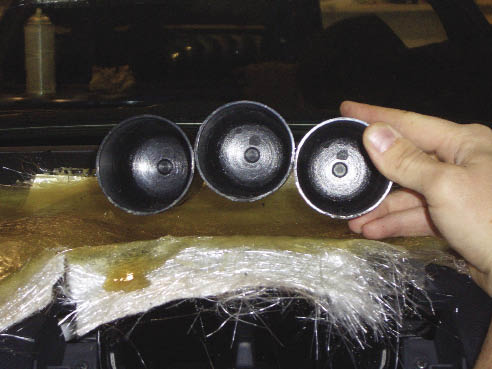
Step 4
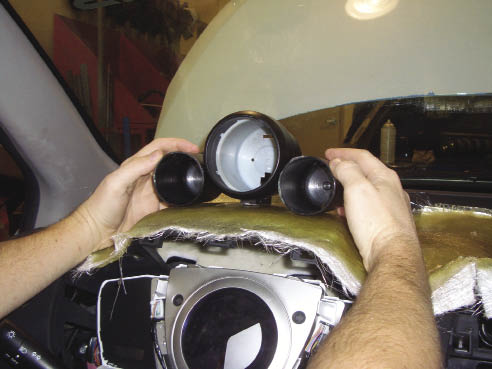
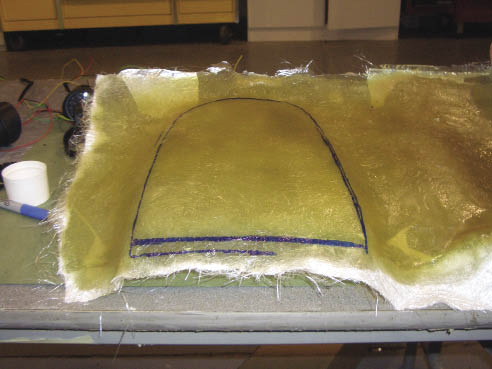
With the fiberglass dry we removed all the tape and foil and placed the gauges in place to make sure that everything would look good before we started to fabricate the gauges on to the fiberglass. Once everything checked out and looked good we traced an outline of the gauge pod onto the fiberglass and cut it out.
 |
 |
 |
 |
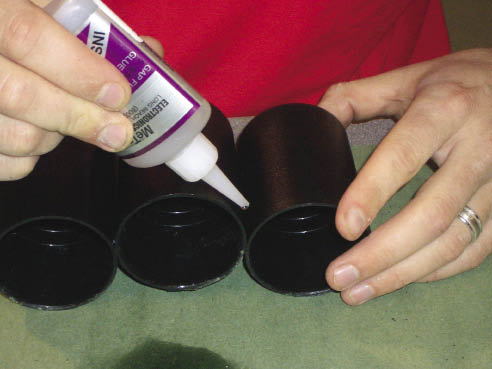
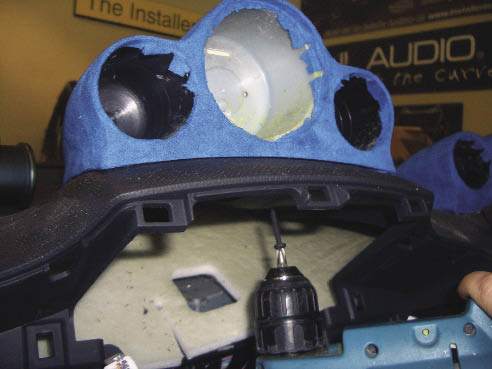
Step 5
Next step was to secure the plastic gauge housings into place. Super glue was used to attach them to each other as well as the fiberglass base. The gauges were set at a small angle so that they would be in the site of the driver. With the gauge housings mounted to the base they were set back into the vehicle to make sure that everything look cosmetically appealing.
 |
 |
 |
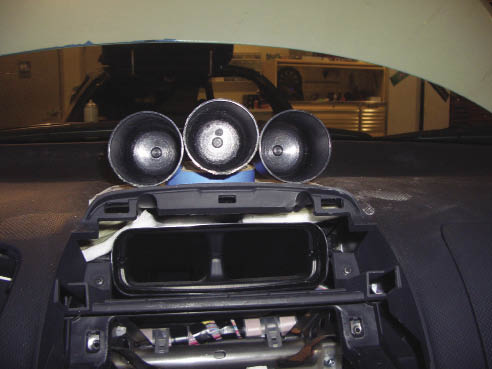 |
Step 6
Our next step was to form the shape of the gauge pod, for this we used 2 part expanding foam. Thick construction paper was used to build walls around the base of the gauge pod, this was so the foam could build up and not out.
Step 7
With the foam cured it was time to start shaping the pods. Once the pods were shaped they were placed back into the Scion to see how they look and how everything matched up.
Step 8
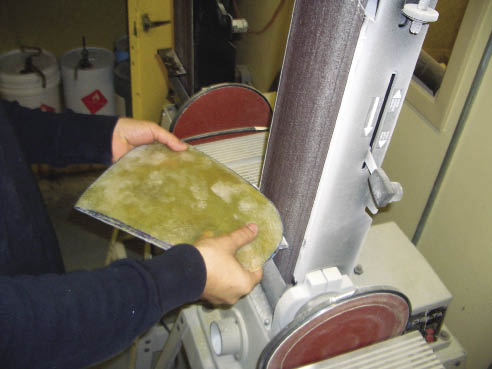
Next we fiberglassed the each pod applying 3 layers of fiberglass mat. Once the mat dried it was grinded and body filler was applied to fill in all of the imperfections. With the pods sanded with 80 grit sand paper they again were test fit to the vehicle and then prepped for wrapping.
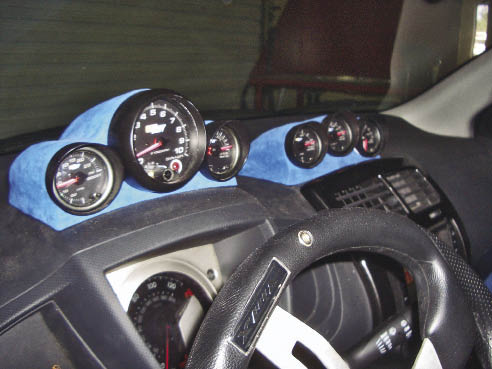
Step 9
Now it is time to cover the gauge pods. The colors of the cars interior was a combination of black, gray and blue suede. We chose to cover the pods in blue suede so they would stand out and catch everyone eye as they walk by at the Hot Import Night shows. Once the pods were covered they we attached to the dash from the bottom and wired up.
Remember Knowledge is Power
Look for the Scion at all the HIN show this year. If you would like to build your skills as a mobile electronics installer and learn from the best fabricators in the industry log onto our web-site www.installerinstitute.com and see what the Installer Institute can do for you.
Installer Institute
1524 Ridgewood Ave.,
Holly Hill, FL, 32117
(800) 354-6782
www.installerinstitute.com
Remember doing it right the first time will always save time.
IF you have any questions or have any suggestions for future how-to article splease contact